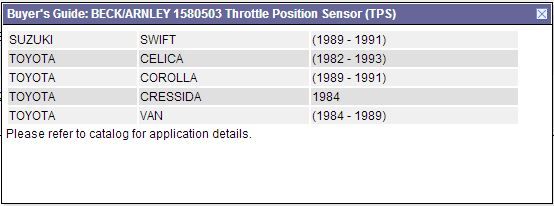
The throttle body is a pretty simple component but after years of service the internal passages can become clogged/dirty & the TPS (Throttle Position Sensor) begins to fail. For these reasons I recommend cleaning the throttle body and replacing the TPS on any van with 150k or more miles. Here's my method of disassembling, cleaning, and adjustment.
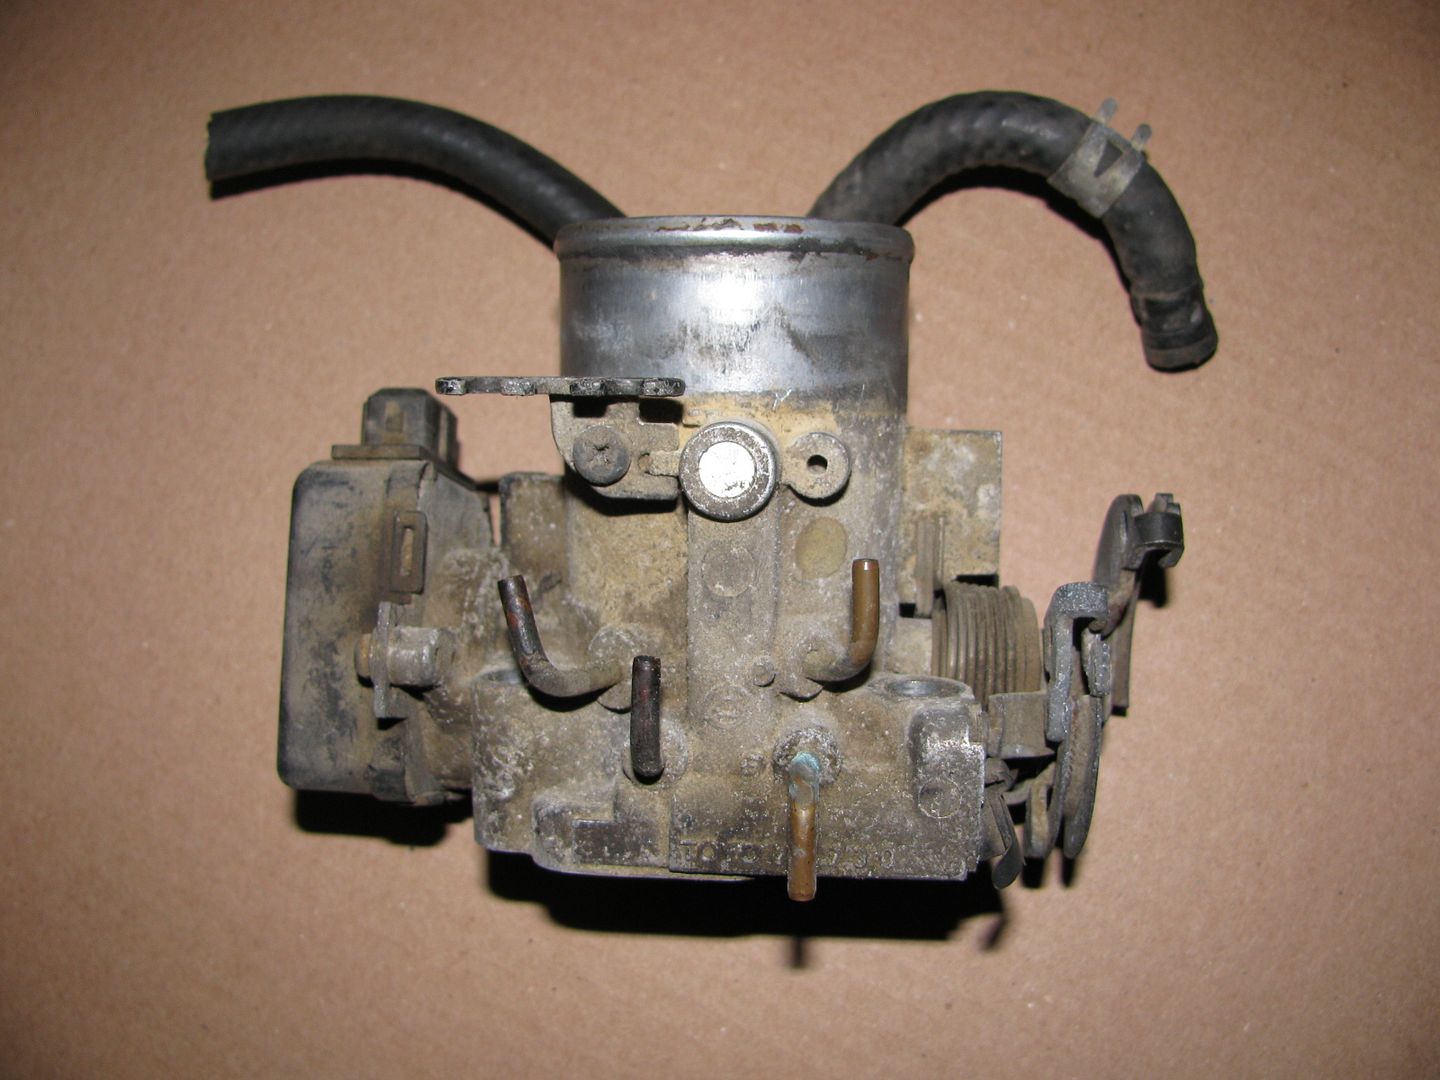
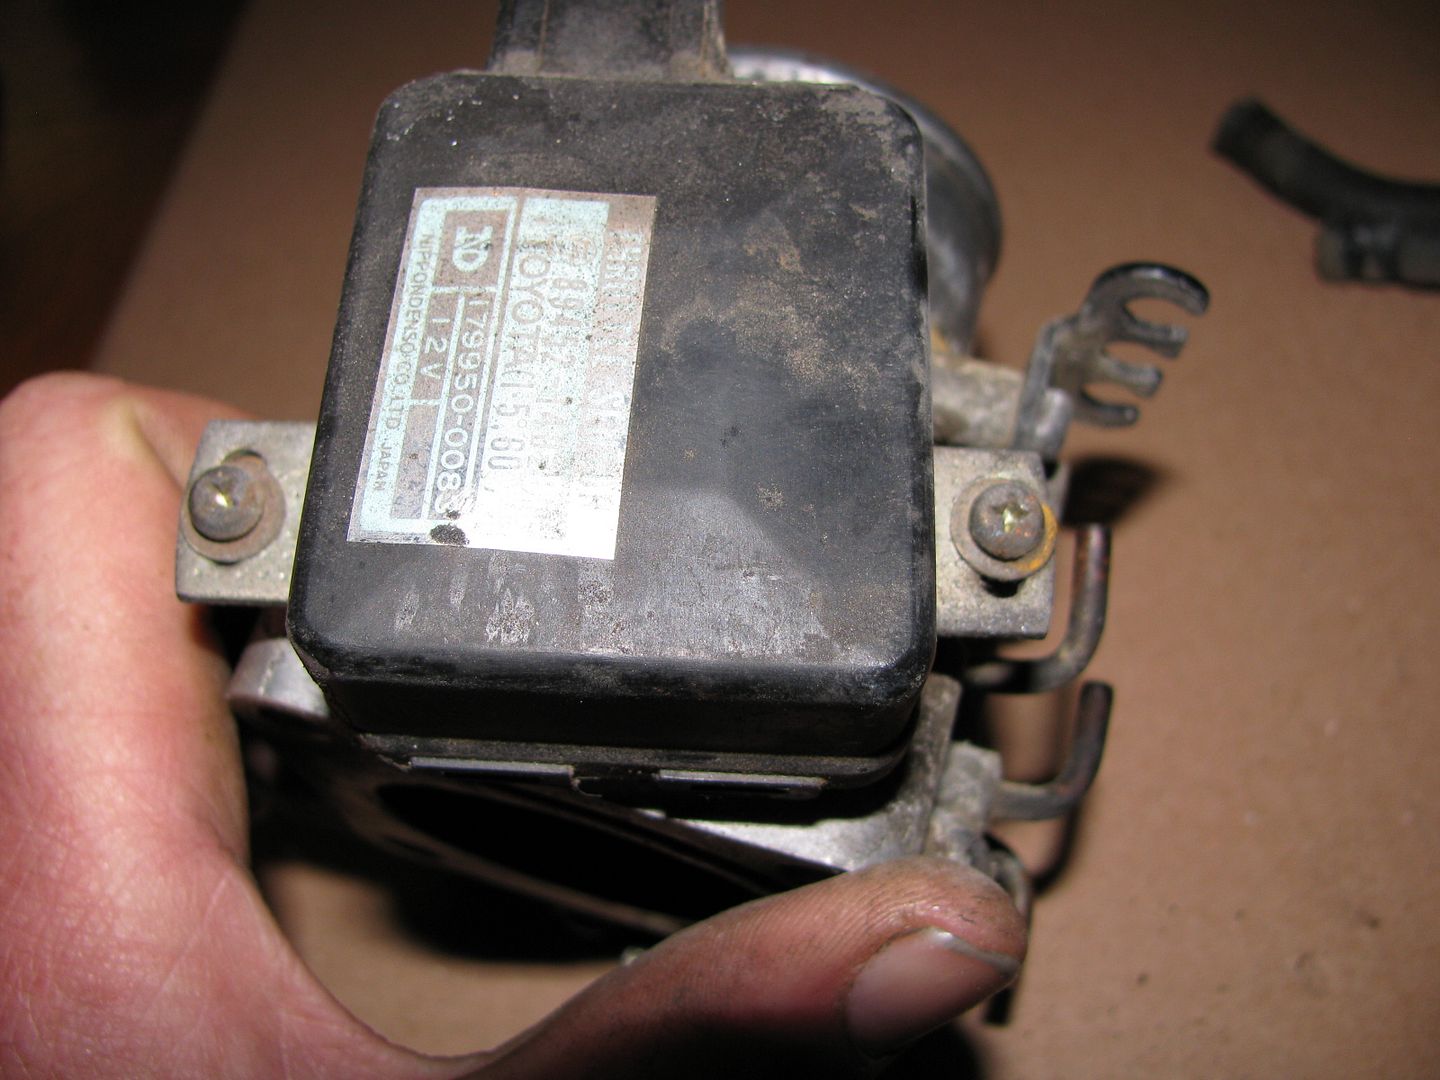
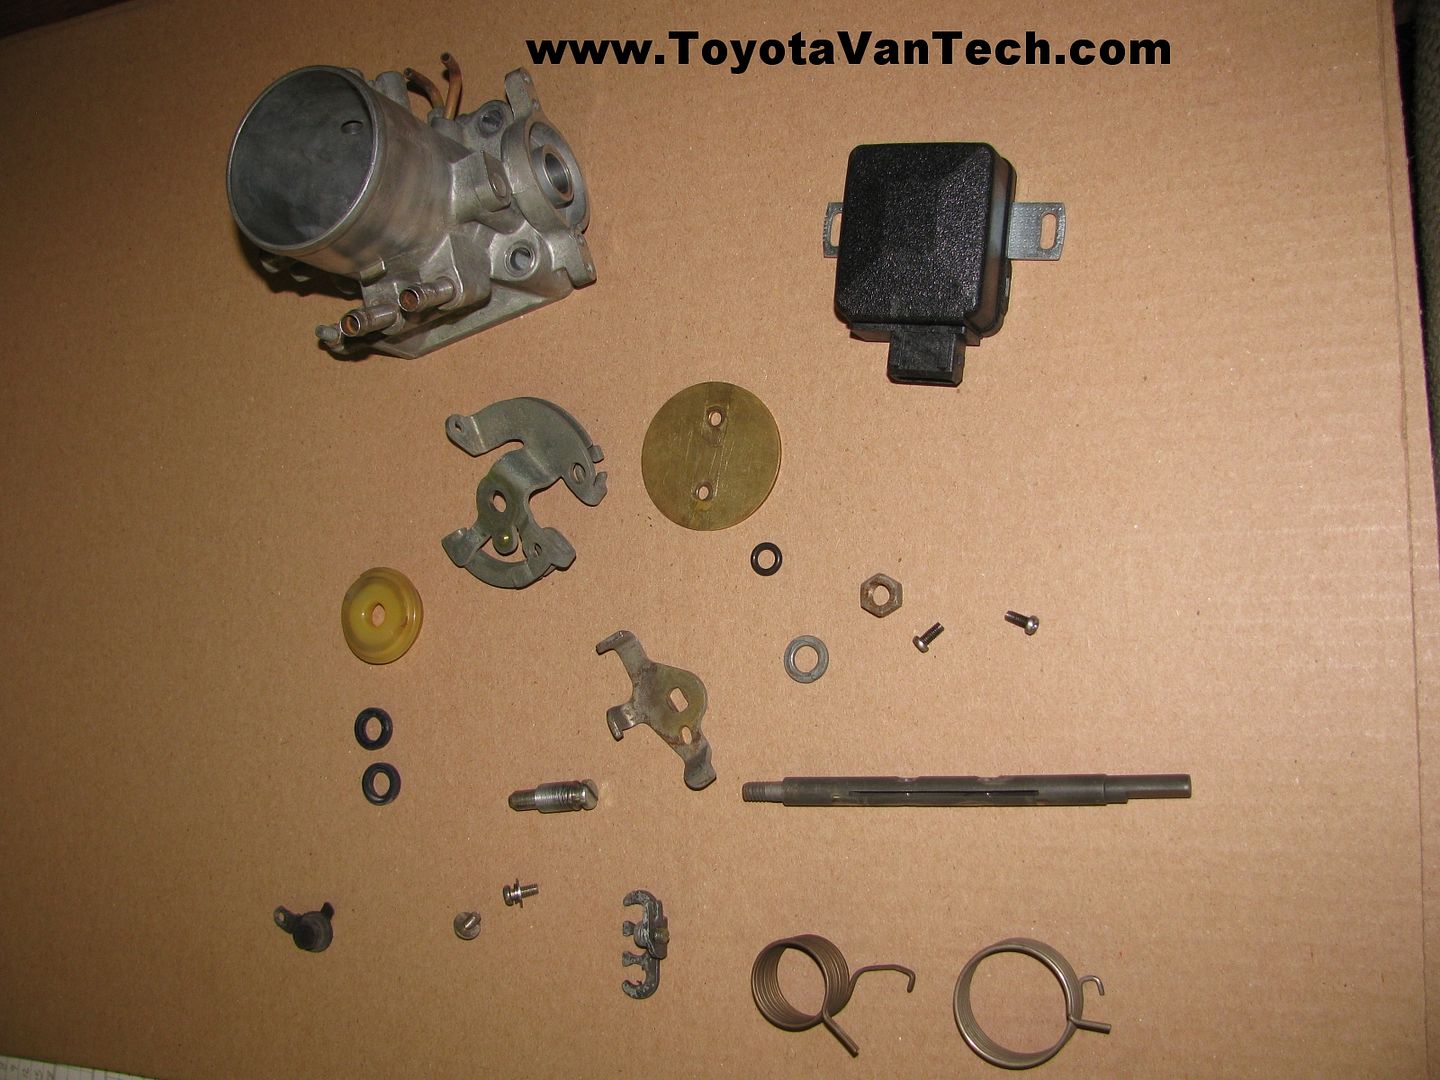
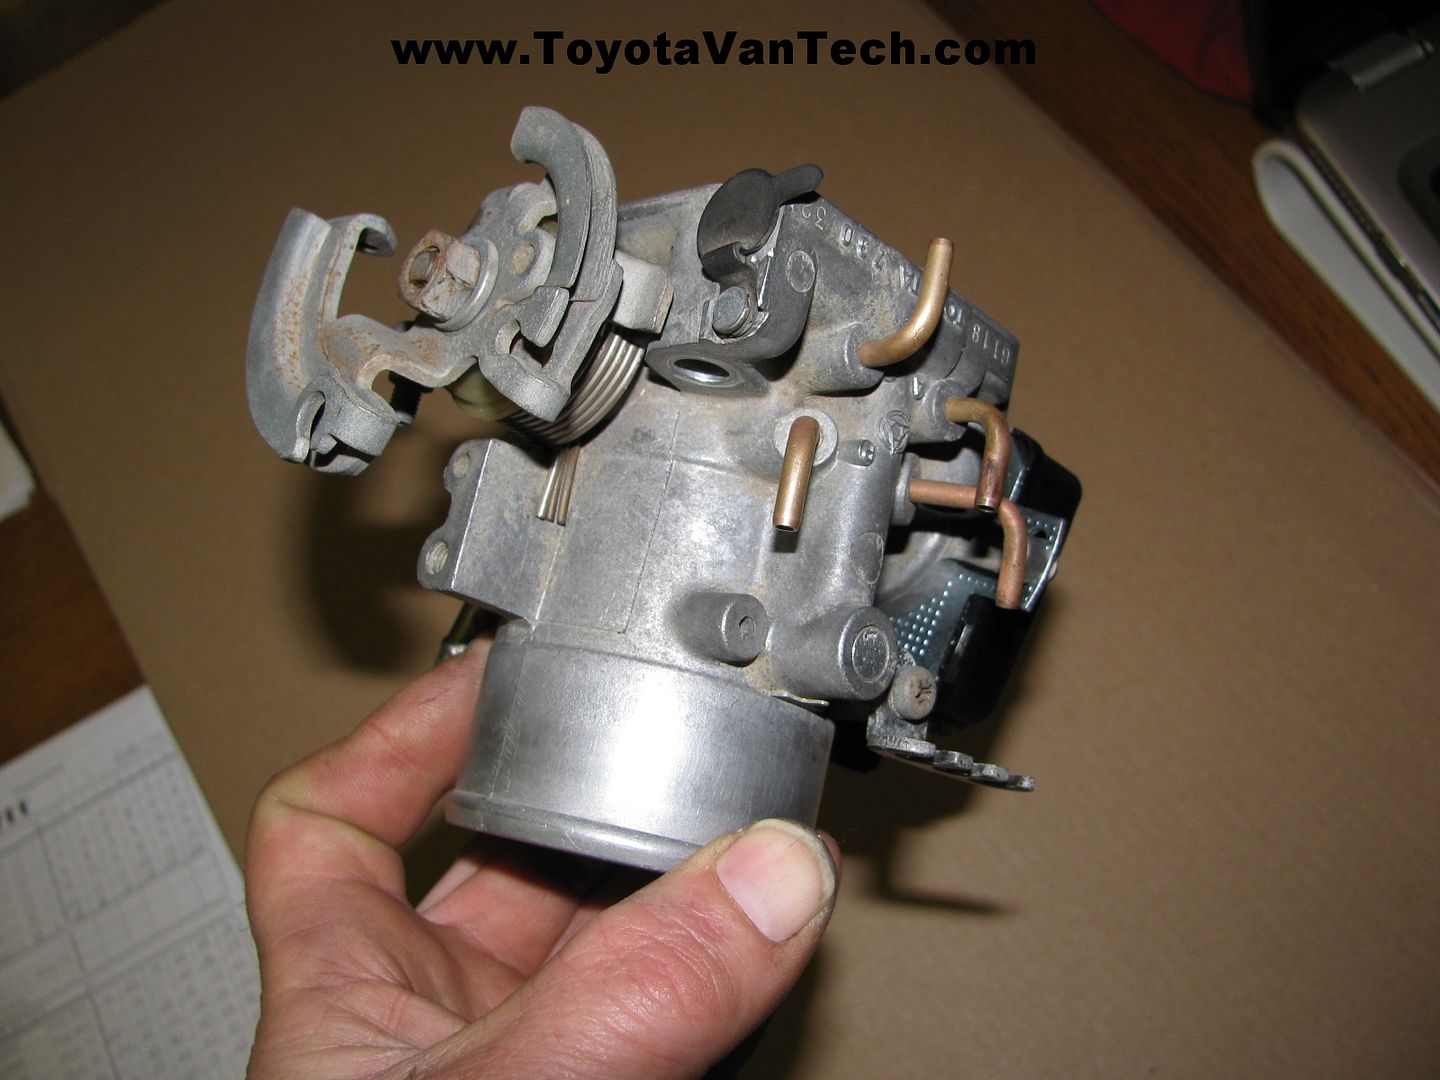
This is a throttle body I pulled from a parts van. It will take a couple days soaking in Chem-Dip, so I can drive my van while this is being worked on, then I can swap it out with the one on my daily driver when it's ready.
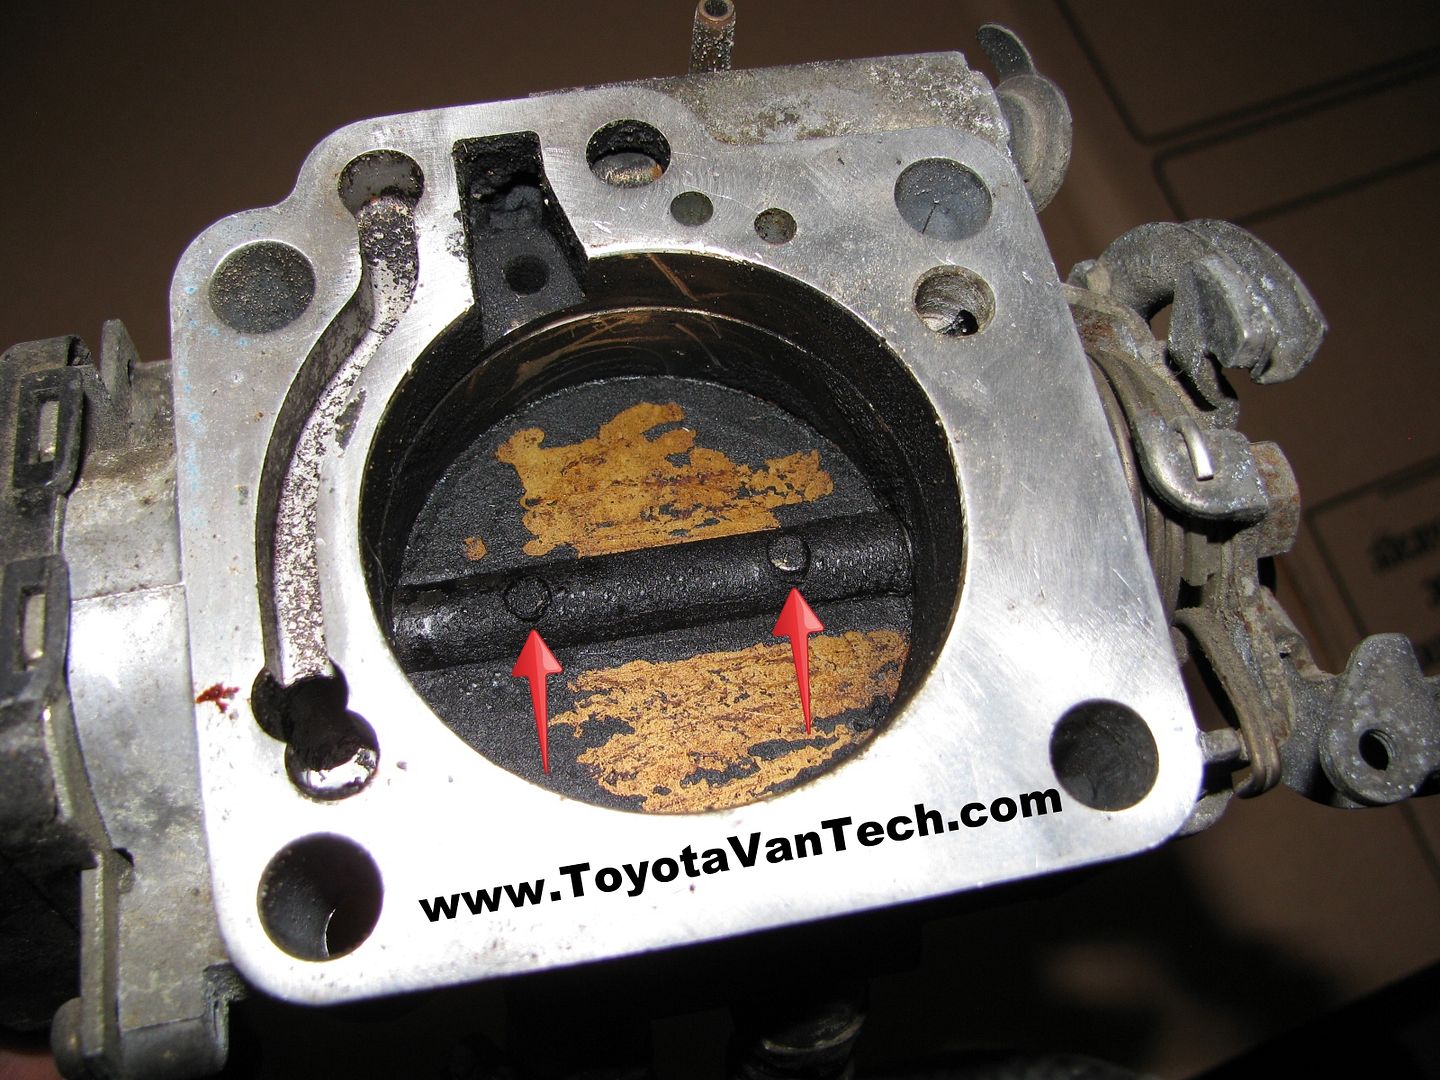
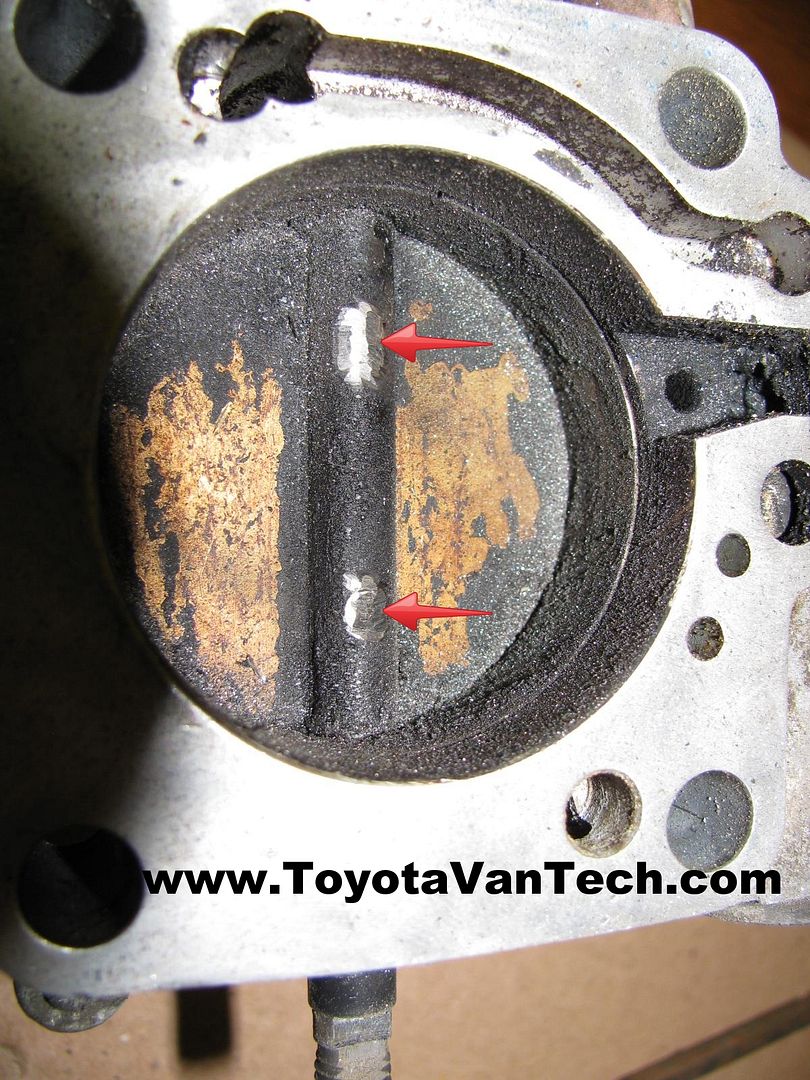
Chem-Dip is a pretty harsh cleaning chemical. So harsh that it will eat rubber & plastic parts. Before soaking the throttle body in this it must be disassembled. Toyota didn't intend for these throttle bodies to be easily disassembled, but I have worked out a way to get the job done. The 1st challenge is the screws holding the butterfly to the throttle shaft. After installation Toyota crushed the threaded ends of these screws against the side of the shaft. To make matters worse, they used an unusual screw size (M3.5 X 0.6). So unless you plan on drilling & re-tapping the throttle shaft (to accept a more common screw size), you will need to save & re-use these.
Use a Dremel with a metal cutting fiberglass/abrasive wheel to carefully grind the crushed portion of the screws off. Don't stop until they are flush with the shaft. It will save you time later to also make an identifying scratch in the butterfly so you can orient it the same way when it's time to go back together.
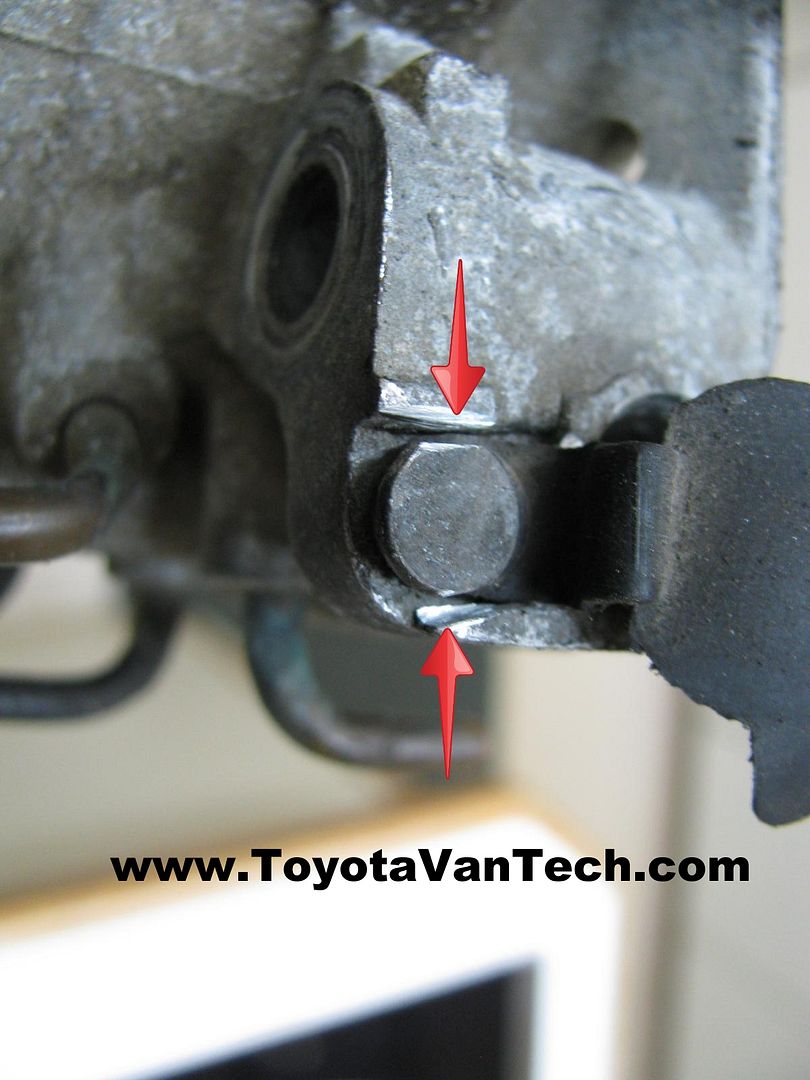
While you have your Dremel out grind some slots to allow removal of the idle adjust screw cover.
Now it's time to remove the TPS........just two screws and it pulls straight off the shaft.
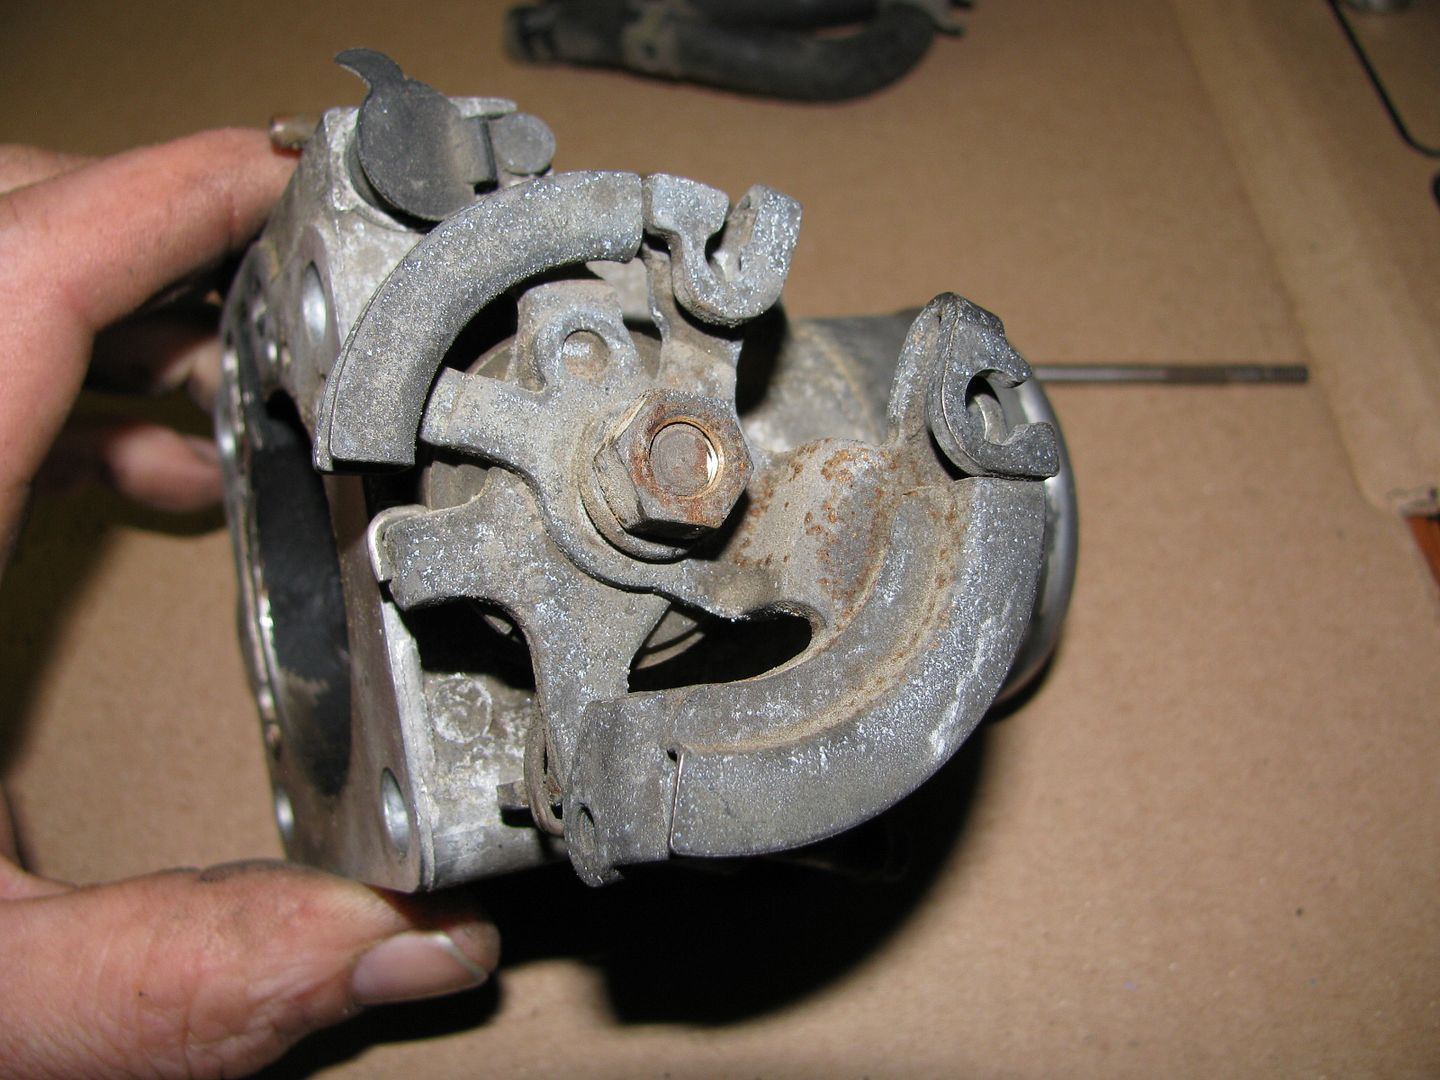
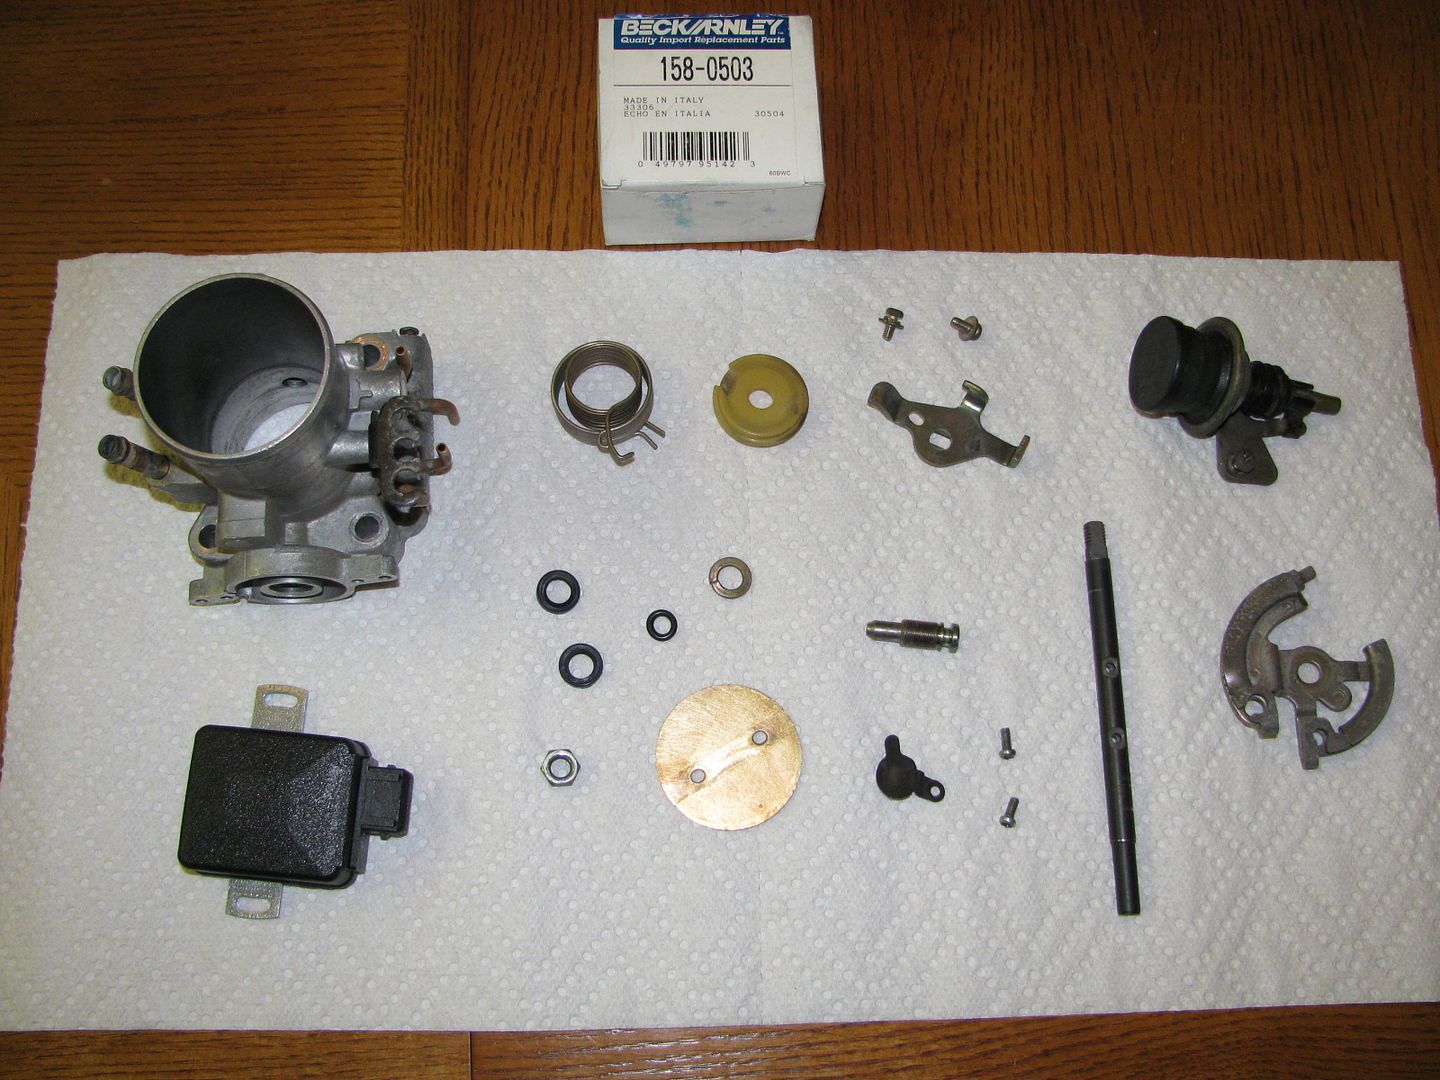
Next remove the nut, the cable guide, throttle return spring, and other associated parts from the throttle shaft. Take a picture or make notes so you can put this back the same way later.
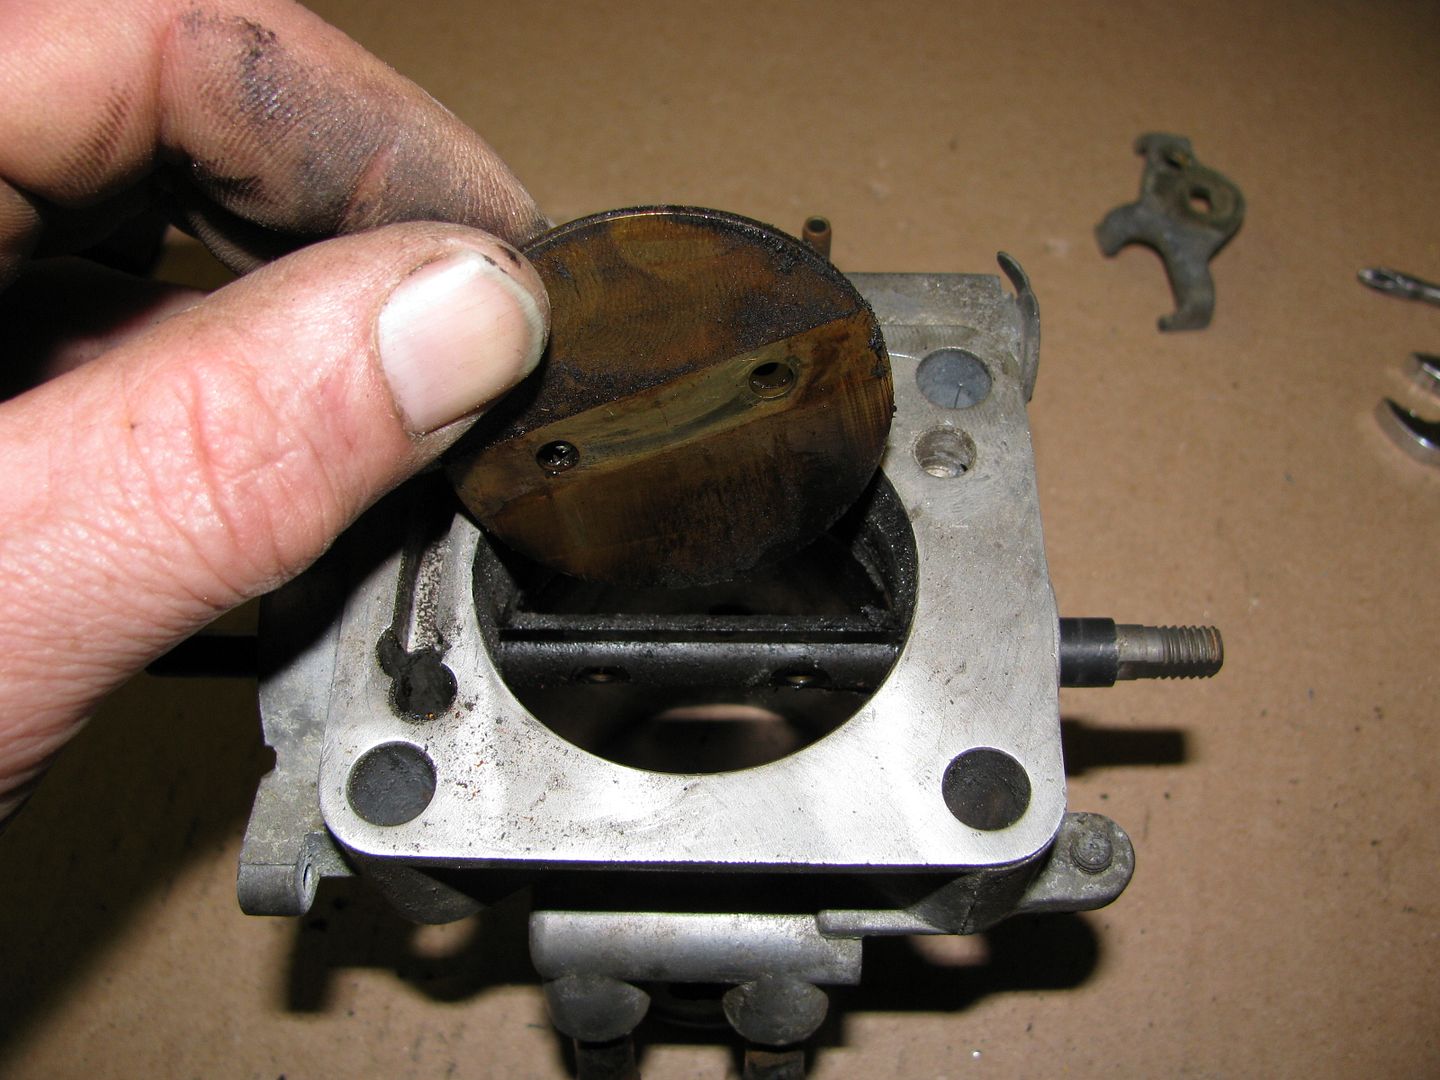
Now the 3.5mm screws can be removed from the shaft & the butterfly can be removed. Note: These screws are a bit "soft" so be sure to use a high quality #2 Phillips screwdriver bit & make sure the tip is in good condition. Bear down hard on the screws when you rotate. You will only get one shot at this & these screw heads strip out easy. Sometimes the crushed threads extend up in the shaft area a bit so occasionally these screws are hard to remove. Remember when I said "you'll only get one shot at this"?...........well I might have lied just a little. That was to get your attention so you'd try your best!
. Sometimes even when you do everything right the heads still strip
. When this happens use your Dremel to make the Phillips heads into slot tips. Remember, you will still want to re-use these & this is your last shot..........unless you drill and tap for new screws........so be careful and do a good job. After the screws are out remove the butterfly.
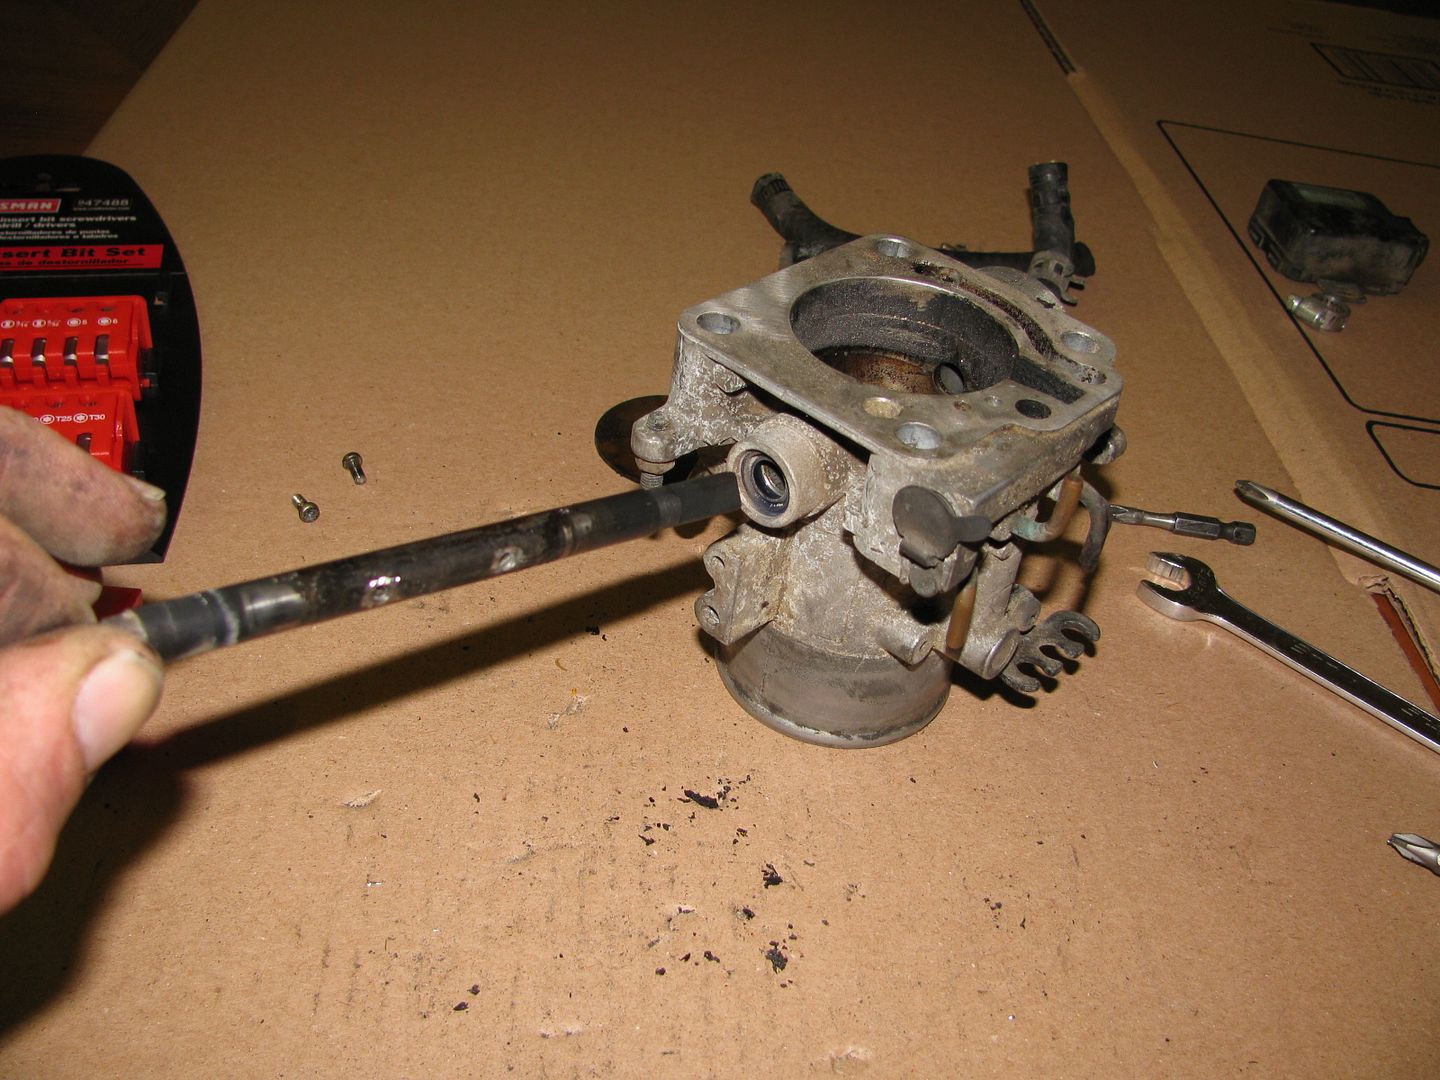
Now the throttle shaft can be removed.
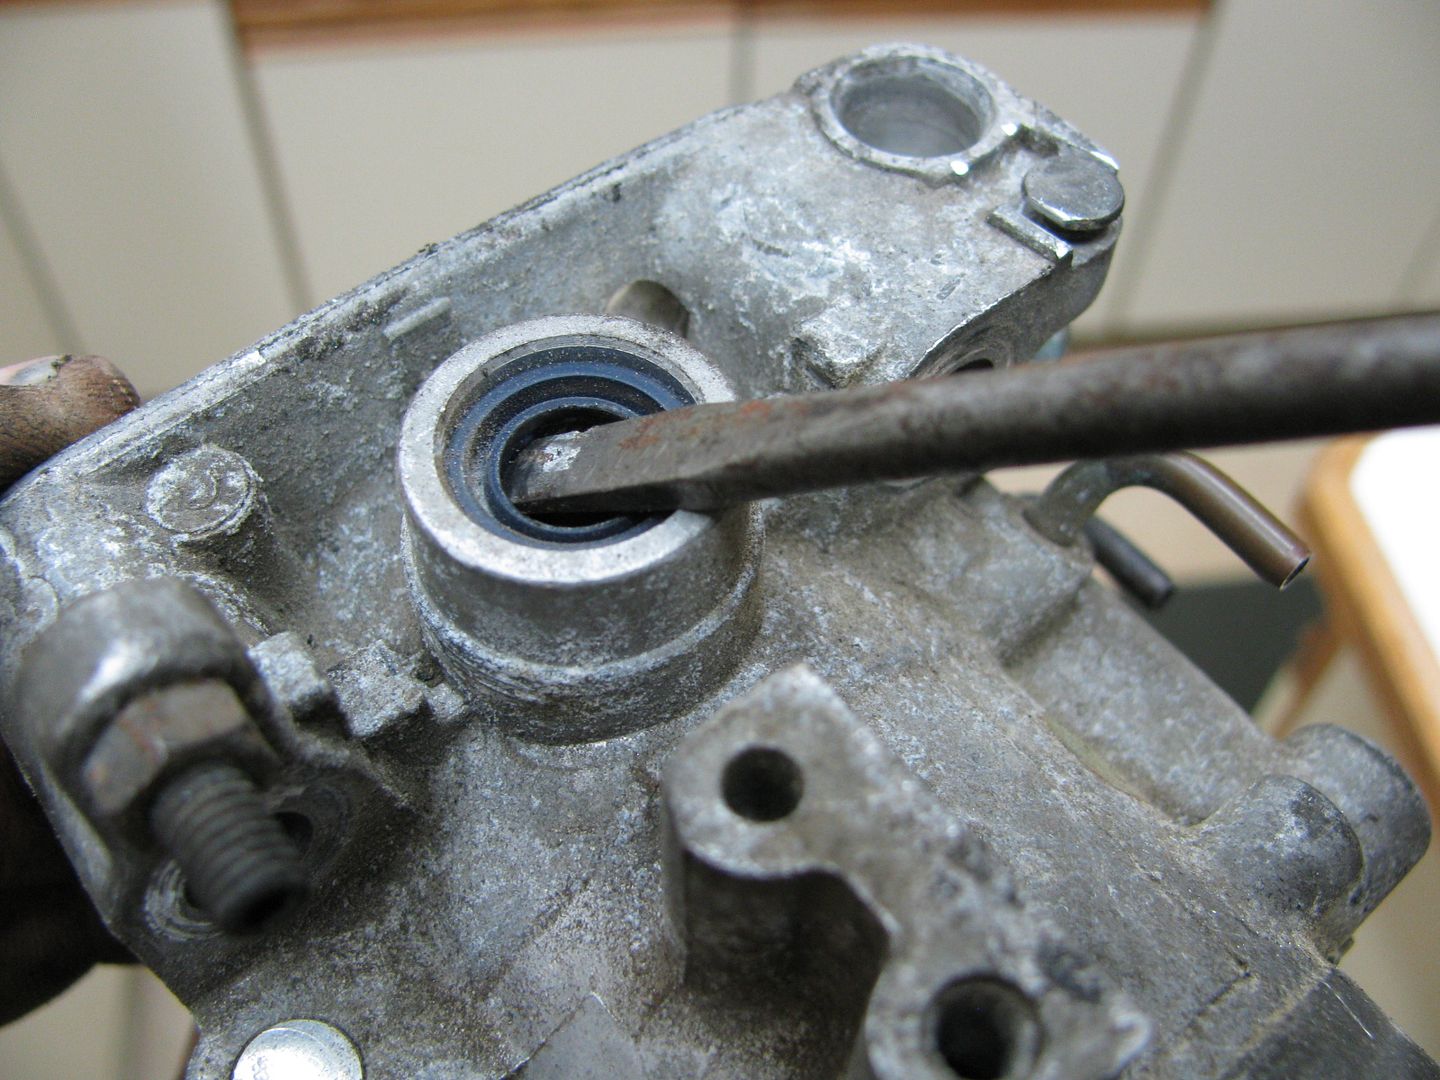
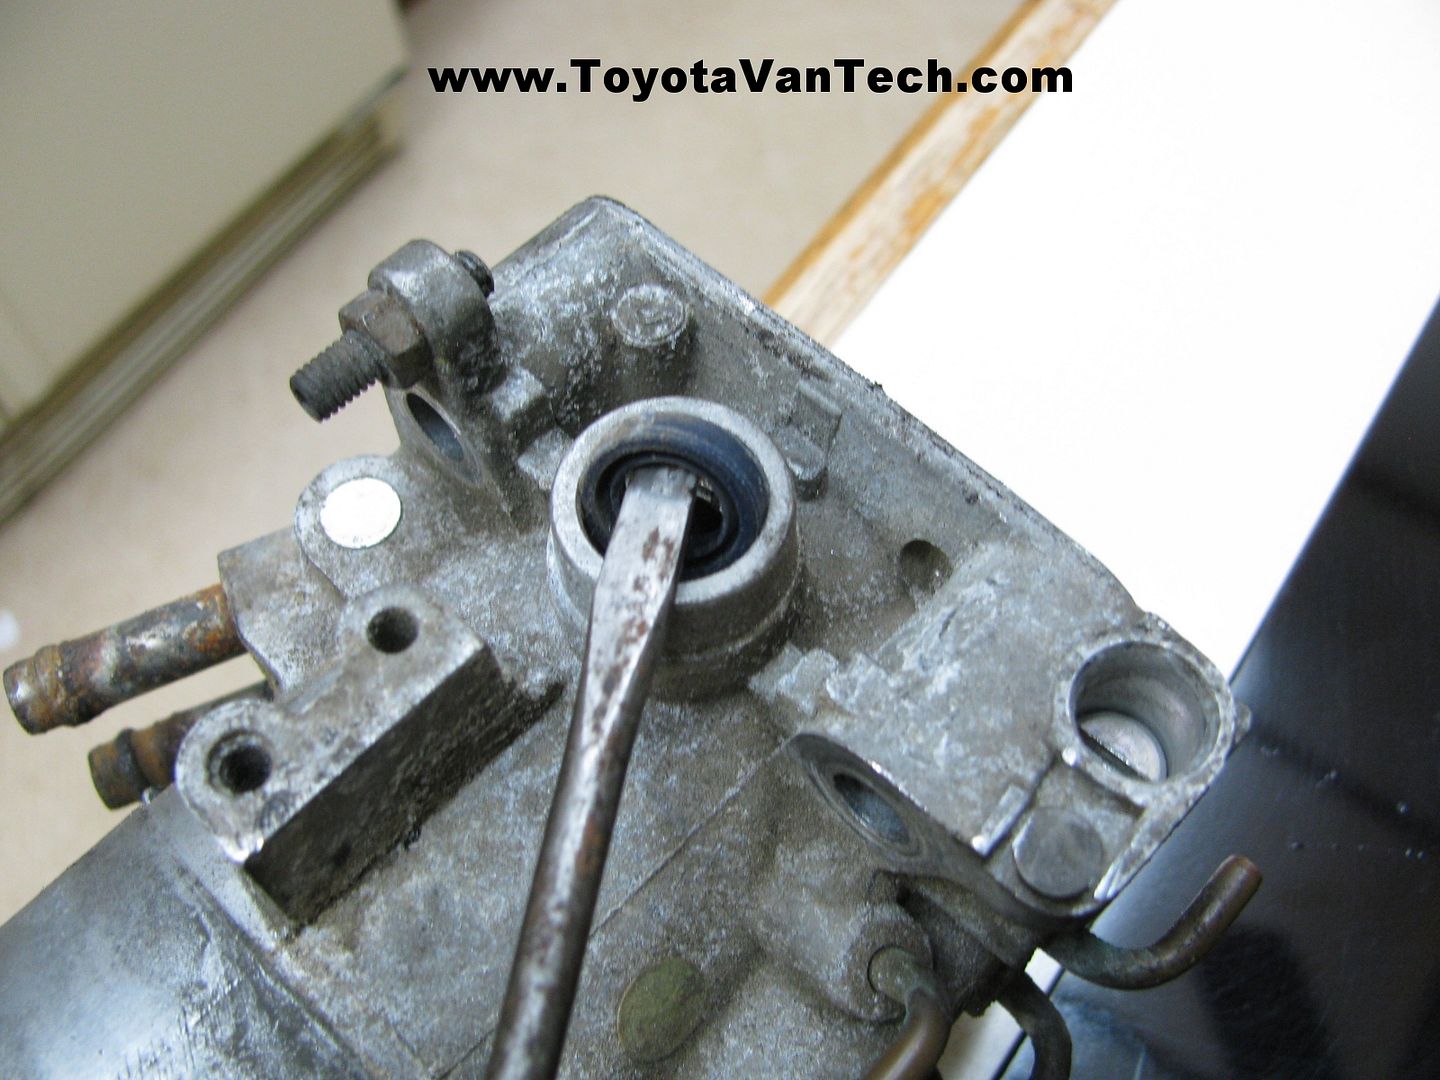
Take a slot tip screwdriver and gently pry out the throttle shaft seals.
These typically pop right out.
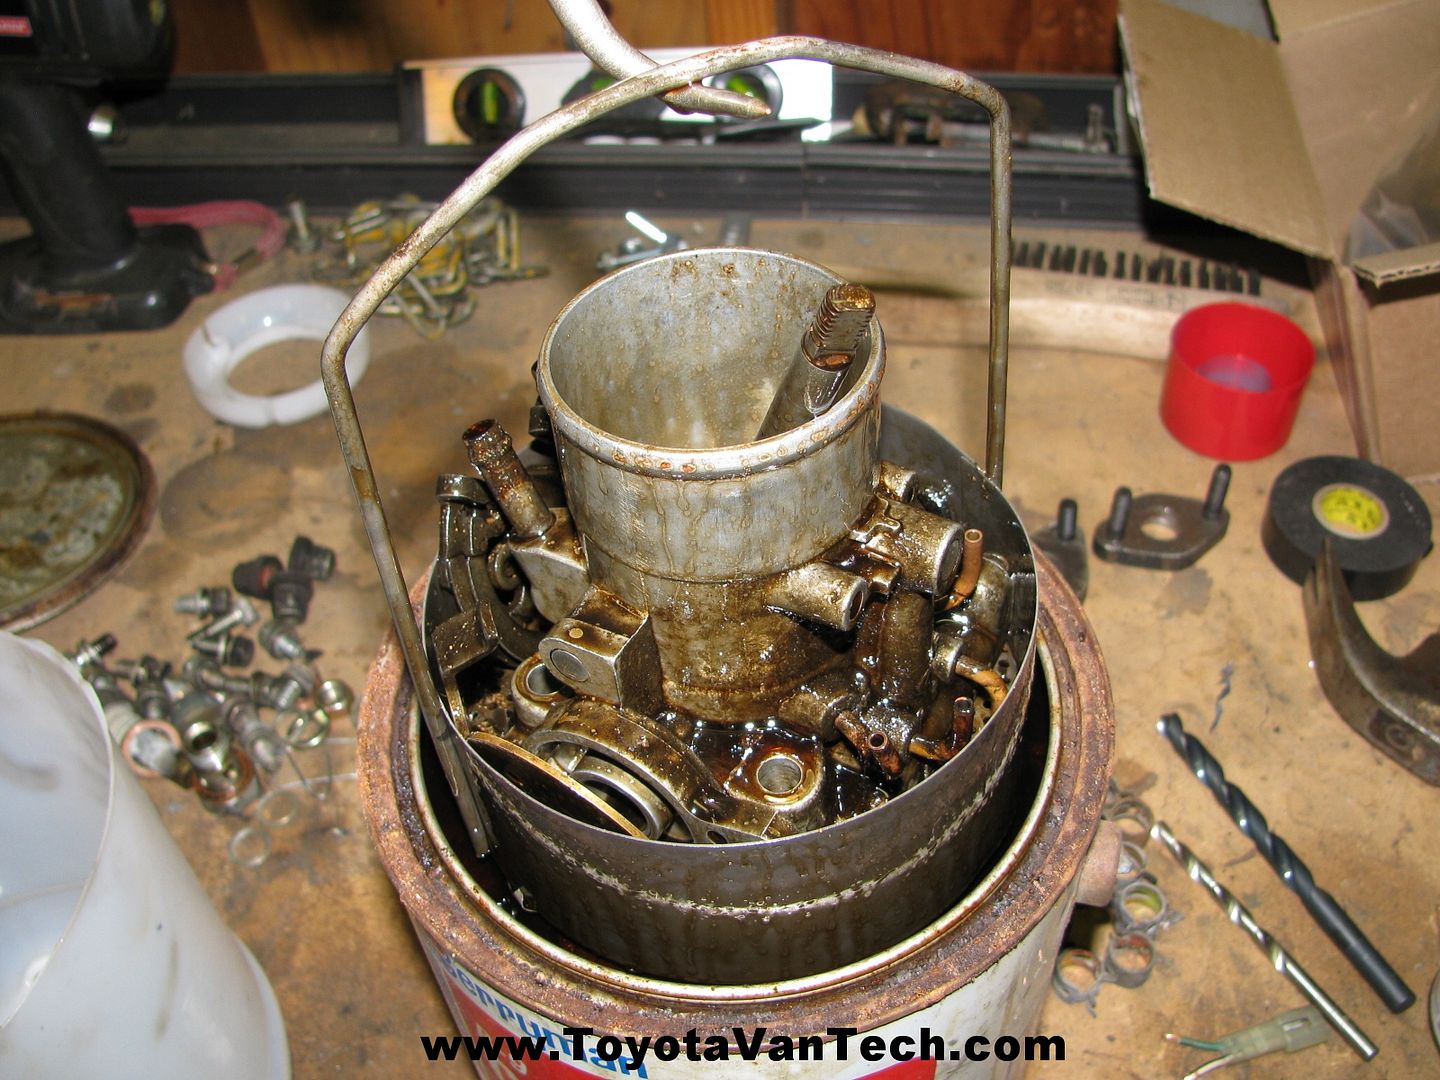
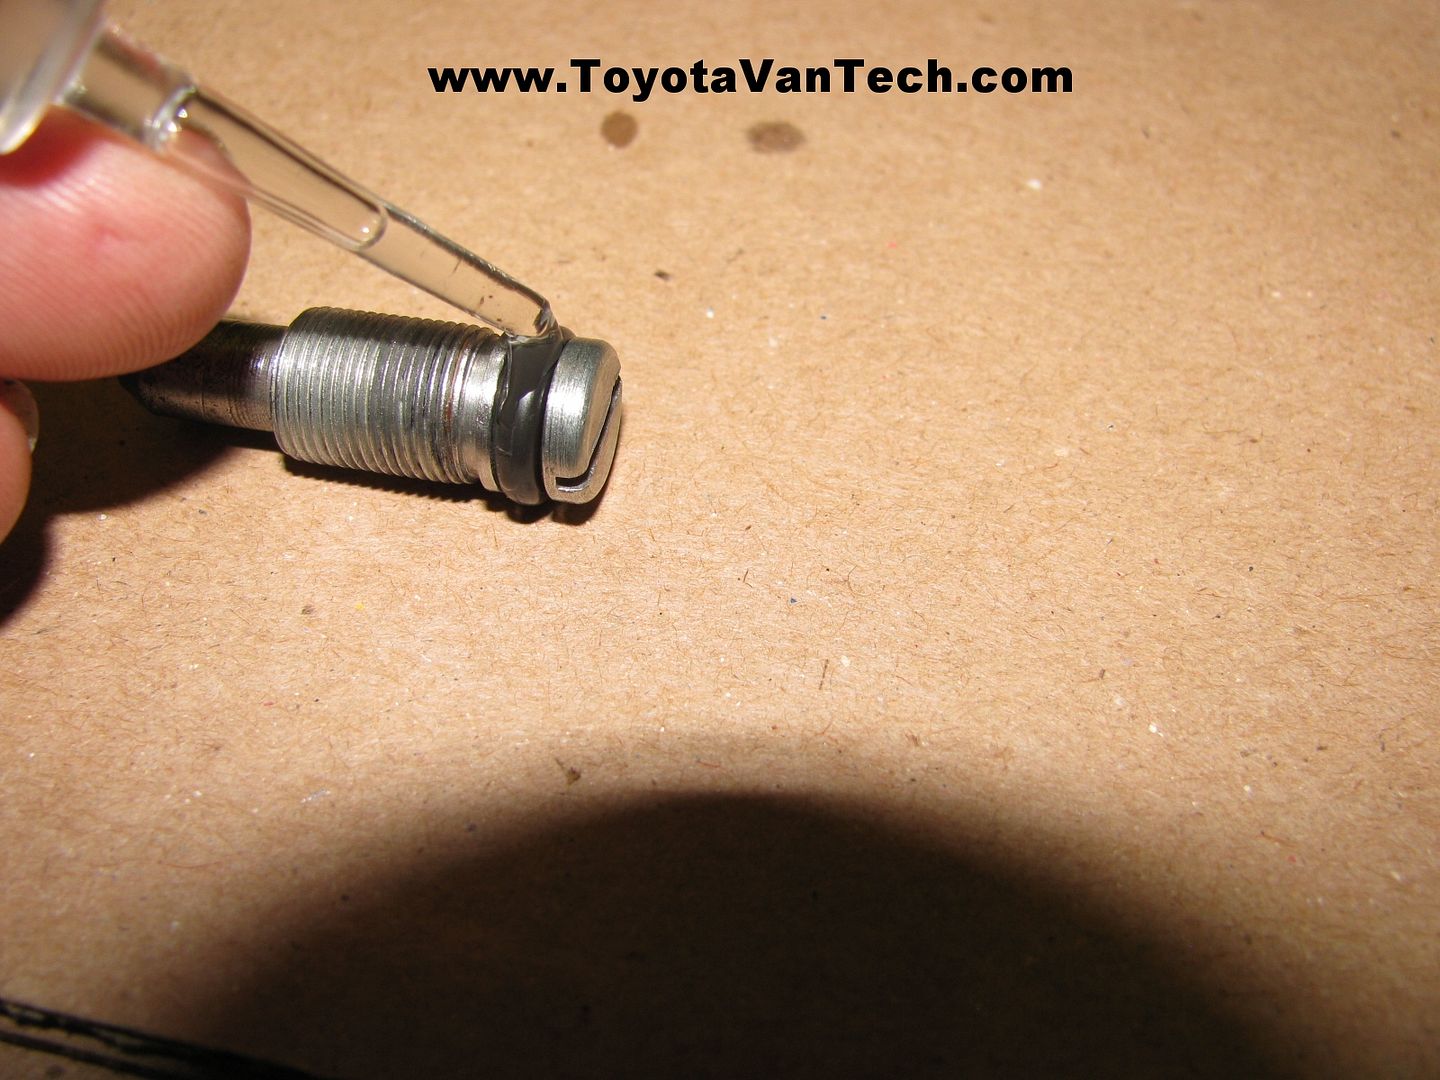
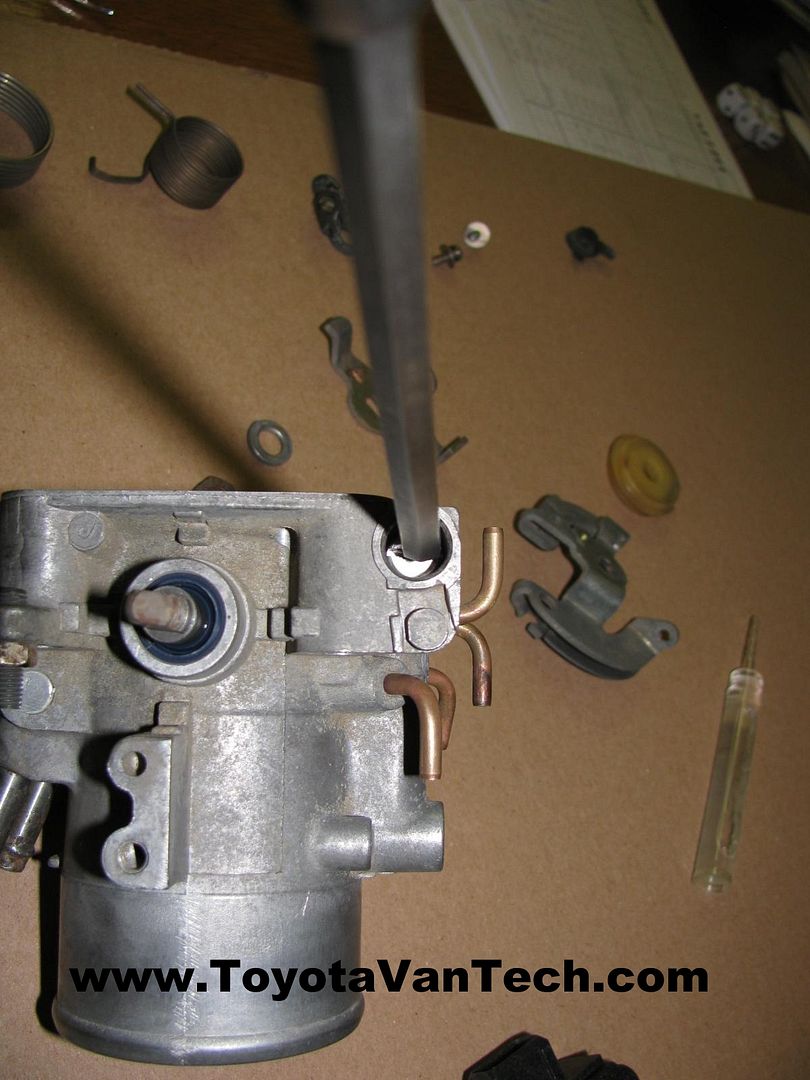
When it comes to your idle adjust screw, get a slot tip screwdriver and while counting revolutions, turn it clock-wise until it bottoms out. Record the number of turns for future reference and then remove it. Sometimes the rubber o-ring will make it difficult to remove. If you have one, a screw holding screwdriver works well for extracting the idle screw. If you don't have that then it can be "blown out" by using compressed air through the exit port. If you use the compressed air method cup your hand under the screw so you don't lose it. Once removed, carefully remove the rubber o-ring from the idle screw and save for later. The other parts on the throttle body are pretty self explanatory. If you don't already have some, go to your local parts store and get yourself a gallon of Chem-Dip. Remember this stuff is nasty so read the directions and avoid skin contact. Load all the metal parts into the basket (included inside the gallon container) and lower into the can. Put the cover back on the can and forget about it for a couple of days. Hint: Chem-Dip will eat almost anything, but it will work better if you remove excess dirt before dipping. Also, I recommend scraping/cleaning all old gasket material prior to soaking. Soaking won't always remove gasket material so it's better to get it off before hand. Another thing to consider is how long you may want to keep/use your Chem-dip. The more junk it eats-up the less effective it becomes. The can I'm using now is one I've had for over 10 years. It's getting weak, but it still does the job.
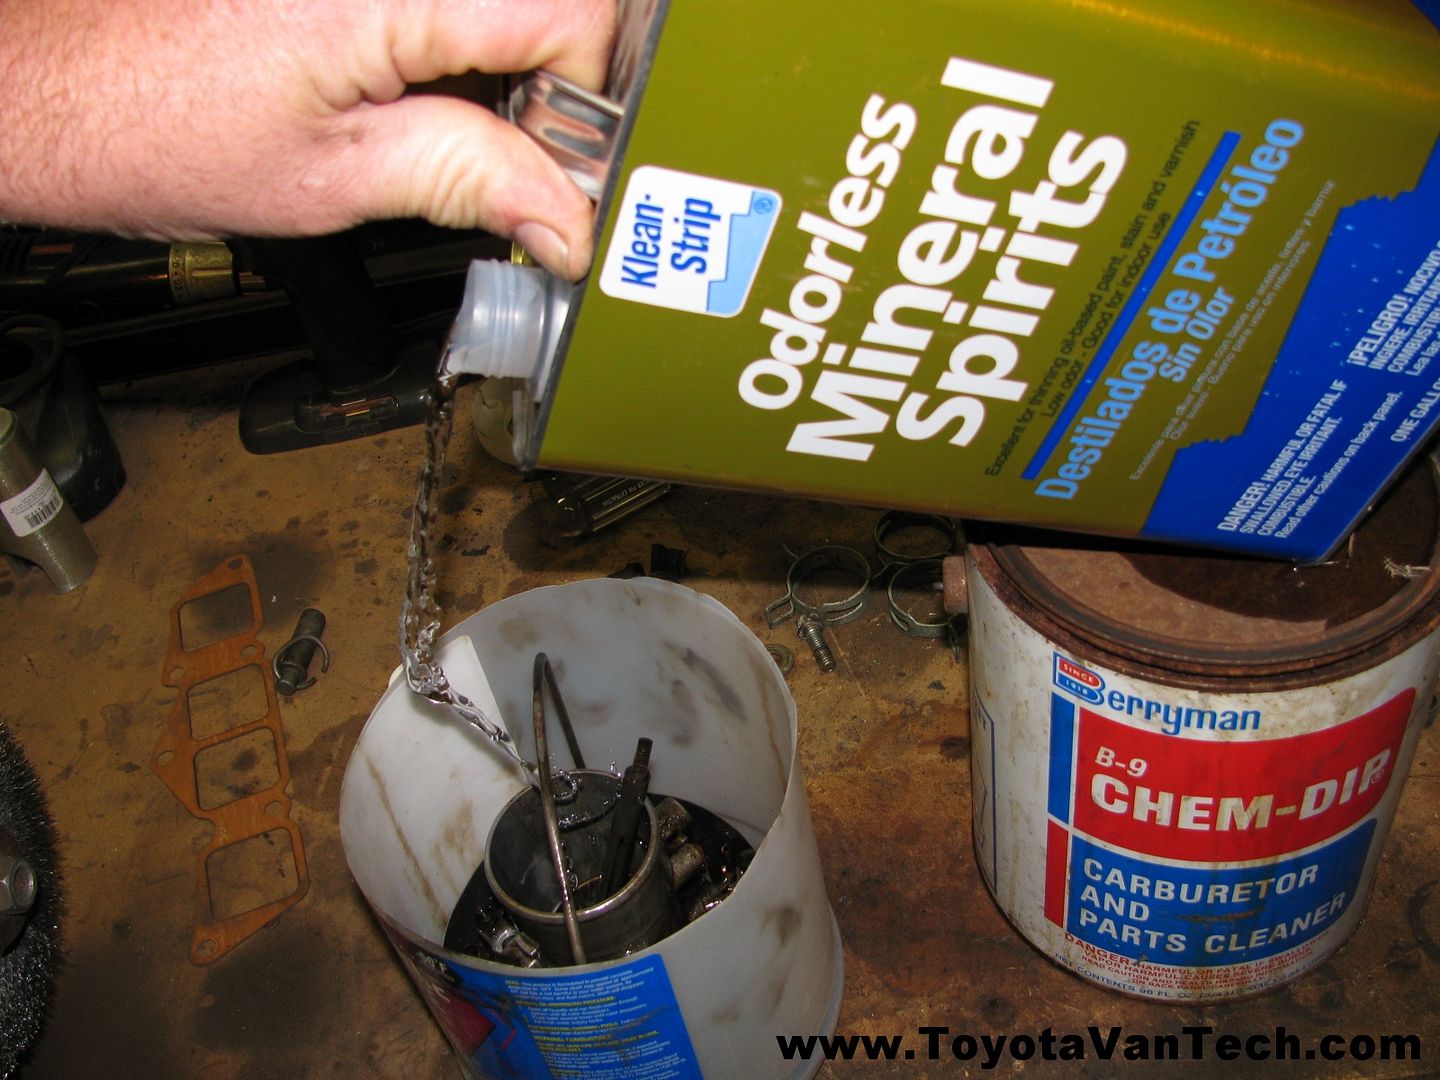
Okay, so a couple days have passed, now it's time to get back to it. Use a pair of pliers or a wire hanger to hook the basket and pull out of the Chem-Dip. Have another container of an appropriate size ready to set the basket in. I use Mineral spirits to dilute and remove the residual Chem dip. After the parts are covered with mineral spirits I agitate the basket to rinse. Now parts can be removed one at a time and a parts cleaning brush is used, then compressed air to blow dry.......Be sure to use eye protection!
Could these be the same parts I had before?Okay, the TPS is new, but everything else is original!
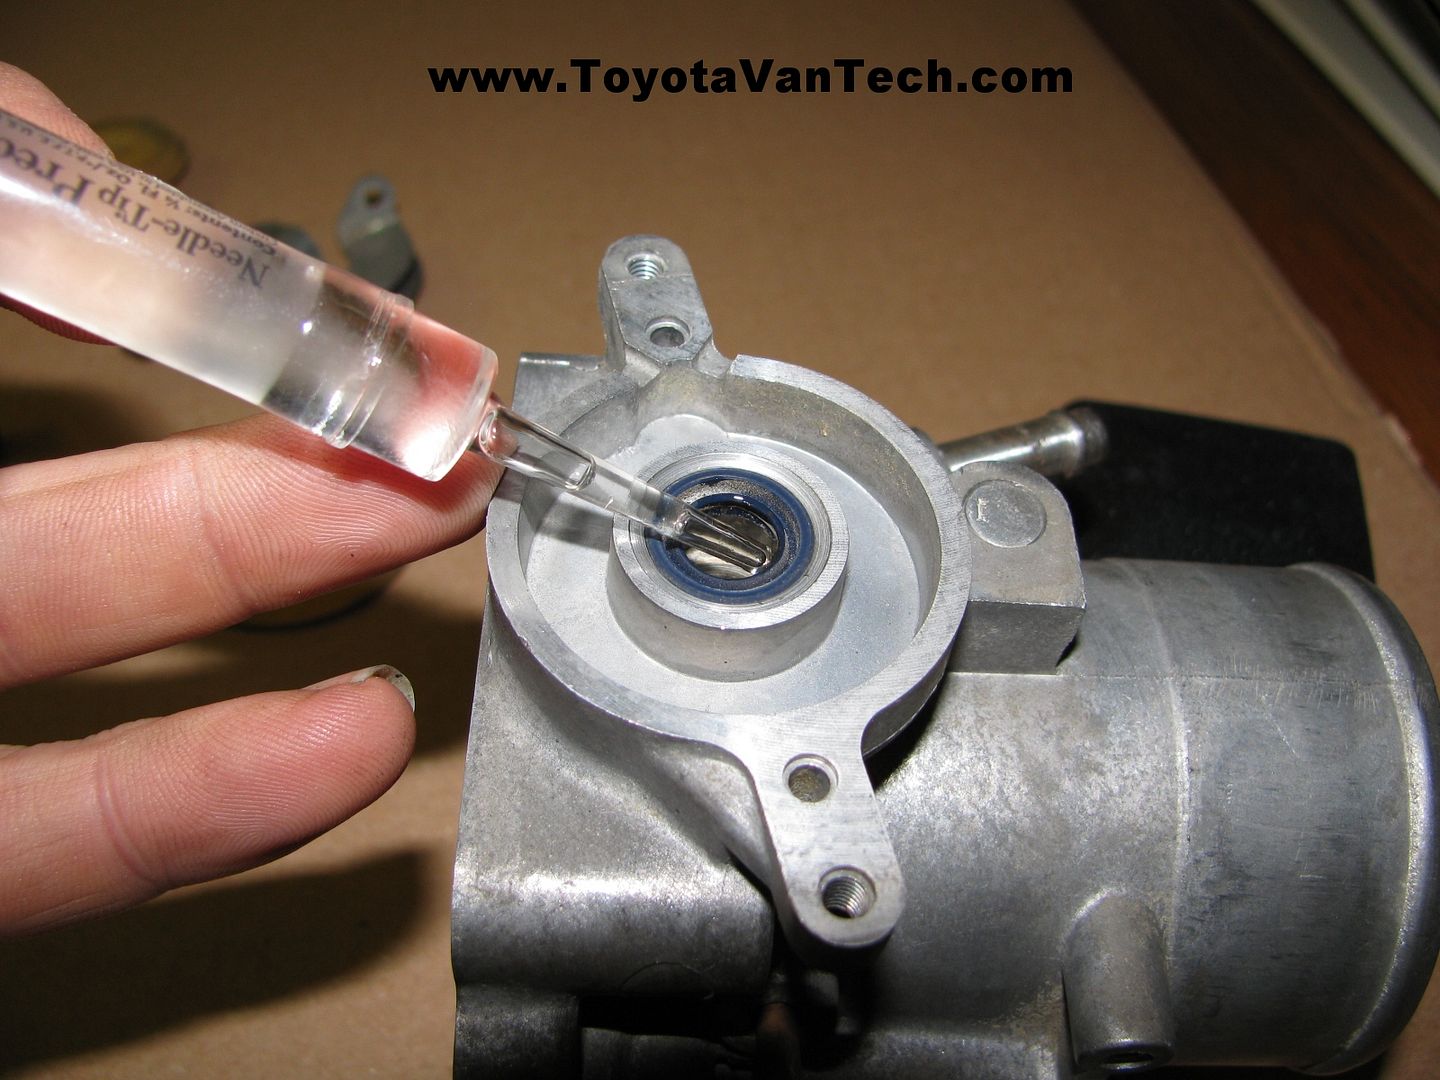
The old shaft seals will usually push right in with just thumb pressure. I'm using a synthetic lubricant with PTFE to lubricate the throttle shaft seals & bores.
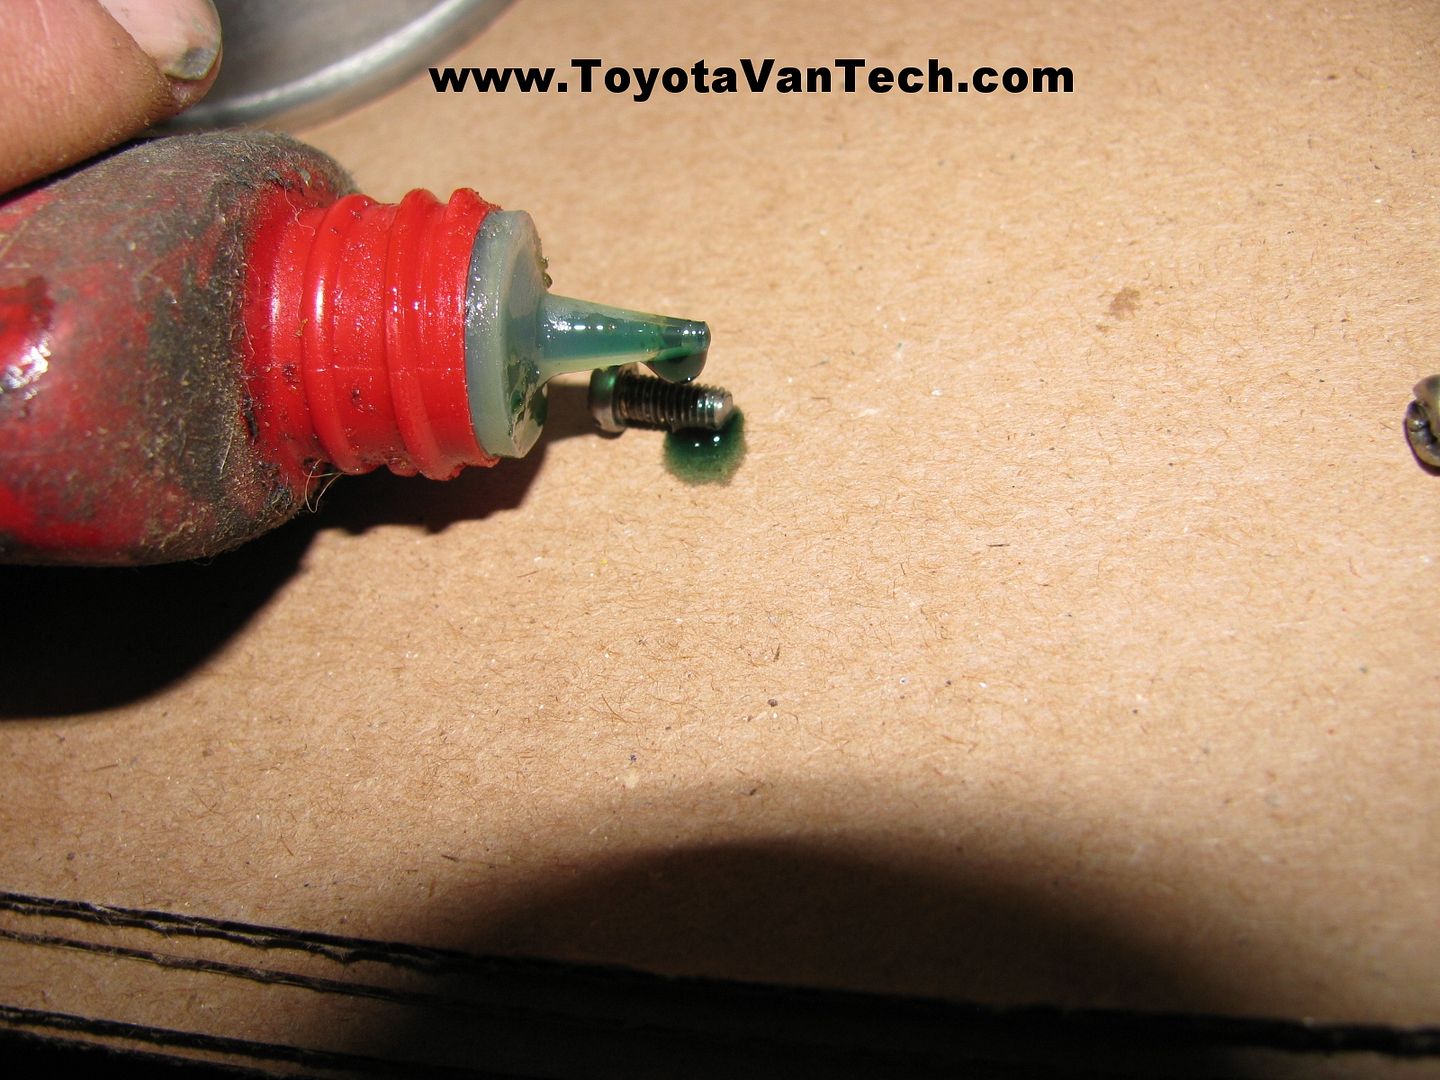
After installing the throttle shaft & aligning the butterfly, I clean the burrs off the shaft screws threads & apply some semi-permanent Lock-Tite.
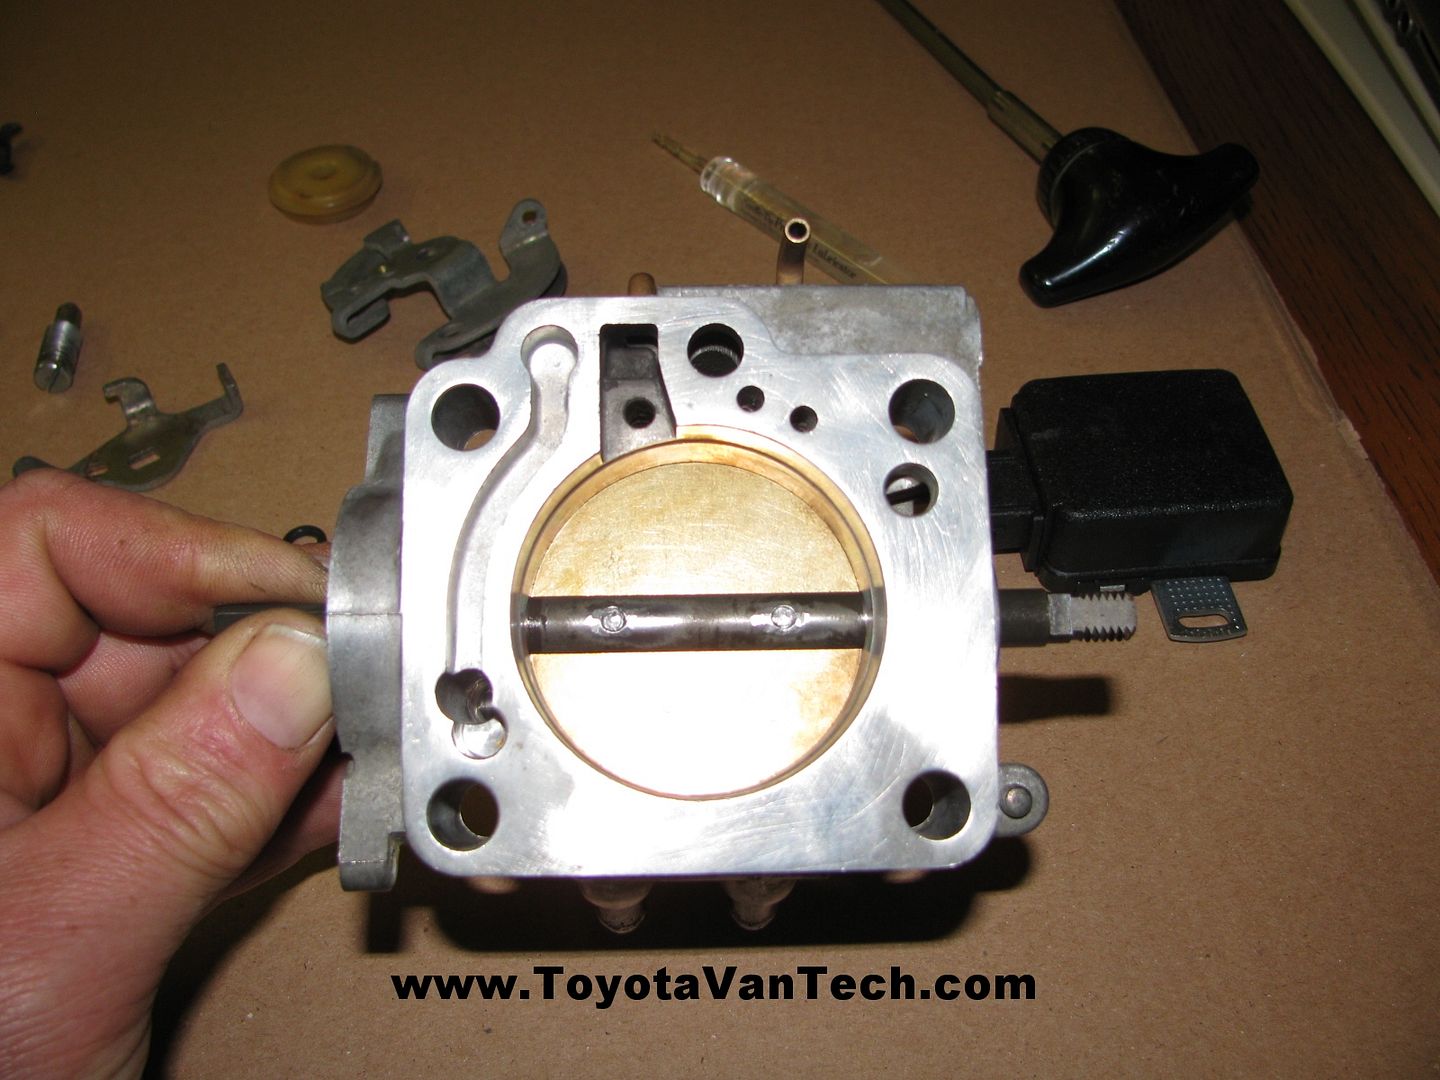
Screws are installed but left loose. Before final tightening allow butterfly to self center by closing throttle all the way & then tapping on it & the shaft. The periphery of the butterfly is precision machined at an angle to match the inside of the throttle body, so Make sure it's oriented correctly! Without the throttle stop assembled, while closed it should make an air-tight seal. Hold it up to the light to verify it's centered & intimate with the throttle body bore. Once you're satisfied tighten the screws.
O-ring is installed on idle screw and lube applied.
Idle screw is installed & bottomed out. Next we back it out the number of turns previously recorded.
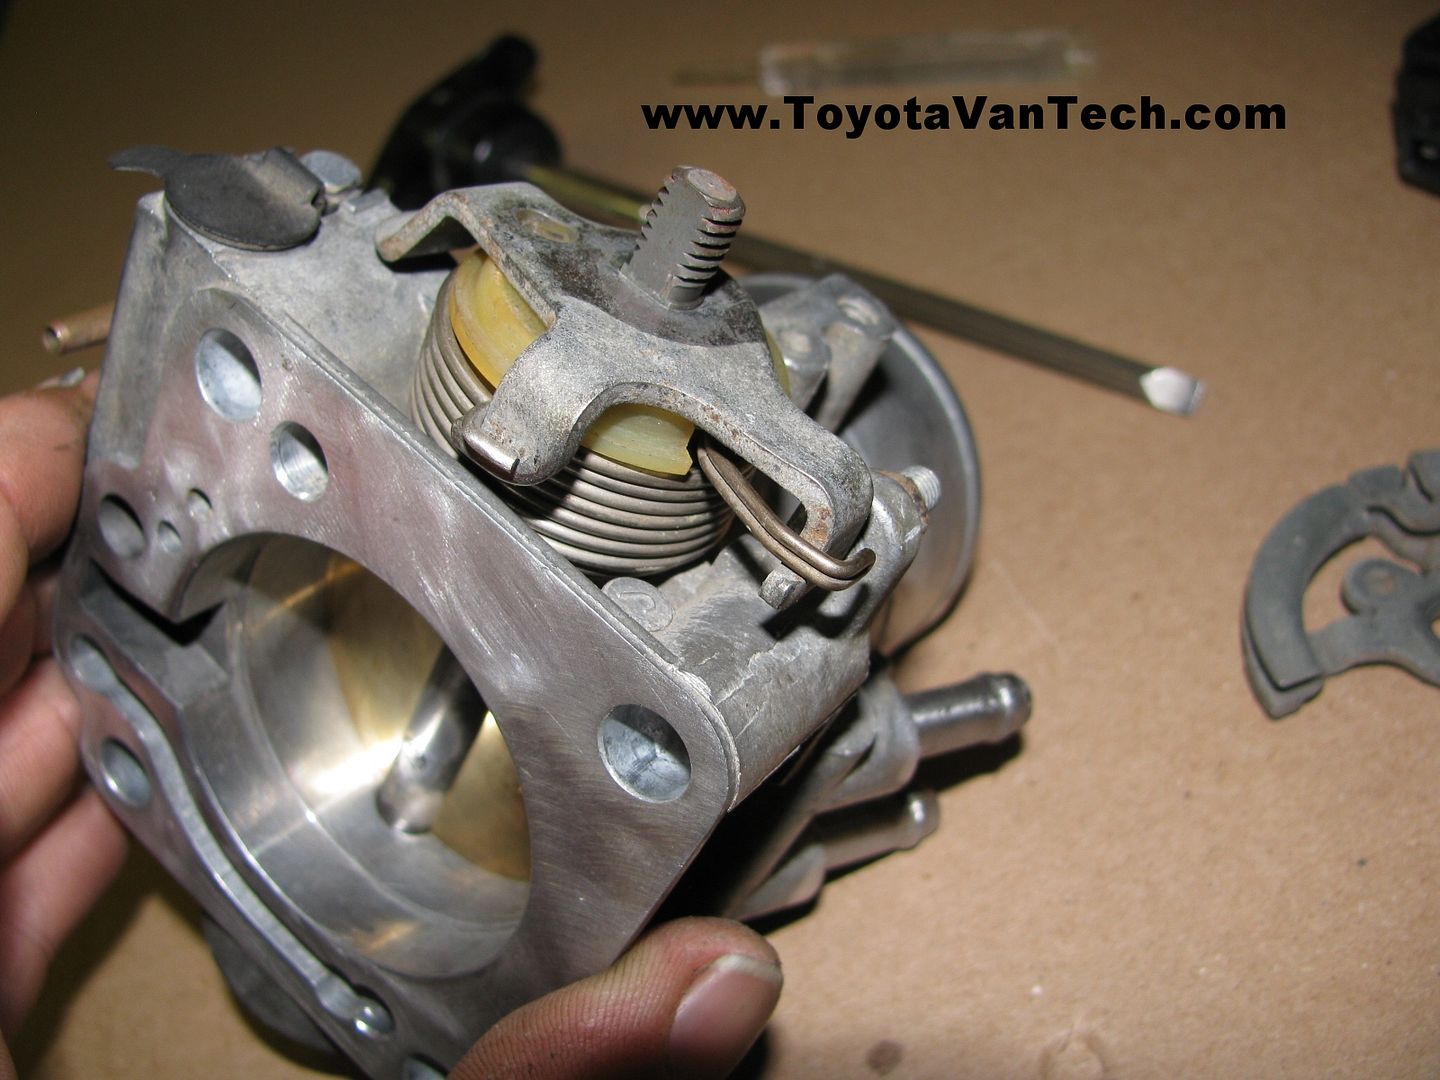
Throttle shaft built up with return spring, cable guide & associated parts. Nut is installed and tightened.
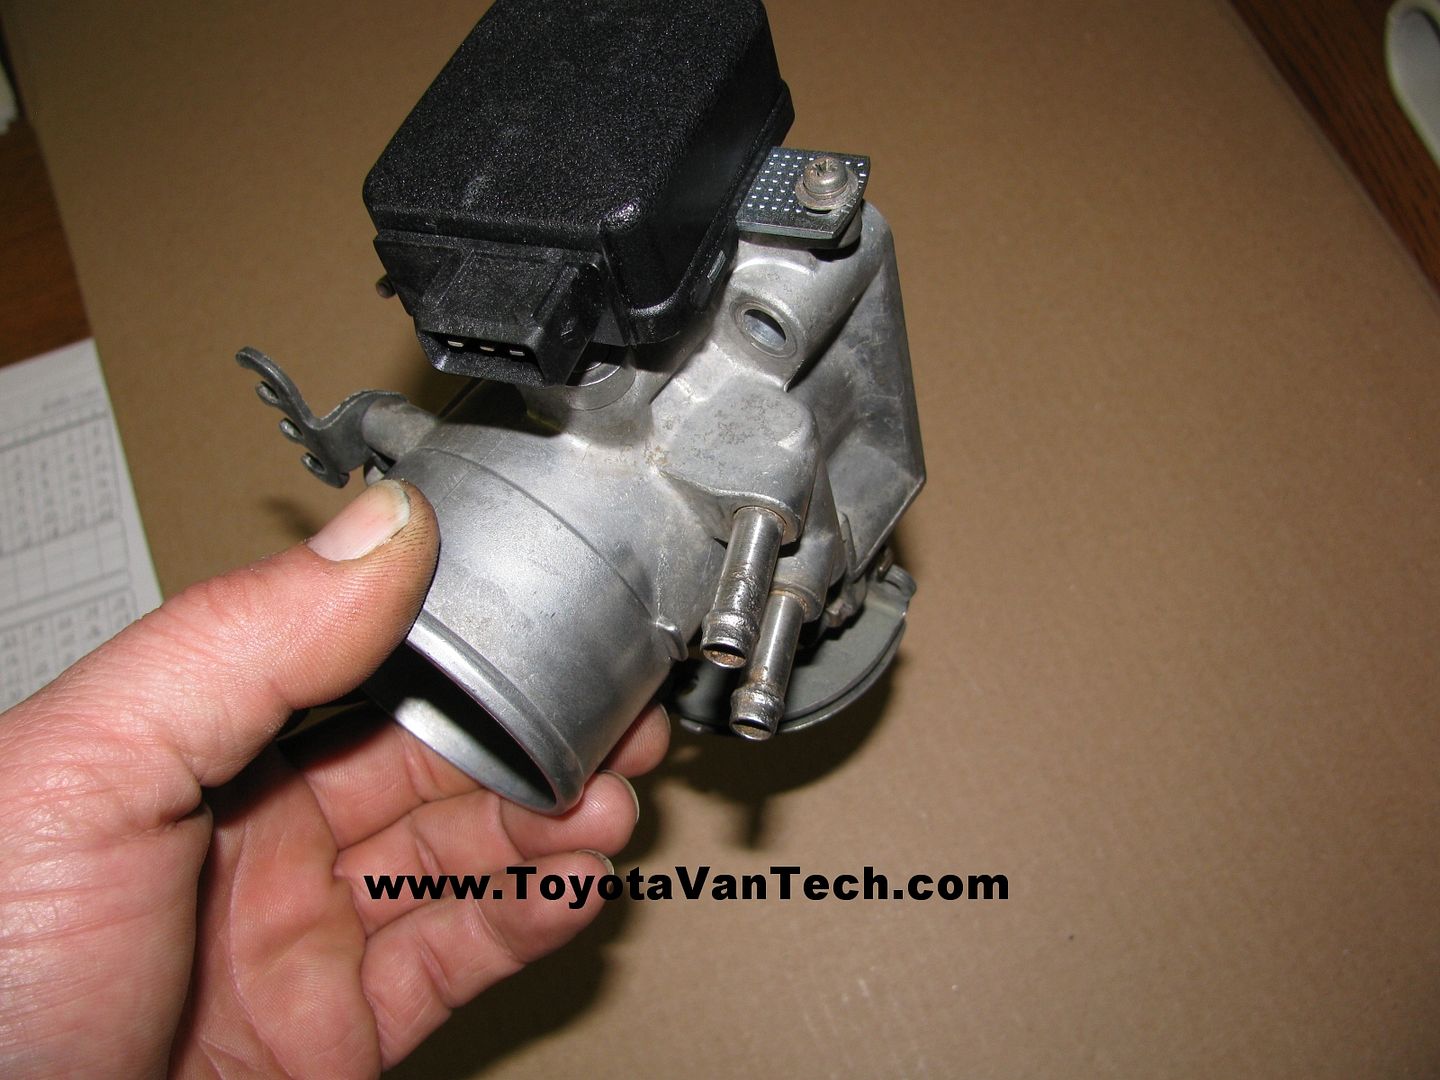
New throttle position sensor is installed & other misc pieces of throttle body are put back like before.
And here's the end result.
Now that the throttle body is reassembled the only thing left to do is adjust the TPS & install it on your van. Here is a video on how to do this (click on the image below to view video).
Before you install check the condition of the throttle body coolant hoses. If soft or deteriorated now is a good time to replace. I suppose a bulk 5/16" or 8mm hose could be used here, but the bends are rather tight and you may end up with a crimped hose. Last time I needed these they were still available through Toyota. They are part #16267-73010 & 16264-73021. You'll also want a new throttle body gasket & that one is Toyota part ##22271-73011 & sells for ~$5. Tim




 Reply With Quote
 and it has a dashpot on the throttle body. what exactly does this do?
 . Then just for kicks I bottomed out the idle screw & verified 1 3/4 turns
 . That's certainly not the 1st time I've seen a TPS disconnected. I did this job once & then went check my timing & could get no advance when I pulled the "check engine connector" jumper. I also noticed it was blinking a TPS code. I was like "damn, I got a bad TPS".........that's when I noticed the TPS connector dangling there
  . I felt stupid but at least it was an easy fix. All issues were quickly resolved when I plugged that connector back in

 . Tim
. Tim

