Every 3 or 4 years, I take apart my van and address all of the mechanical problems that have developed. I had set aside this weekend for replacing my cracked exhaust manifold and a few other issues, but since I got done early I decided to replace that leaking timing cover seal (AKA front crankshaft seal or Balancer seal). Since I've done this before, and since it's a fairly common problem, I thought I'd do a write-up in case anybody else needs to do it. I'll skip through the basic disassembling and get right to the good stuff. I don't recommend trying to do it with the radiator installed, as it would be a pain (no room to work). Just get it out of the way from the start and changing that seal should be a breeze.
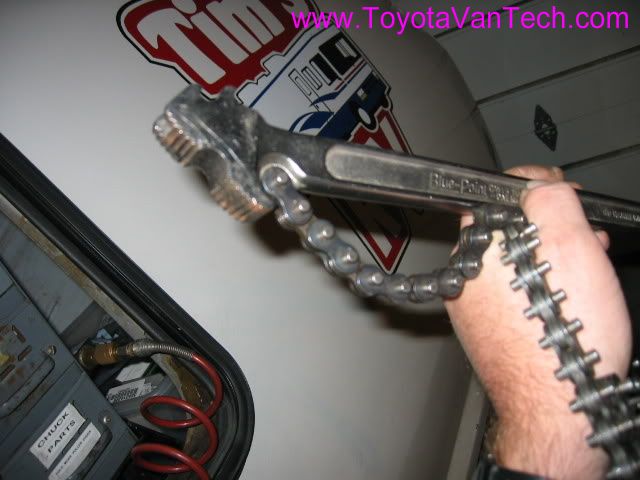
Okay, you are going to need a few special tools to do this job, so the 1st thing you'll need to do is make sure you have access to these or can come up with some sort of substitute. Here is a chain wrench. For this job it's a very handy tool to have. It can be used to keep the engine from rotating while taking off and re-installing the balancer bolt.
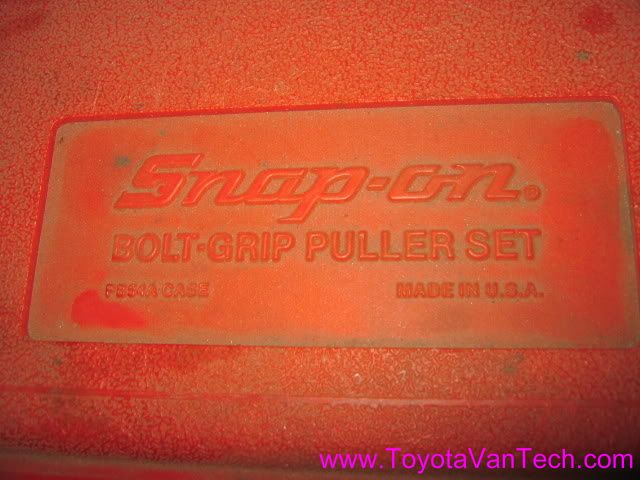
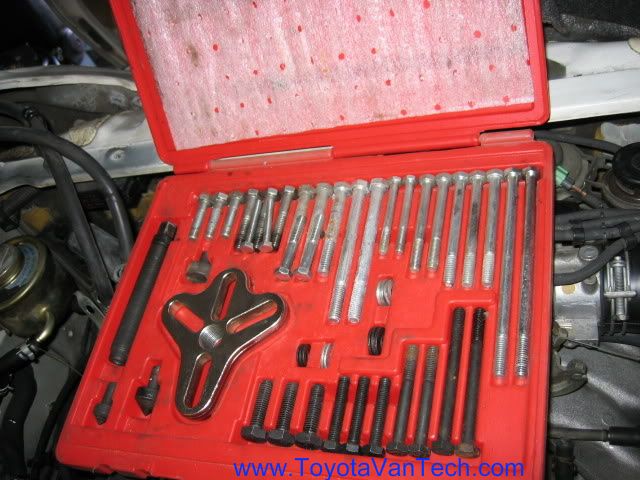
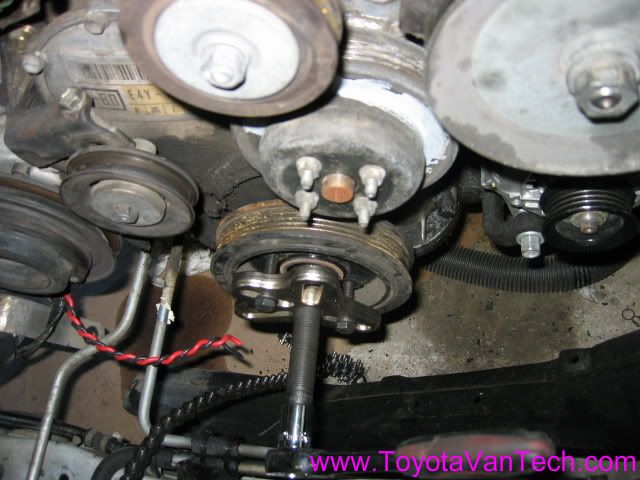
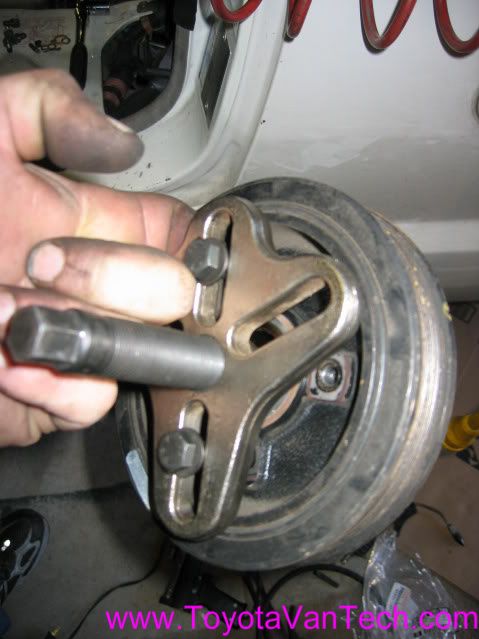
The next thing you'll need is a bolt grip puller set. I have the fancy Snap-on one here, but other pullers can be used. This is a common tool and Autozone or other tool rental places should have one. Some standard steering wheel pullers will work as well. Just be sure to pull via the bolt holes in the pulley. Don't try to grab onto the outside edge with a pry bar or other type puller as you may damage the balancer.
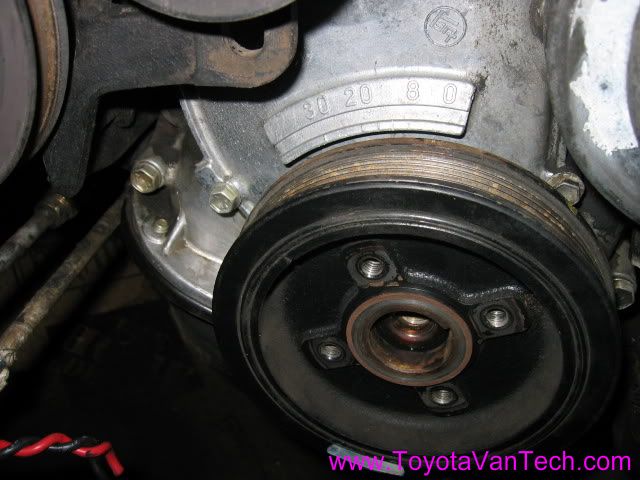
After the balancer bolt has been removed, attach the puller and pull the balancer off. These pulleys are not a very tight fit to the crankshaft, so it should come off with a minimal effort.
Ah yes, slid right off.
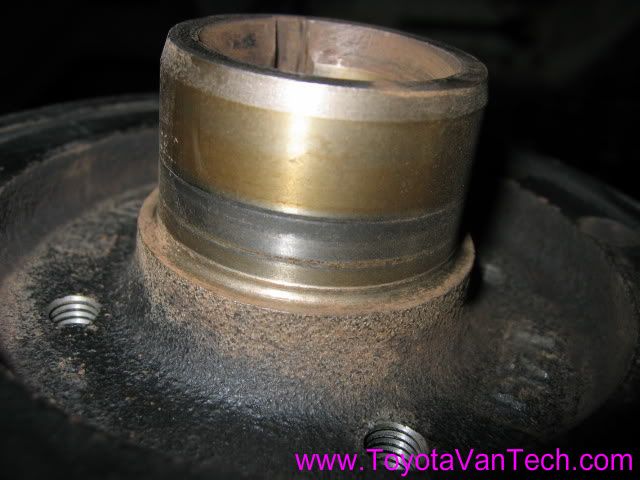
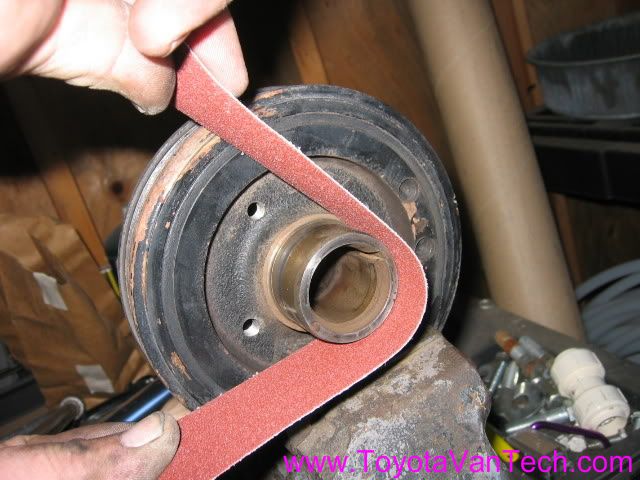
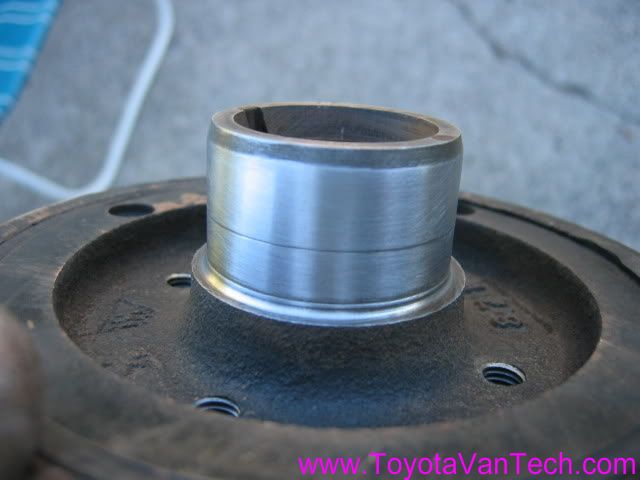
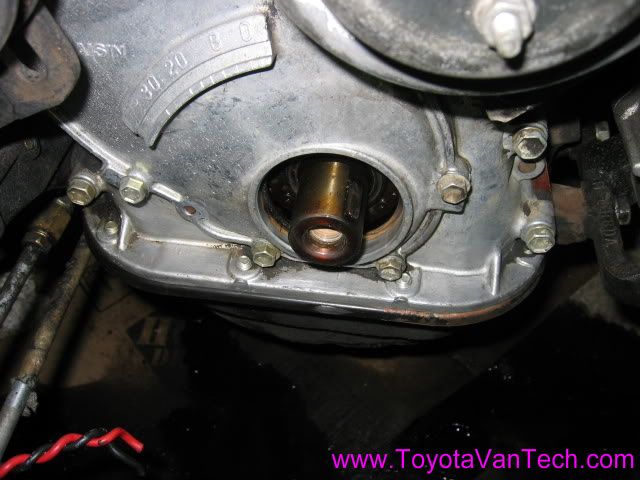
1st thing to do is clean the grease and build-up off of it and inspect the seal area. This one has a little groove in it, but this is very minor. It will clean up nicely with a few passes of emery cloth Note: Sometimes you will find a deep groove here. In some cases, if the wear is extreme, it will be necessary to purchase a micro sleeve. Micro sleeves can be purchased from most quality auto parts stores. It's basically a very thin wall metal sleeve that slips over the damaged shaft. They are made to be a "press fit", so if you ever need to install one, wipe a dab of sealer inside of it, then use a piece of 2x4 wood to pound it onto the pulley shaft. Micro sleeves do tend to stretch the seal a bit, so don't use one unless you really need it.
Next I use some emery cloth to clean up the balancer shaft. This helps to break the glaze and helps the seal to break-in quicker. It also removes any left over crud and knocks down any burs that could damage the seal on reinstallation. I start out with 80 grit, then move on to 220 grit. It's not necessary to remove much material, I usually just do it enough to make it shiny and uniform in appearance.
Here's the pulley shaft after clean-up.
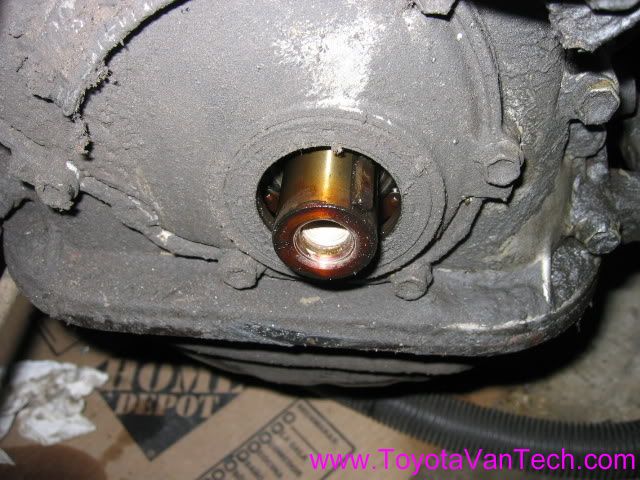
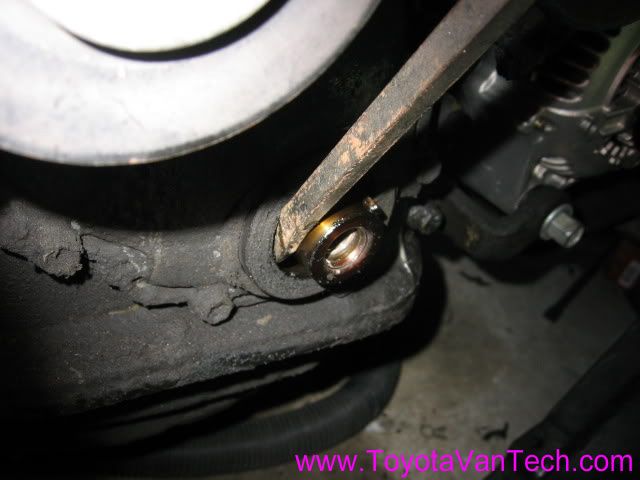
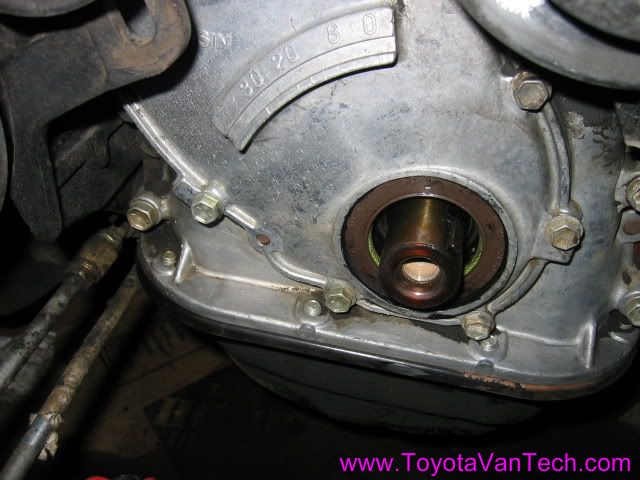
Here's the old seal. These usually pop-out pretty easy. I just stick a big screw-driver in and pop it out.
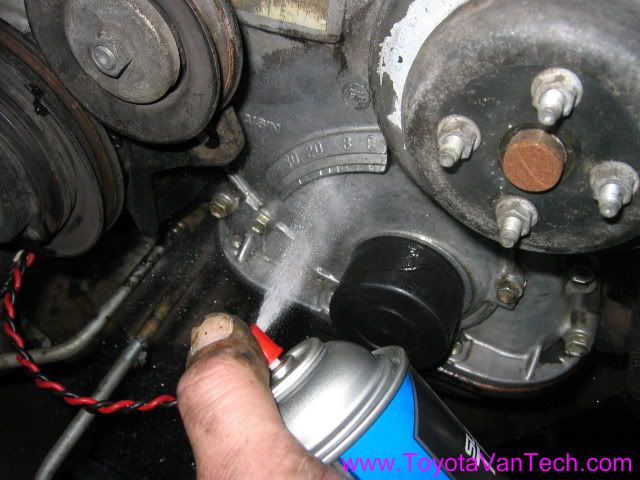
I like to keep my engine clean, so I use this time to clean up the mess created by the leaky seal. I use some brake clean and a brush to clean it up. The lid to the can of brake clean is a perfect fit to keep the crap out of my timing cover :P .
Oh yeah, nice and clean :wink:
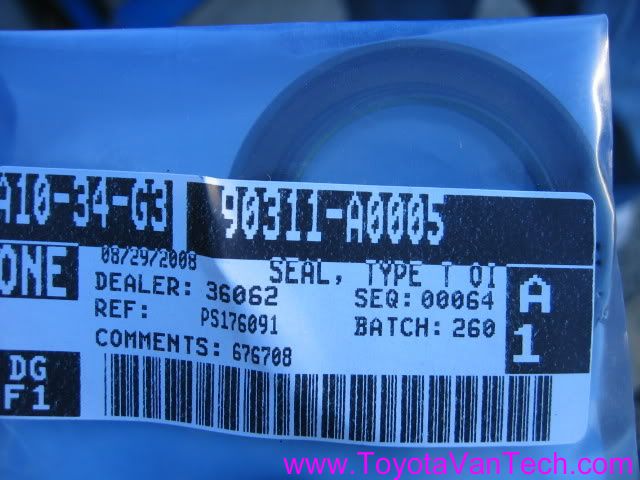
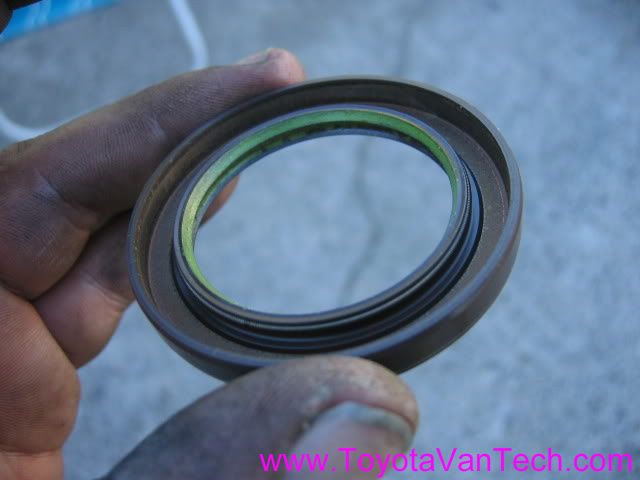
Here's the new seal I got from Toyota.
I pack a little grease on the inside lip and then wipe a tiny bit on the surface that contacts the pulley shaft for lubrication.
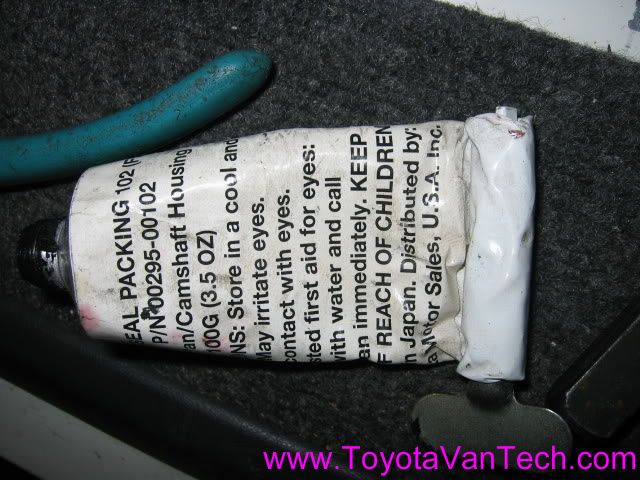
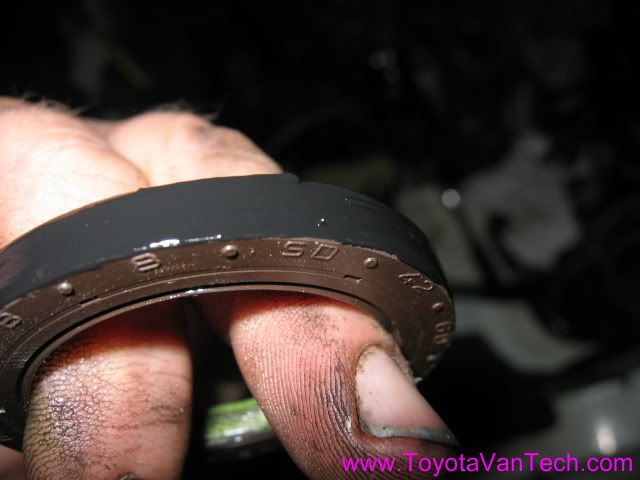
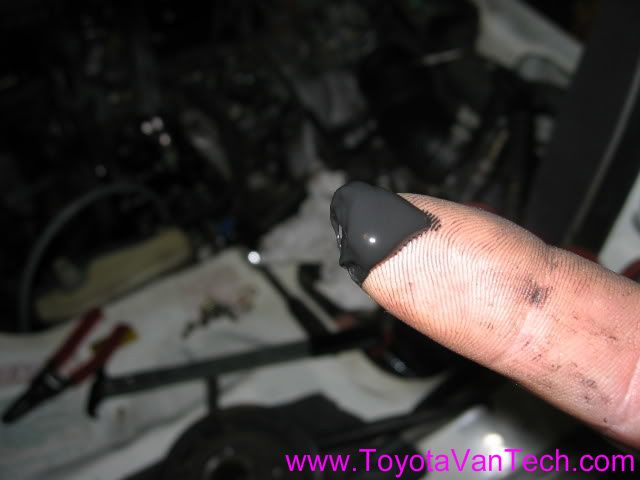
Although not completely necessary, I like to use some Toyota sealer on the outer edge of the seal. As an assembly lubricant, it helps the seal slide easily into place. Once installed, it will cure to insure no oil seeps out between the seal and the timing cover.
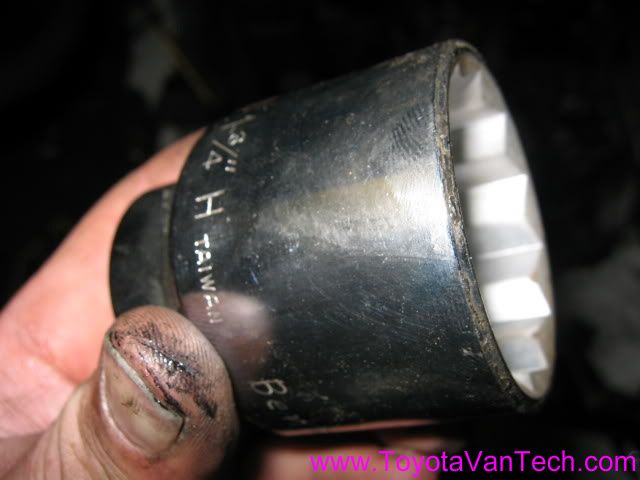
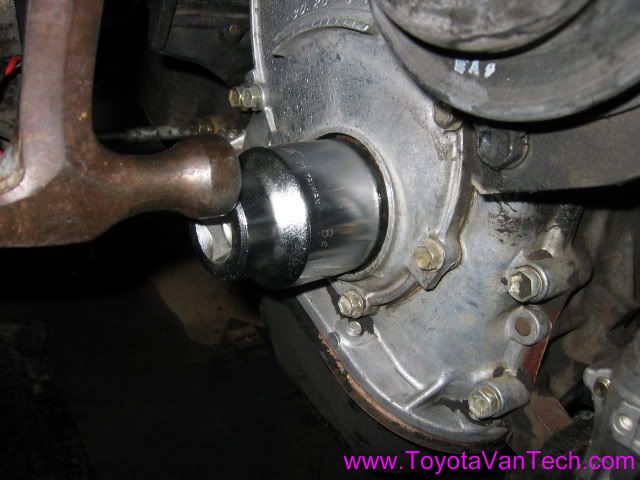
Now I find a big socket to drive the new seal into place. I use the biggest one I can find that is still slightly smaller than the outside diameter of the seal.
New seal installed.
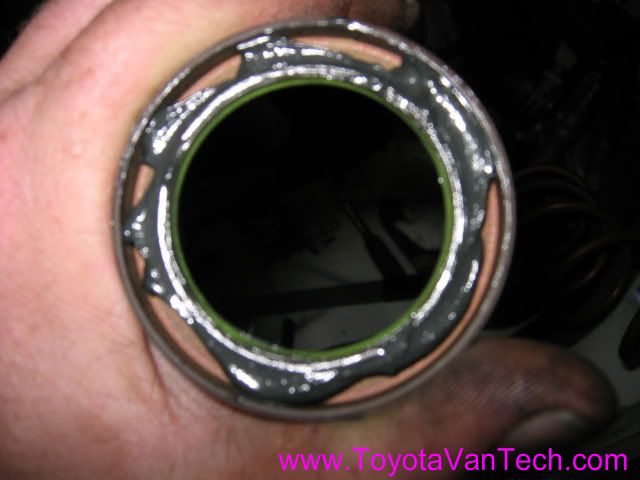
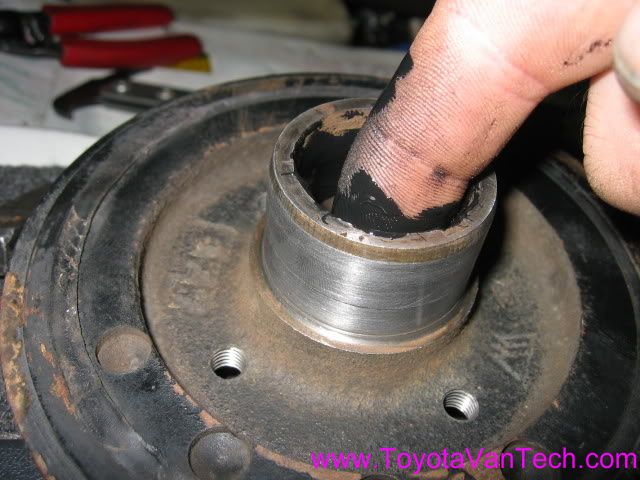
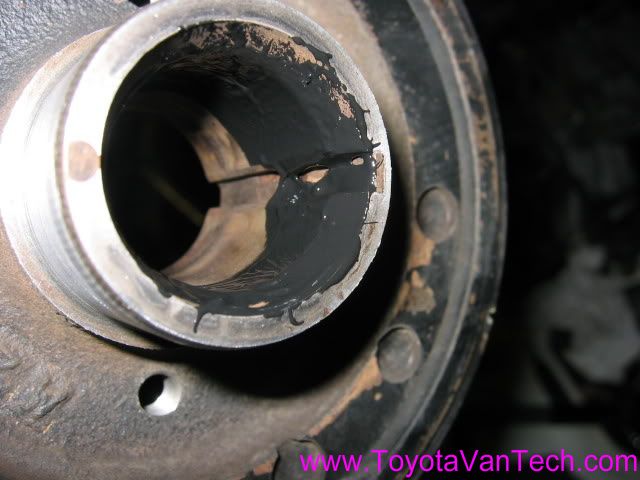
Most people don't think of this, but oil can seep out between the balancer and the crank. In particular the key-way can provide a path for oil to leak from. To prevent this from happening, I'm going to use a little more Toyota sealer and use it as an assembly lubricant here as well. I usually put a little extra in the groove for good measure.
With the wet sealer, the pulley slides right on by hand. There was no need to use excessive force.
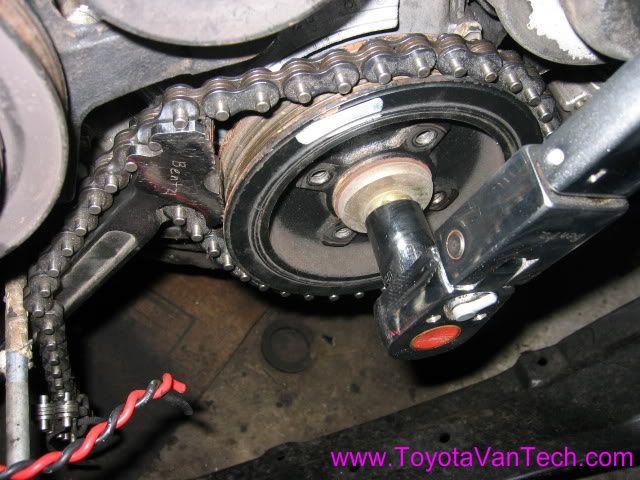
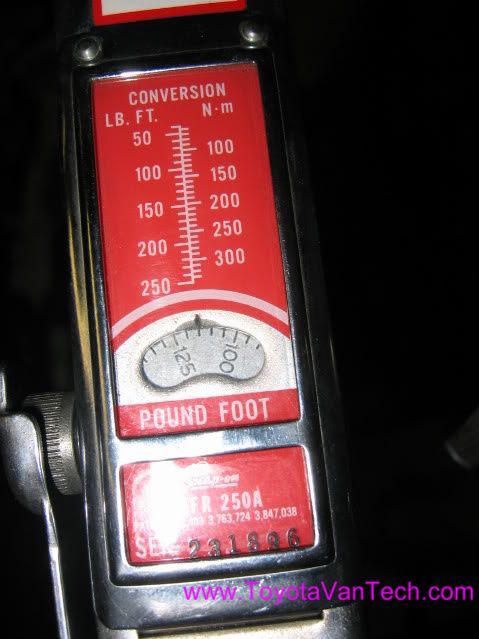
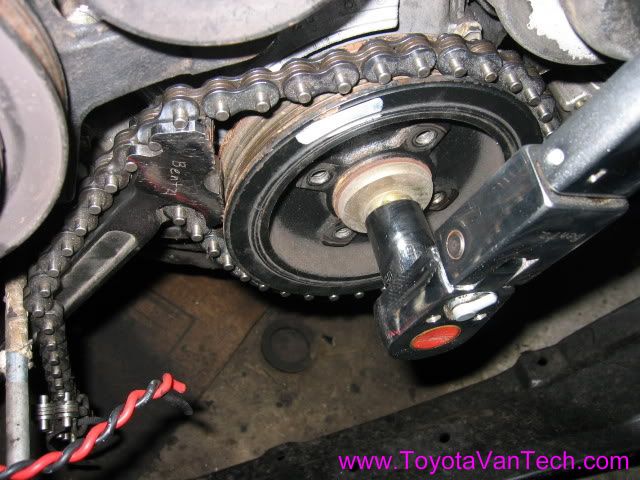
Torque for the pulley bolt is 116 ft lbs.
The chain wrench once again proves to be a very handy tool.
All done! Now it's time to put the belts back on and the radiator back in. No more annoying oil drips in the driveway
. Tim
Note: Seal = Toyota Part #90311-A0005 $9.71 purchased through a discount Toyota parts internet site.




 Reply With Quote
 it's fine but I won't find out until the whole thing is back together.
  ...
... . Tim
. Tim


