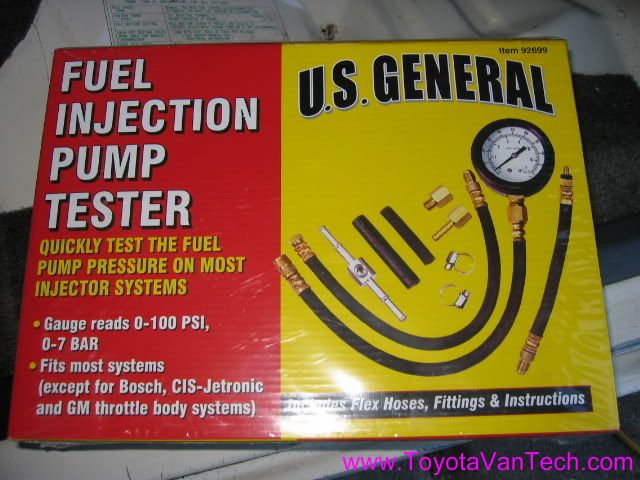
For testing the fuel system I'm using Harbor Freight's cheap Injector Pump Test Kit. The van I'm testing is an 89 2wd cargo van. I'm troubleshooting a hard start problem. Van requires excessive cranking (about 5 seconds or so) for each start.
This kit is a real bargain for just $19.99.
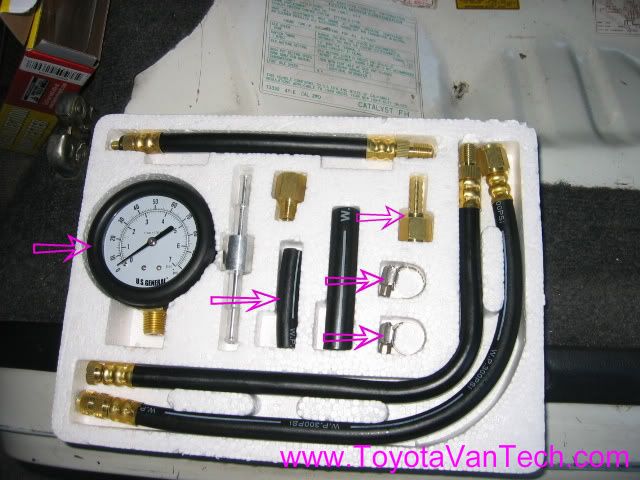
The arrows point to the parts I'm using.
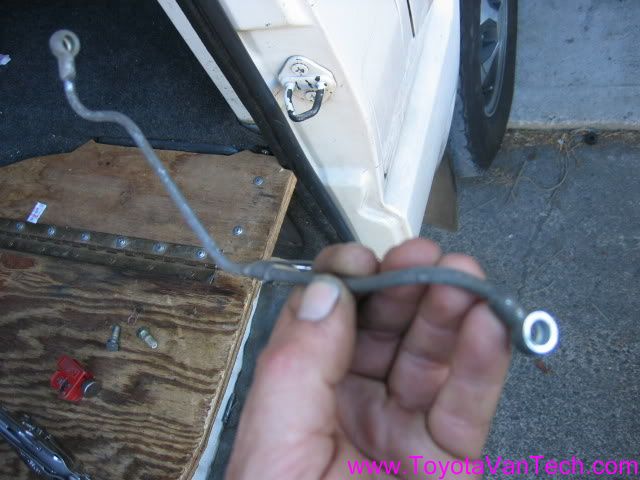
Here is a cold start injector line I took off one of my parts vans.
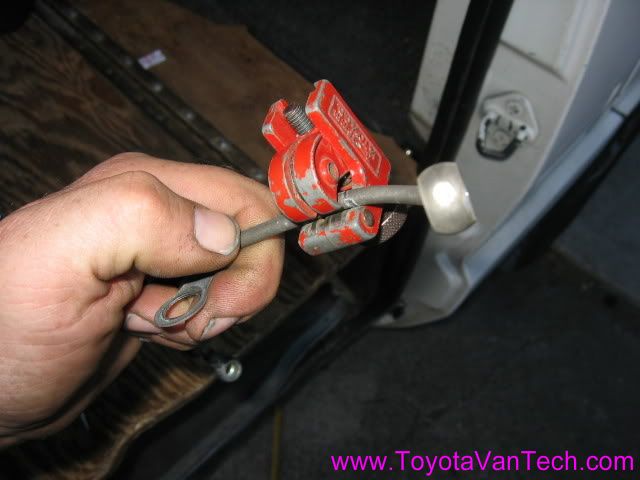
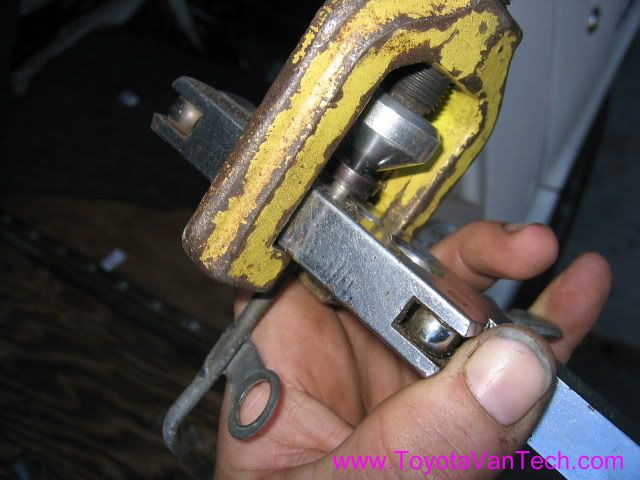
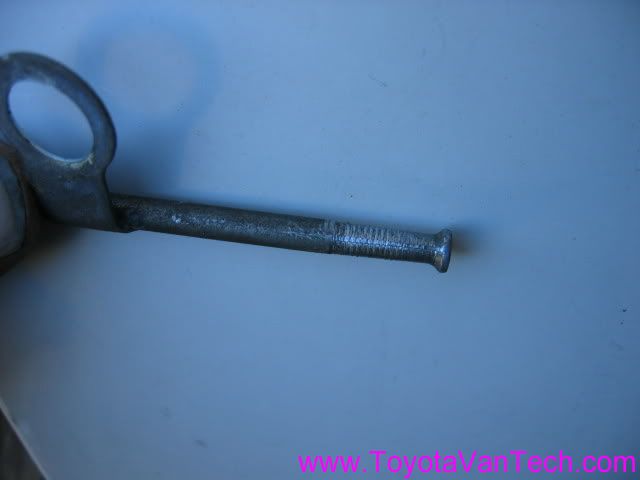
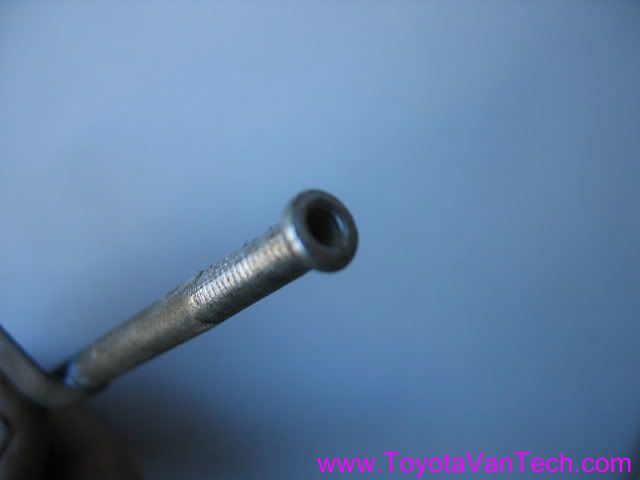
I cut one end off and put the 1st half of a double flare in it using a 3/16" flare tool.
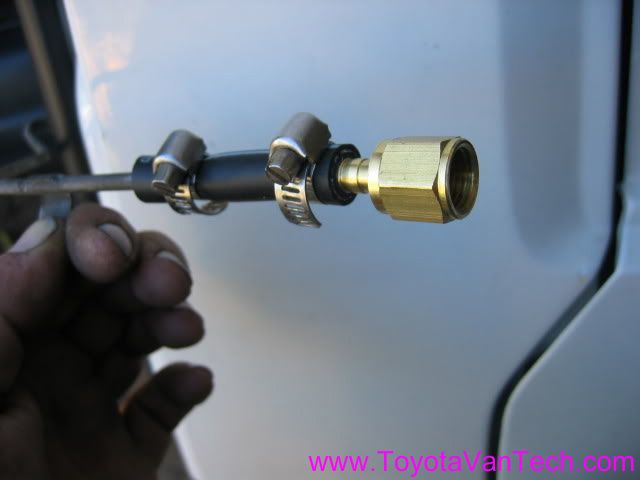
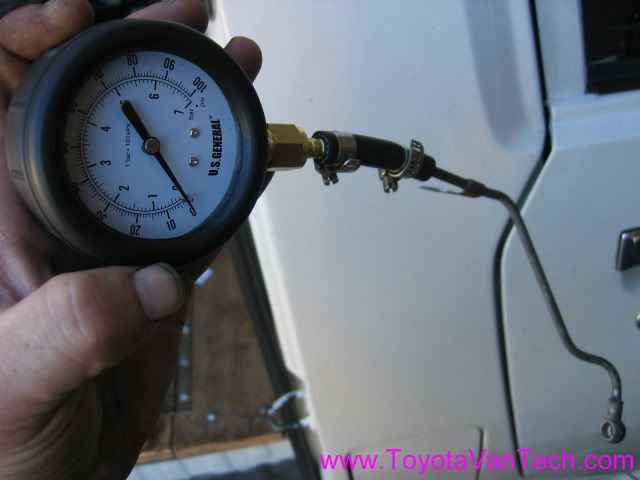
Having that barb on the end is important because the injector line is significantly smaller than the brass adaptor I'm splicing it to. I center the clamp over the barb to ensure a tight seal.
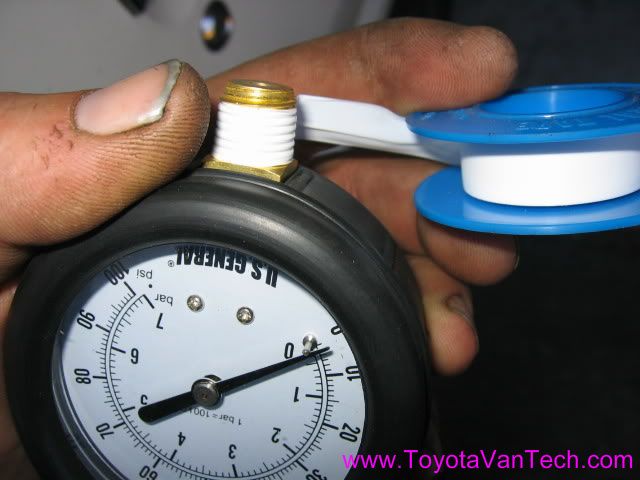
Oddly enough, this pressure gauge uses a pipe thread. I apply Teflon tape to prevent a fuel leak.
Yippee! I have my very own custom Toyota van fuel pressure gauge!
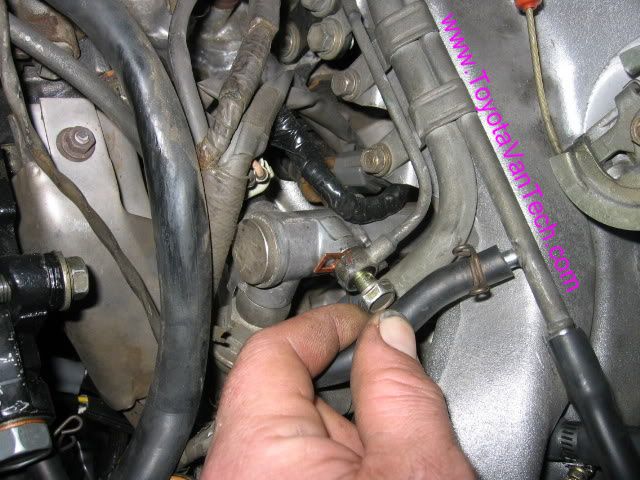
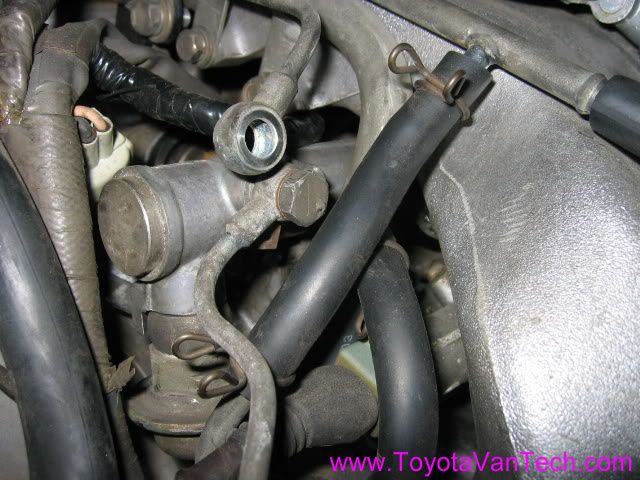
Next I open my hood and remove the cold start injector line from the injector manifold.
I attach my gauge to the injector manifold.
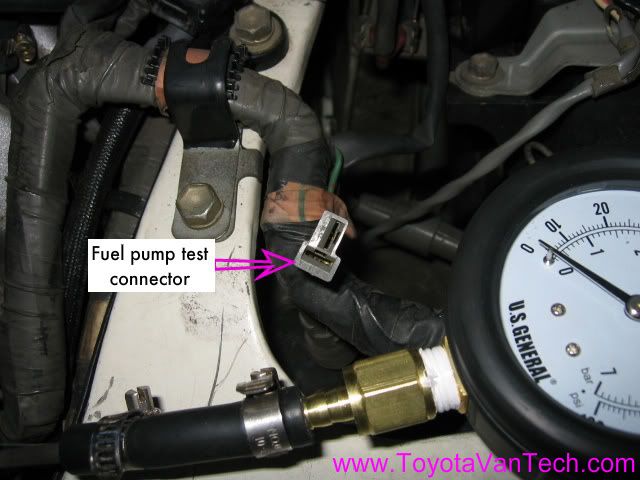
Next I find my fuel pump test connector and pull it up where it's accessible
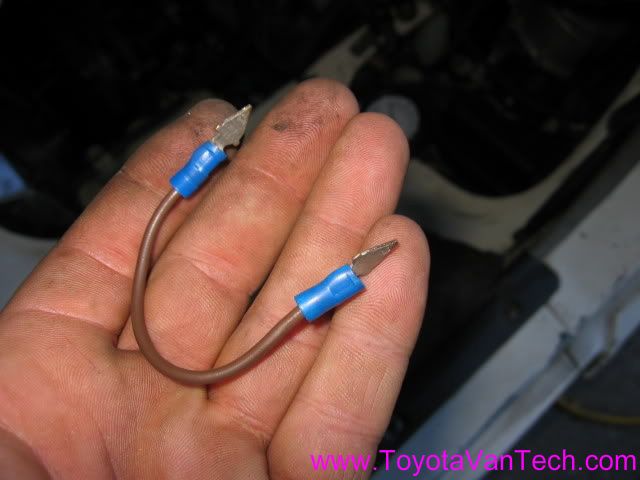
Here's my handy dandy jumper wire.
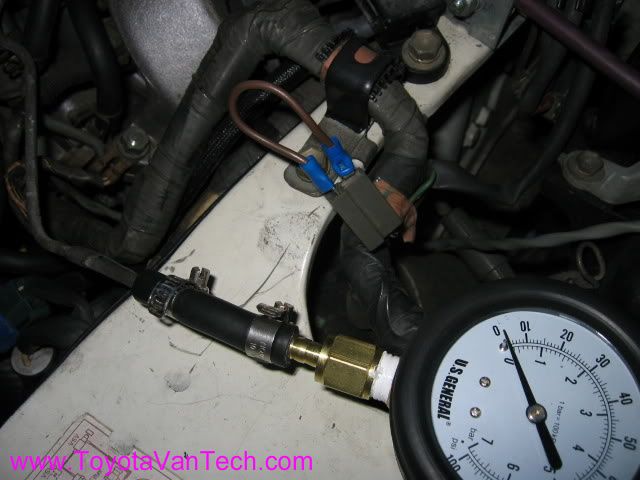
I plug it into the test connector and jump the terminals together.
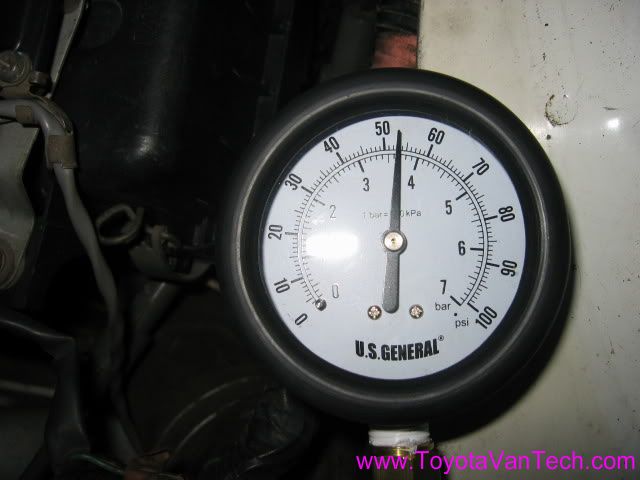
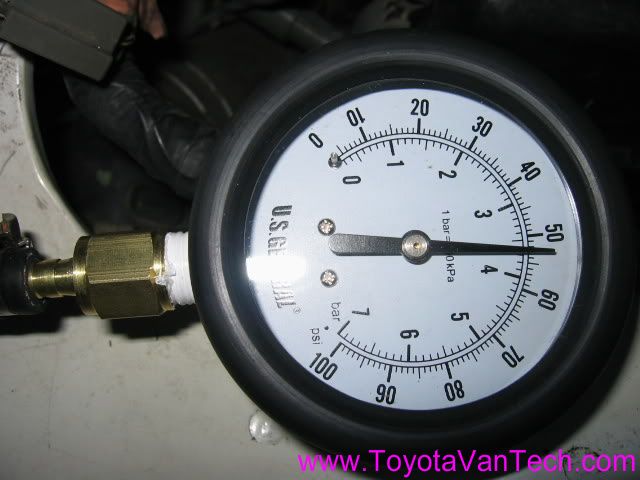
Next step is to turn the ignition switch to the "run" position (DO NOT START). Now I can check the pressure in the injector manifold. Pressure should be 38-44 psi. Assuming the gauge is accurate, it looks like I have a bad regulator. High pressure can only be a bad regulator. If pressure was low, it could be a bad fuel pump, clogged fuel filter, or a bad regulator. Warning: Gasoline is very flammable. If you have any leaks STOP the test immediately and repair them before continuing!
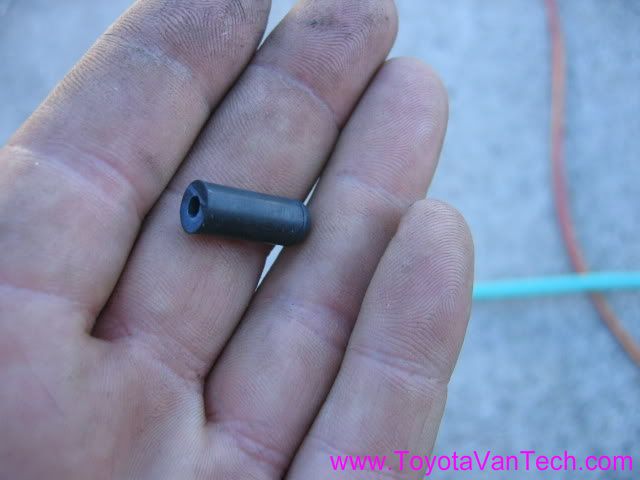
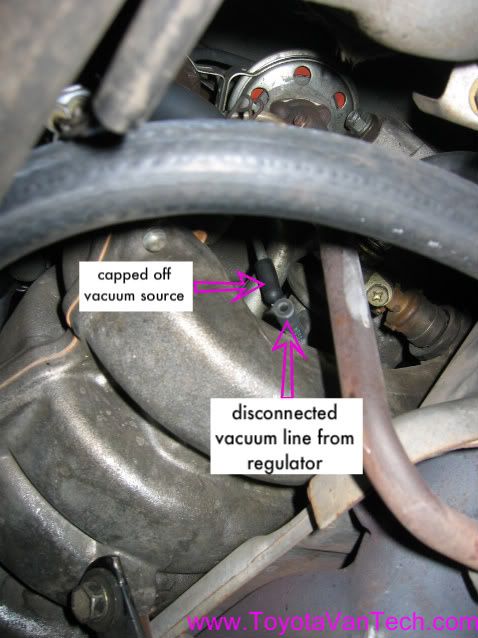
Next step is to remove the jumper wire from the "fuel pump test connector", then remove the vacuum line from the fuel regulator and plug the vacuum supply line. These little rubber vacuum plugs come in handy for this.
Okay, it's done. Here's a view from underneath.
Next step is to start the engine and run for at least 2 minutes. After the 2 minutes is up, record fuel pressure (should be 30 - 33 PSI while idling). If high, the only thing it can be is a bad regulator. Of course, we already know it's bad.
Next I'll do the leak-down test (premature loss of pressure after shut-down). This is done by removing the jumper wire from the "fuel pump test connector" and watching to see if pressure remains. Fuel pressure should stay above 21 PSI for at least 5 min. If the pressure drops below 21 PSI in less than 5 minutes, then it could be a bad check valve at the fuel pump, a bad regulator, leaky injector(s), or an external leak in the system. The service manual says to do this at the end of the above "idling test", but I chose to do it with the jumper wire test instead (doesn't make any difference) Let's see what happens. Click on image below to view video
Well, as far as my regulator is concerned, it's a good thing I picked one up ahead of time. The only question I have now is what component(s) are responsible for the failed leak-down test. I'm hoping like heck that problem lies entirely within my regulator (remember, that problem can also be caused by a bad pump, leaky injector(s), or an external leak). Time to break out the new regulator and hope this solves everything!
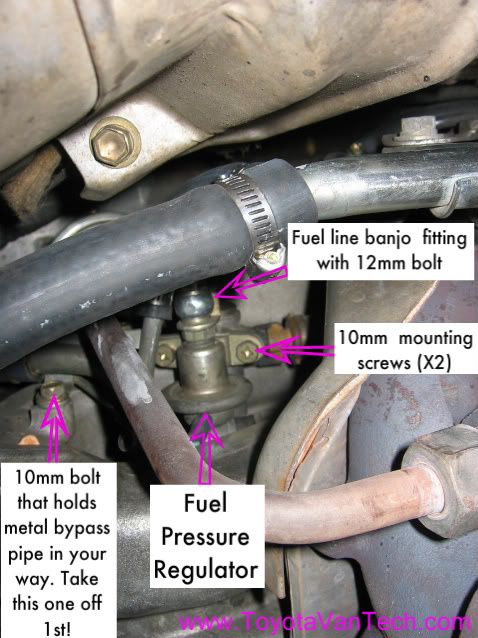
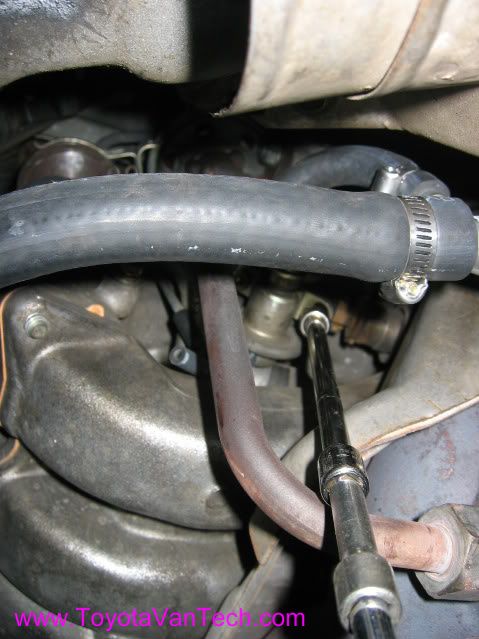
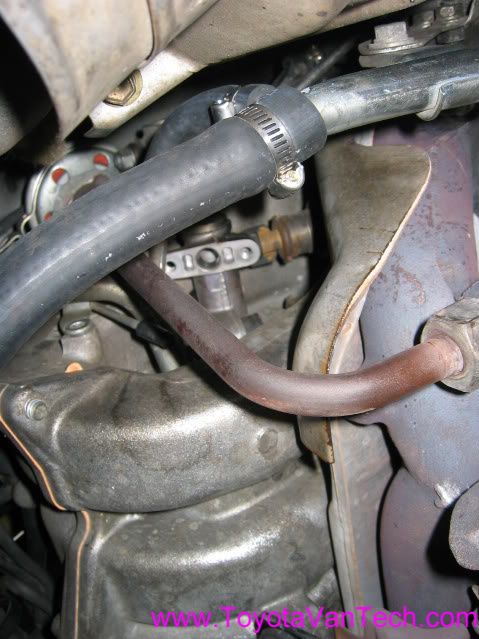
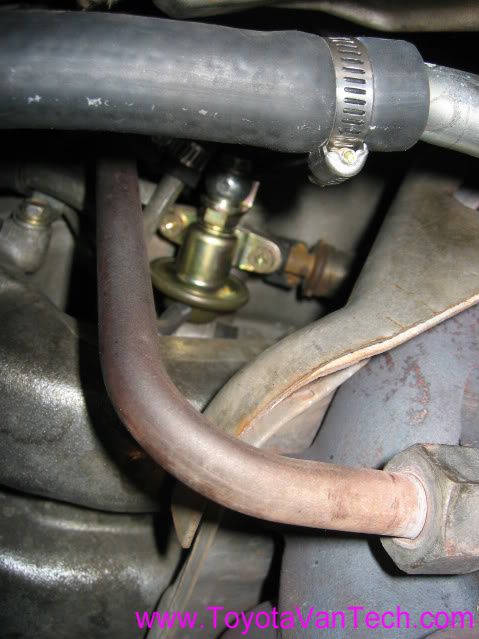
For you 2wd van owners, here's the bugger as viewed from underneath (you 4wd van owners have my condolences). Before you do anything else, remove the 10mm bolt that holds the metal bypass pipe to the intake manifold. This will give you just enough room to squeak by with the other things you need to do here. Next use a 12mm box end wrench to remove the fuel line banjo fitting. Be ready for some gas to drip down. After the banjo fitting is removed, it's time to remove the (2) 10mm mount screws.
I'm using a 1/4" drive ratchet, some long extensions, and a 10mm socket here. After the mount screws are off, the regulator will pull down and out. It will most likely be followed by another oz. or 2 of gasoline, so take the necessary precautions. My regulator was stubborn, so I reached up there with a long nose pair of vice grips to remove.
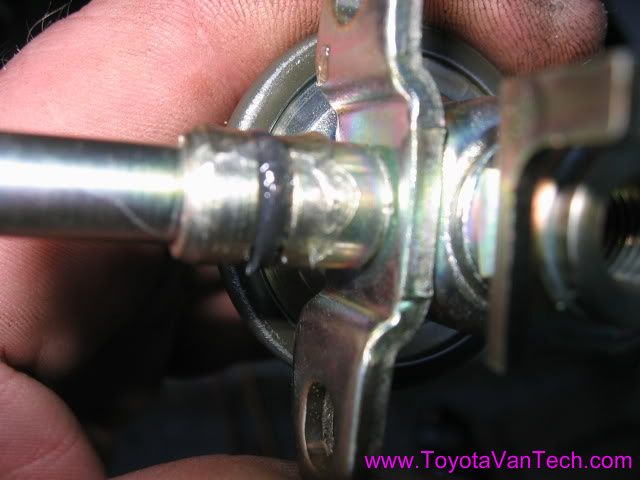
Once off, inspect the mount area to be sure it's free of debris. Especially check the mounting hole and verify no parts of the old o-ring remain.
Lube up the o-ring and shaft of the new regulator with petroleum jelly to help it slide smoothly into place.
Now put it all back together again. Make sure the new regulator is seated all the way up and it is sitting flat before installing mount screws. Don't forget to put your bypass pipe mount bolt back in.
Okay, now for the moment of truth. Keep your fingers crossed! click on image below to view video


Looks like my hunch was right. Thank goodness I don't need to pull my fuel pump out (this thing has taken enough of my time lately). Tim
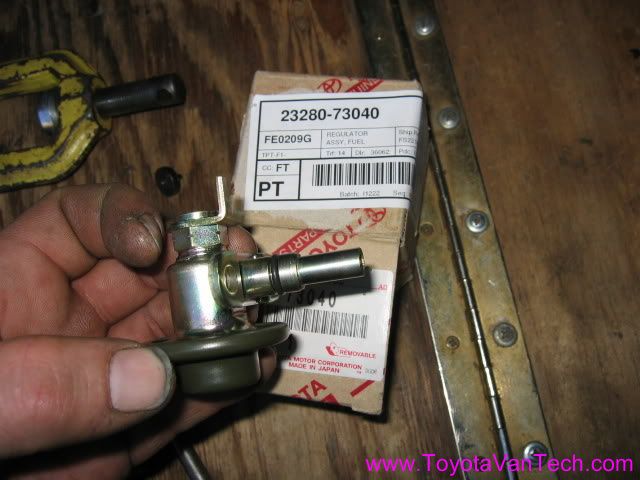
Note: This fuel regulator is listed for 88-89 vans and is Toyota Part # 23280-73040. At the time of this post the MSRP on this is $172.40, but it can be had for around $125.00 from one of those discount internet sites like www.1stToyotaParts.com.




 Reply With Quote
 Tim
Tim
 . Here's a link:


