-
Blew the rear main oil seal! [Engine Overhaul]
So I was driving my van up a long hill and I had it floored. Was doing around 75 mph in 3rd gear (about 4,500 RPMs) when I noticed in my rear view mirror a bunch of blue smoke behind me. When I pulled over I found oil dripping all over from between the engine and transmission. It was also covering the entire undercarriage and caked on the sides and back of my van! Well, looks like I won't be making it to my job so I call my customer & tell him what's going on. He's a nice guy and offers to come give me a ride home! So he picks me up and takes me home. Once home I hook-up my truck to my flat-bed and go get the van.
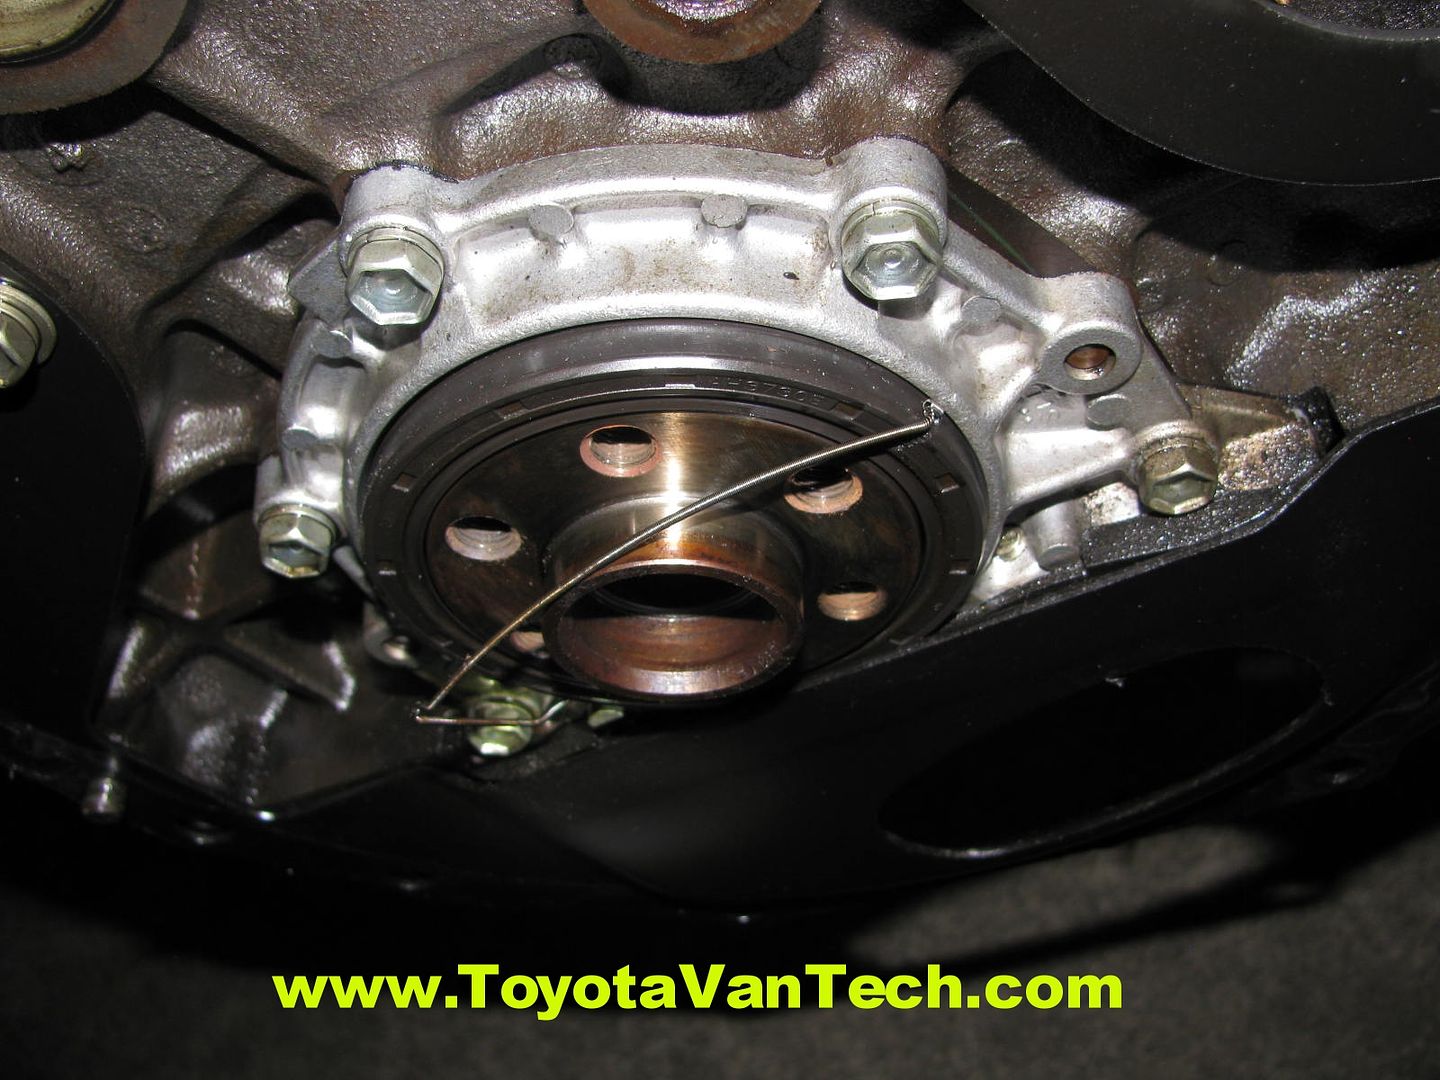
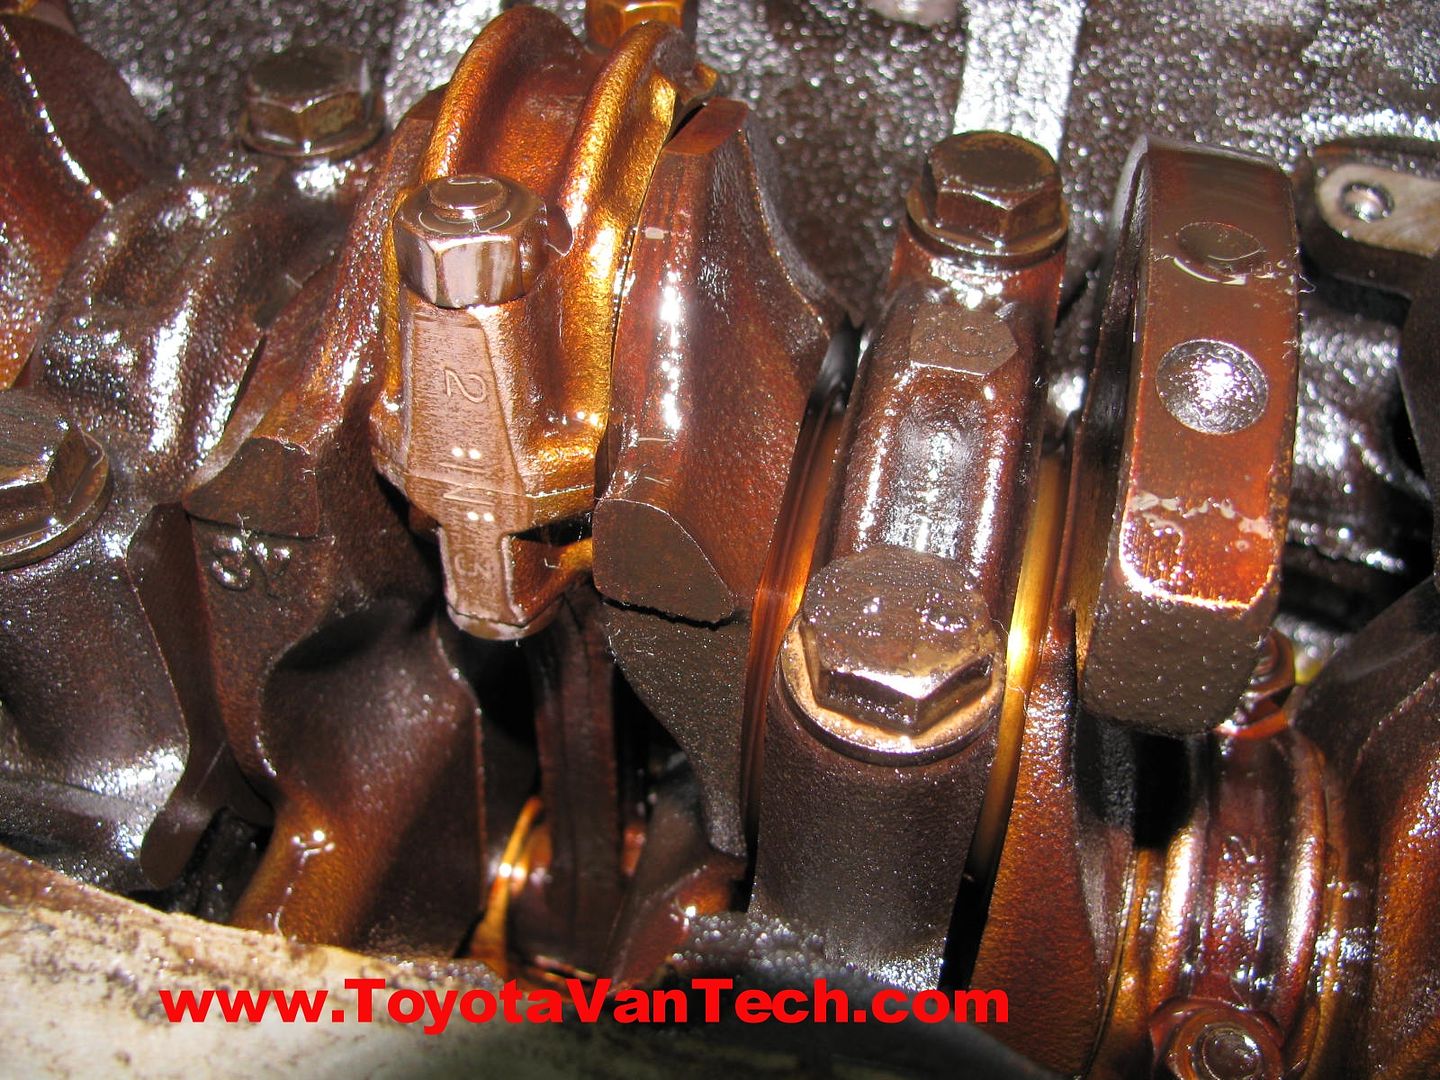
I decide to pull my engine. I could have got to this a bit easier by pulling the transmission, but this engine has over 200k miles on it, has a mild knock, and burns a lot of oil. I decided to pull the engine instead and swap it out. Here's the engine on it's way out & here's the blown seal:
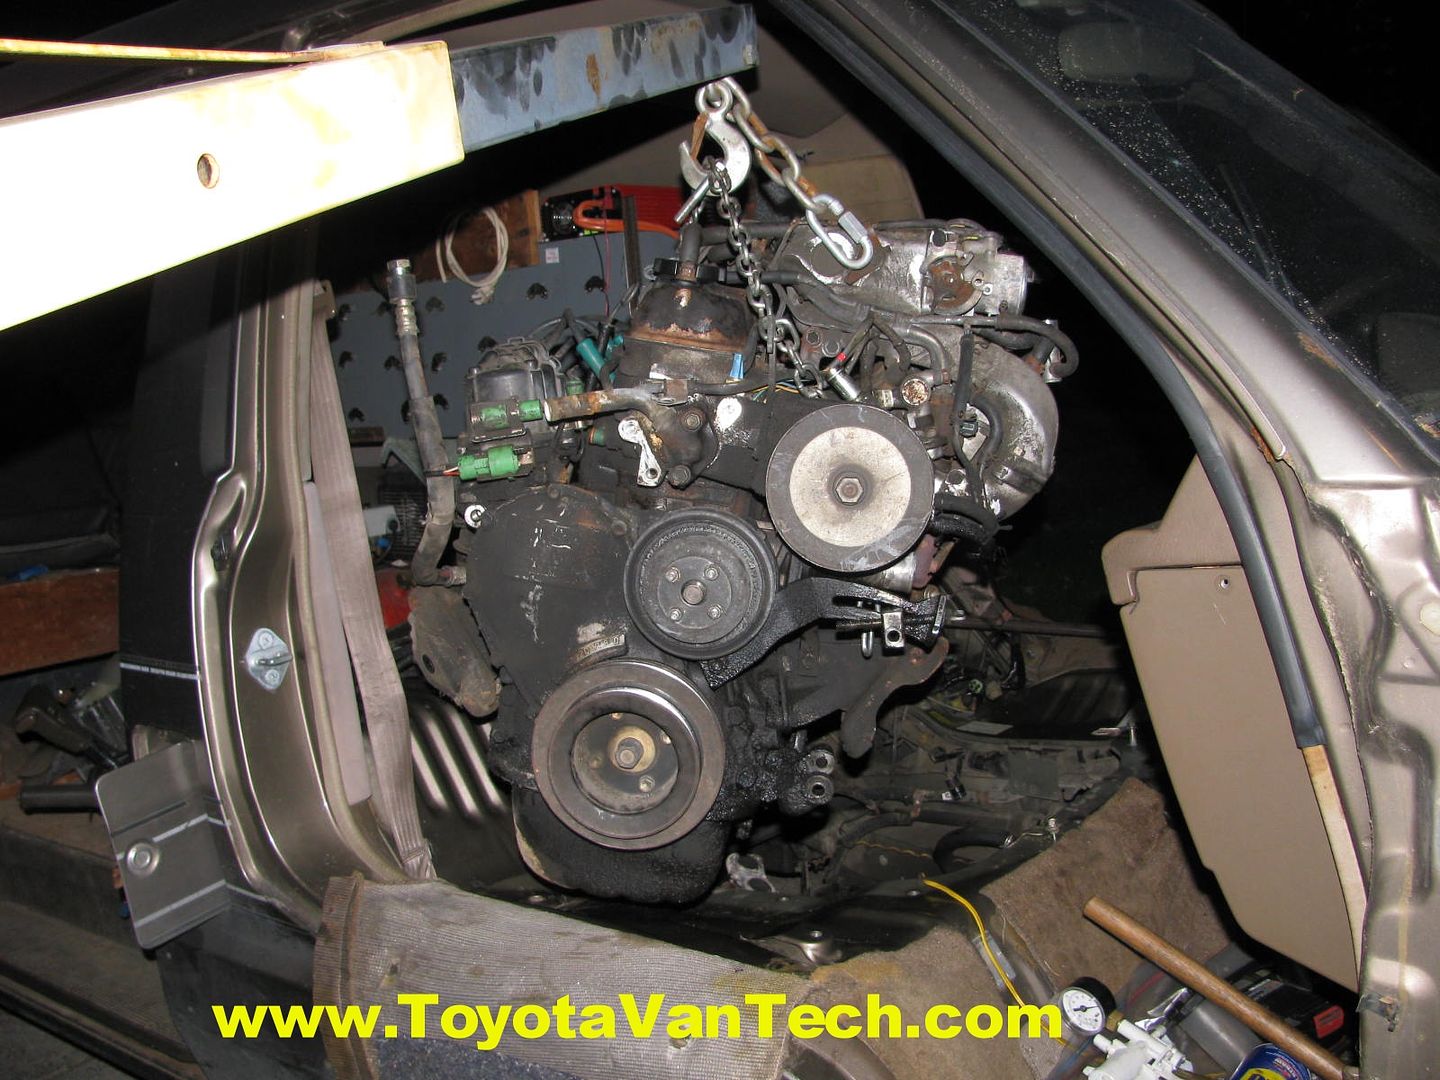
Due to the higher mileage on this engine and due to the fact it was developing a knock, I decide to pull the engine from one of my "Chia" vans:
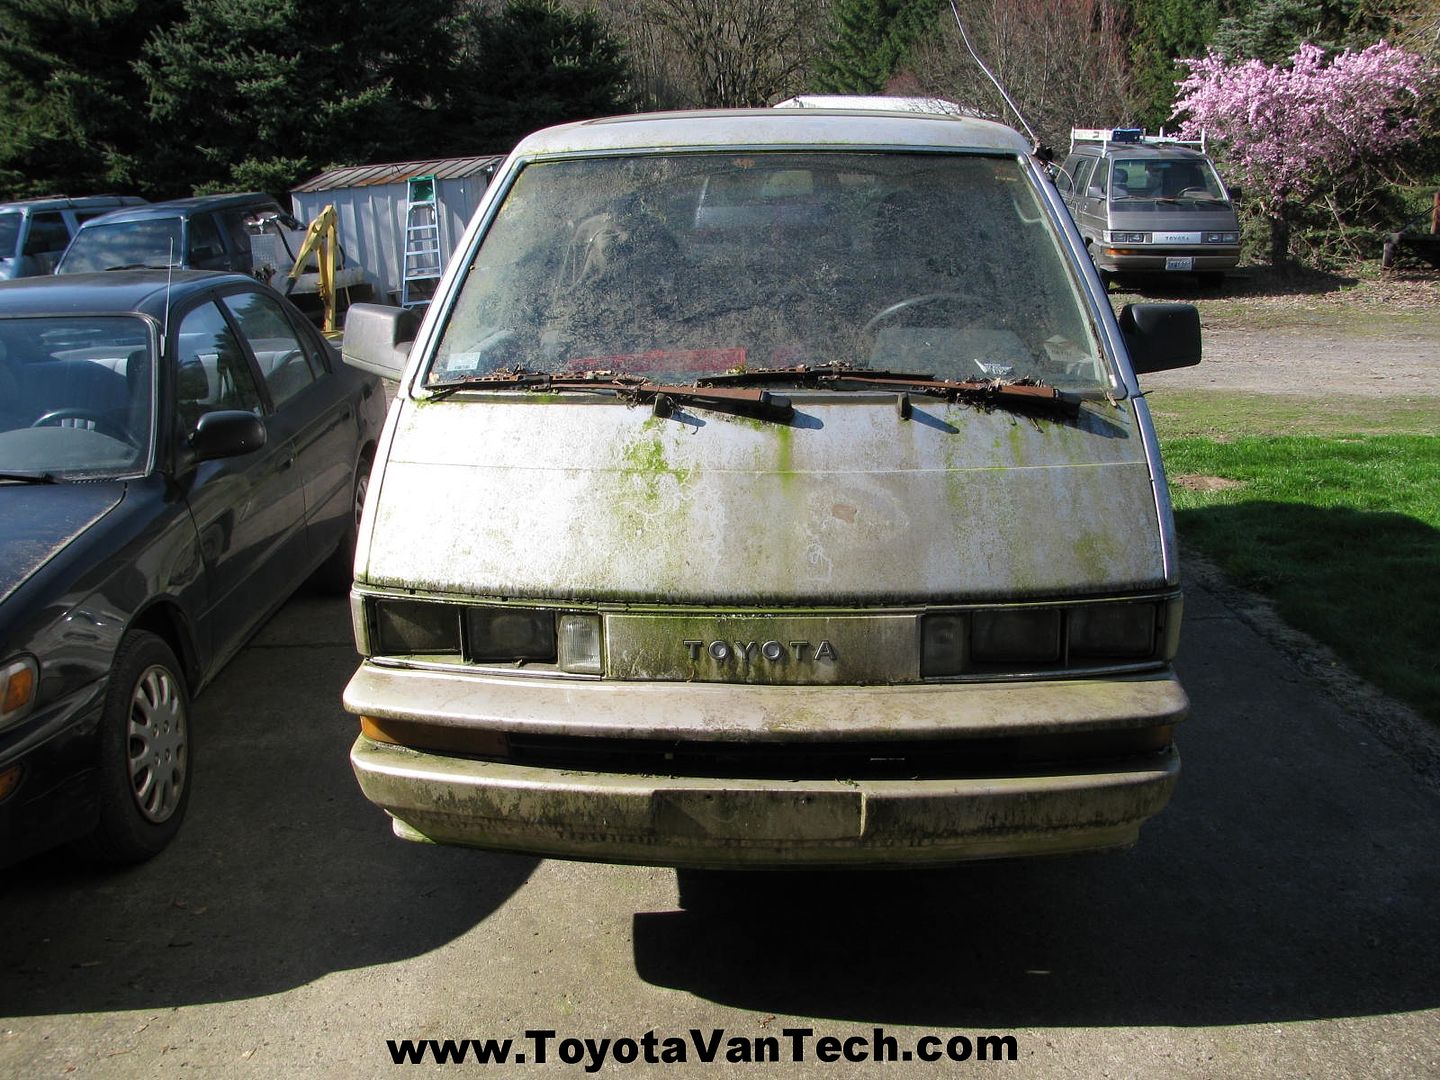
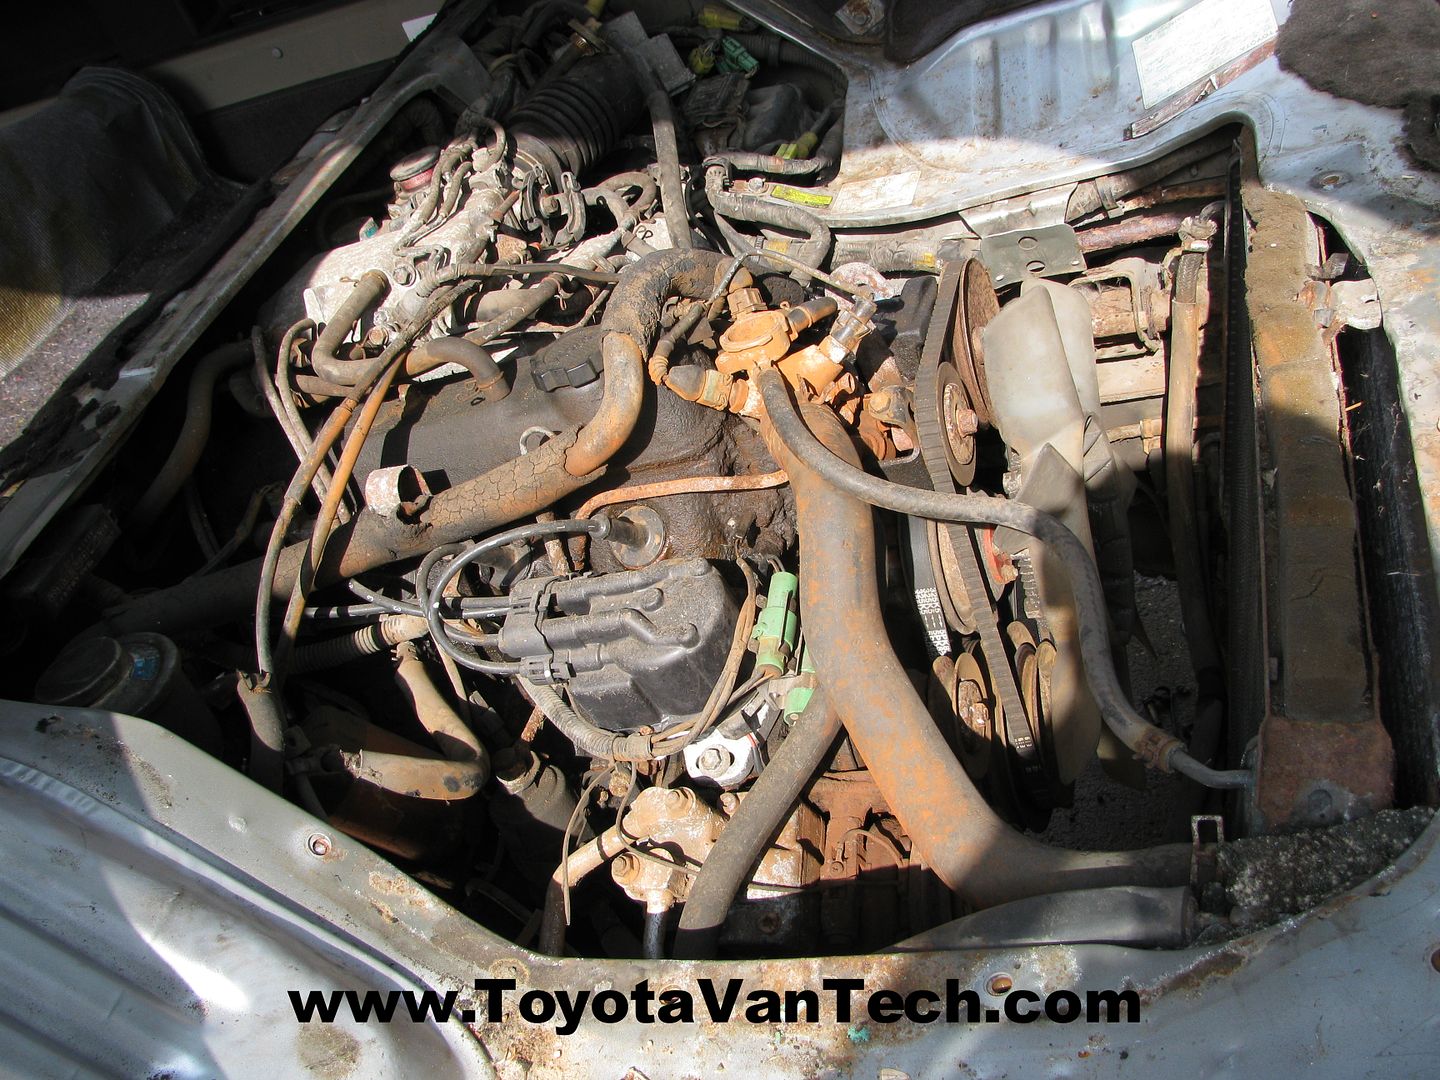
A little back-ground on this Chia parts van. I purchased this for $350 from a college kid back in 2004. It only had around 150k miles on it but had been neglected and he was running it with water in the cooling system  . It ran good, had great power, but it would get hot. It also had a mysterious coolant leak. I would fill it up, drive it, and it would not leak. The next day I would check it again & the cooling system would be empty. I messed with it for a while (back then) but got frustrated with the leak and the hot running issue. Since it had some chassis rust problems (suspect it had been driven in salt water), I decided it wasn't worth messing with & parked it for parts. Fast forward 10 years.............
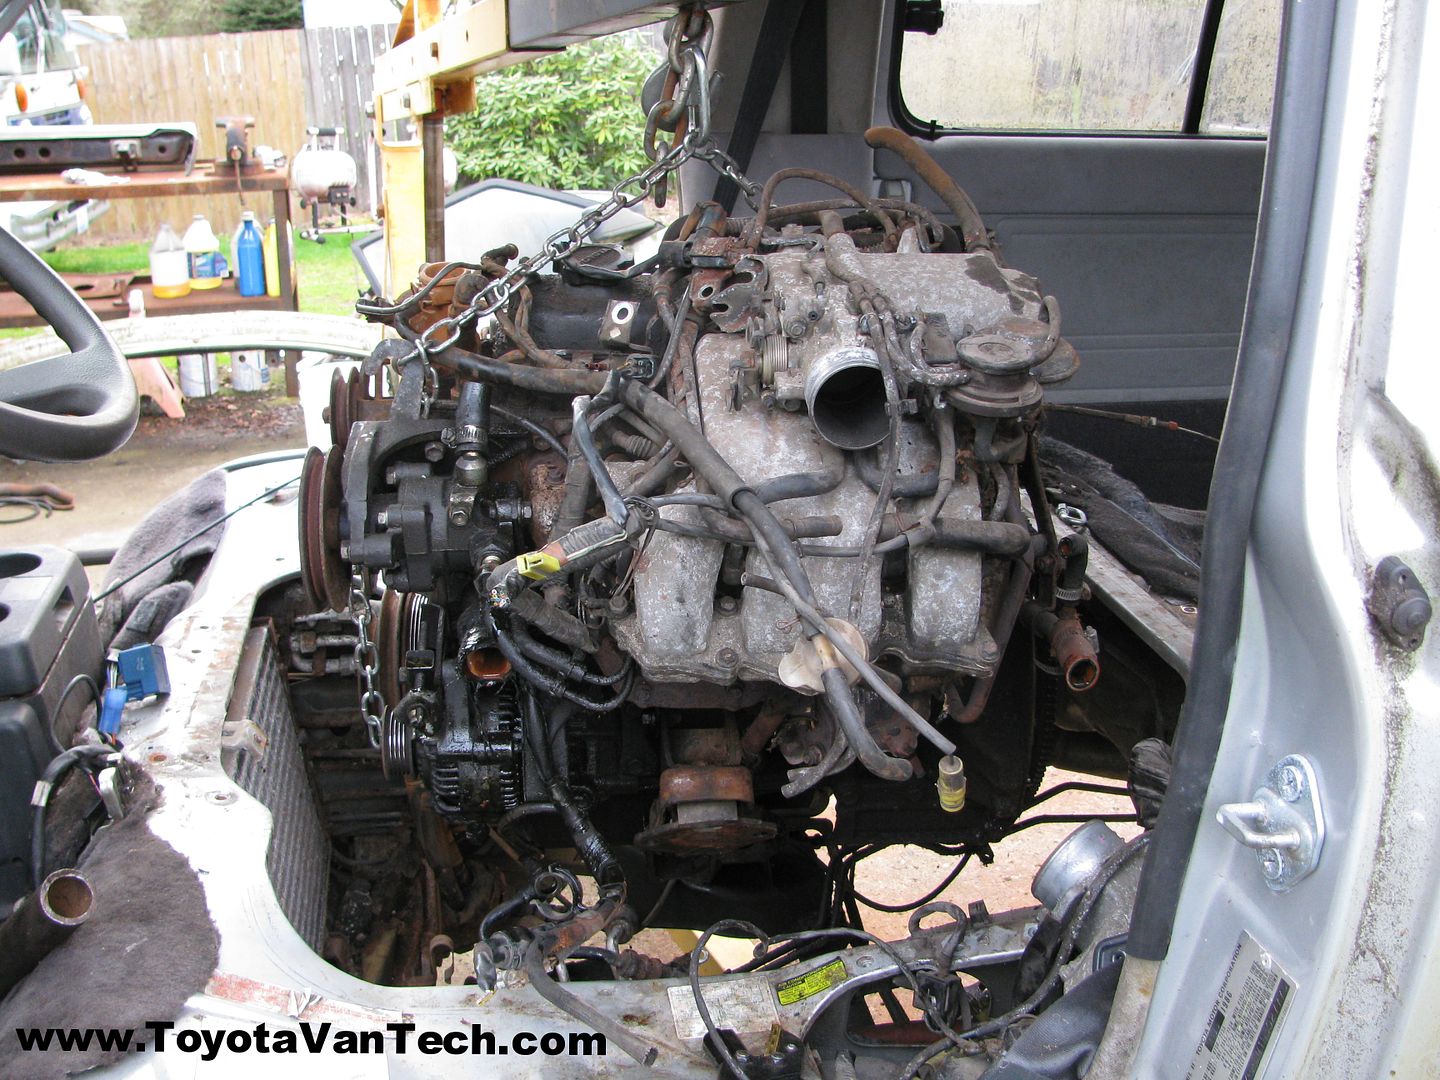
Here's the donor engine coming out:
Looks like I got my work cut-out for me.
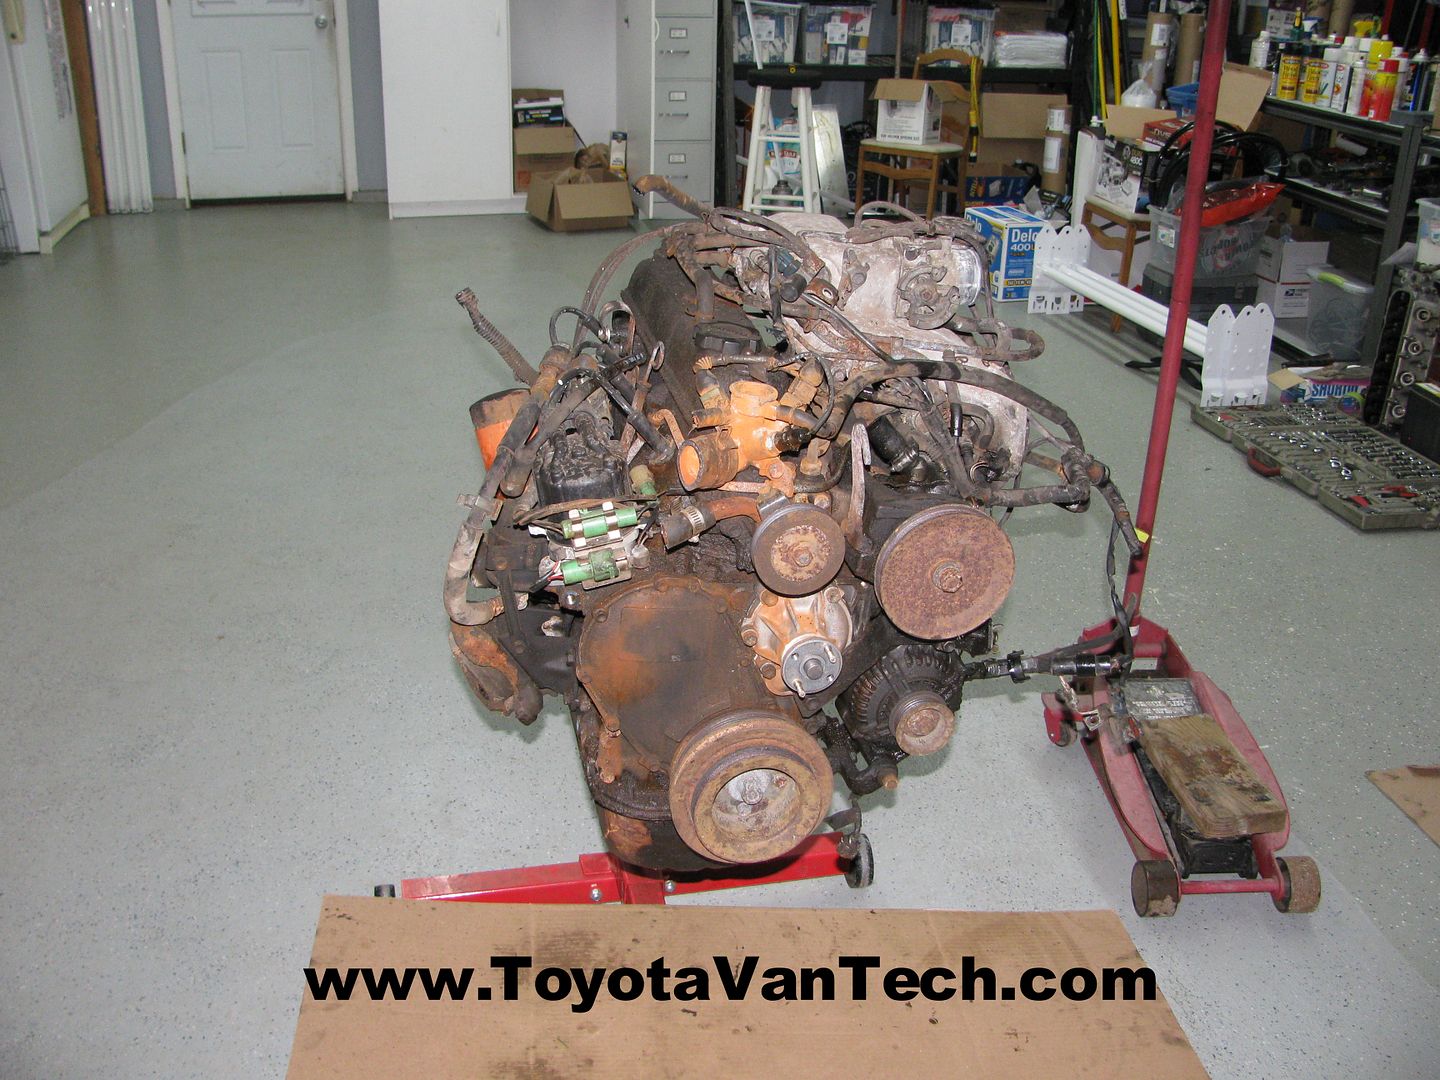
Aha! Looks like I found my mysterious leak!
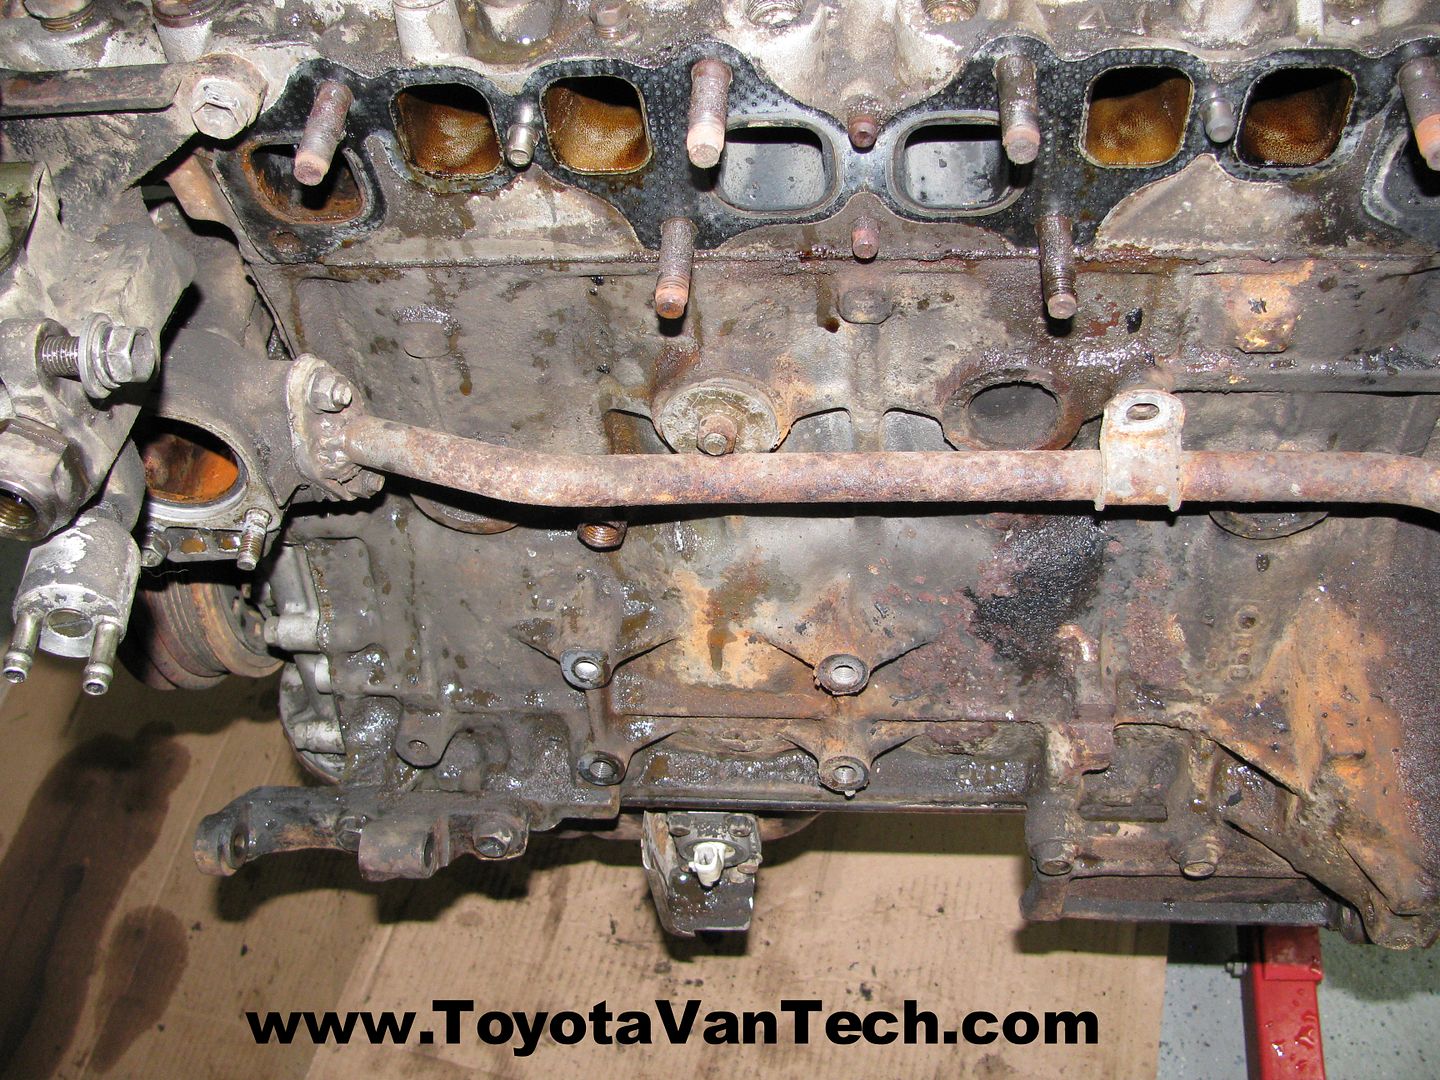
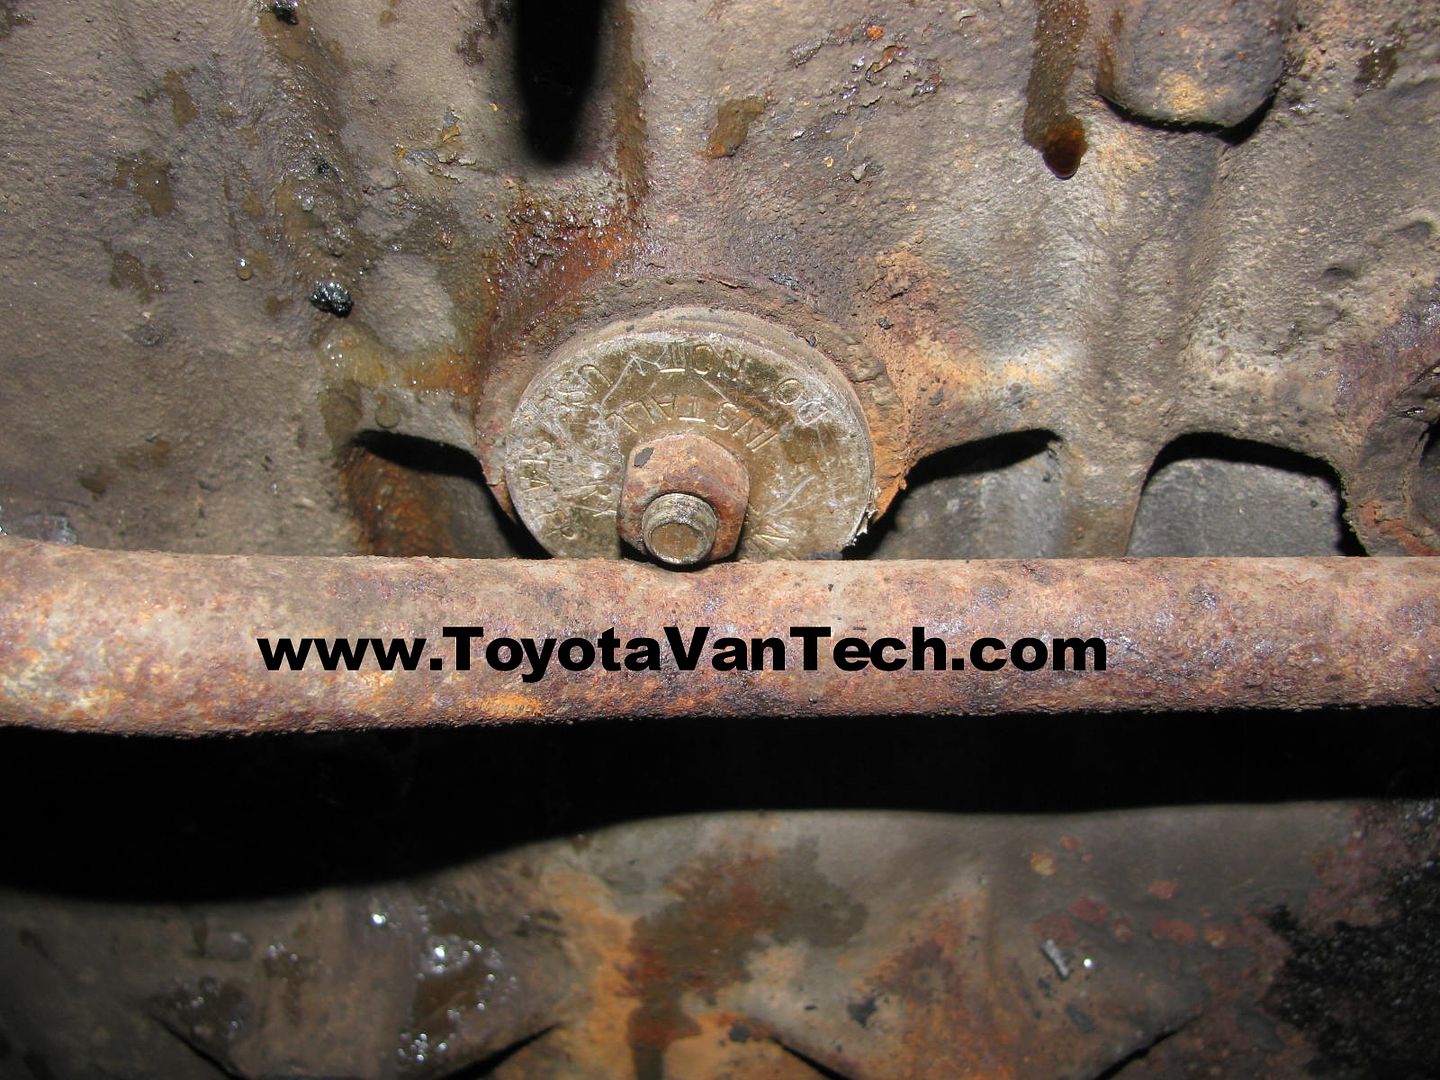
I knock out the freeze plugs and here's what I find behind the rear side plug:
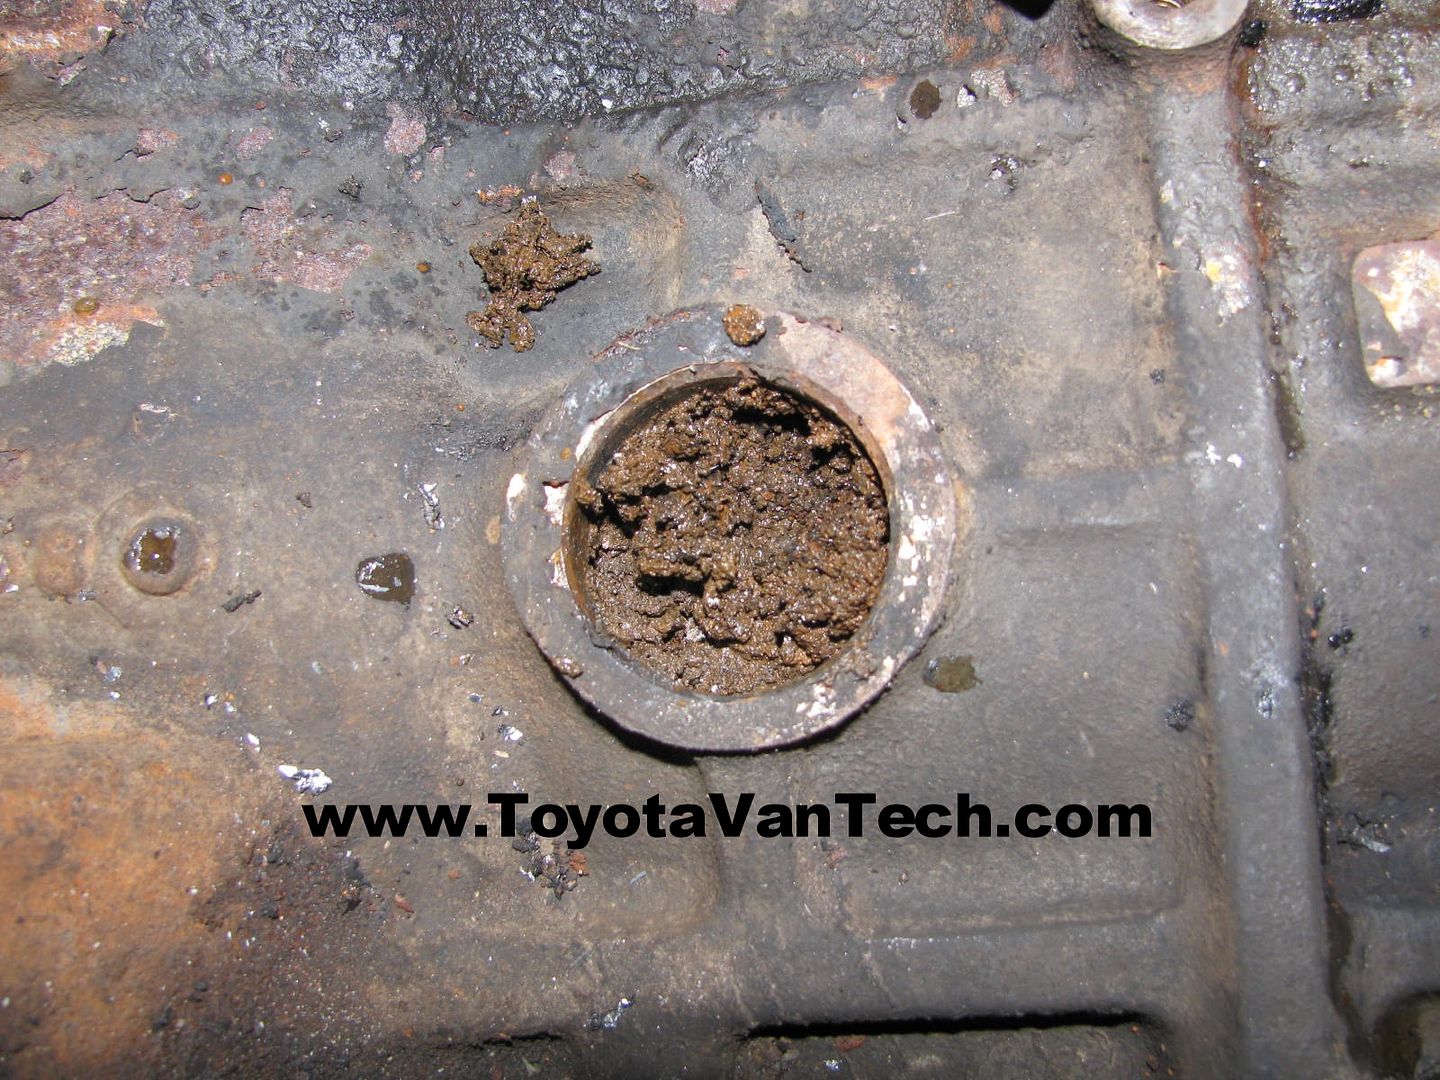
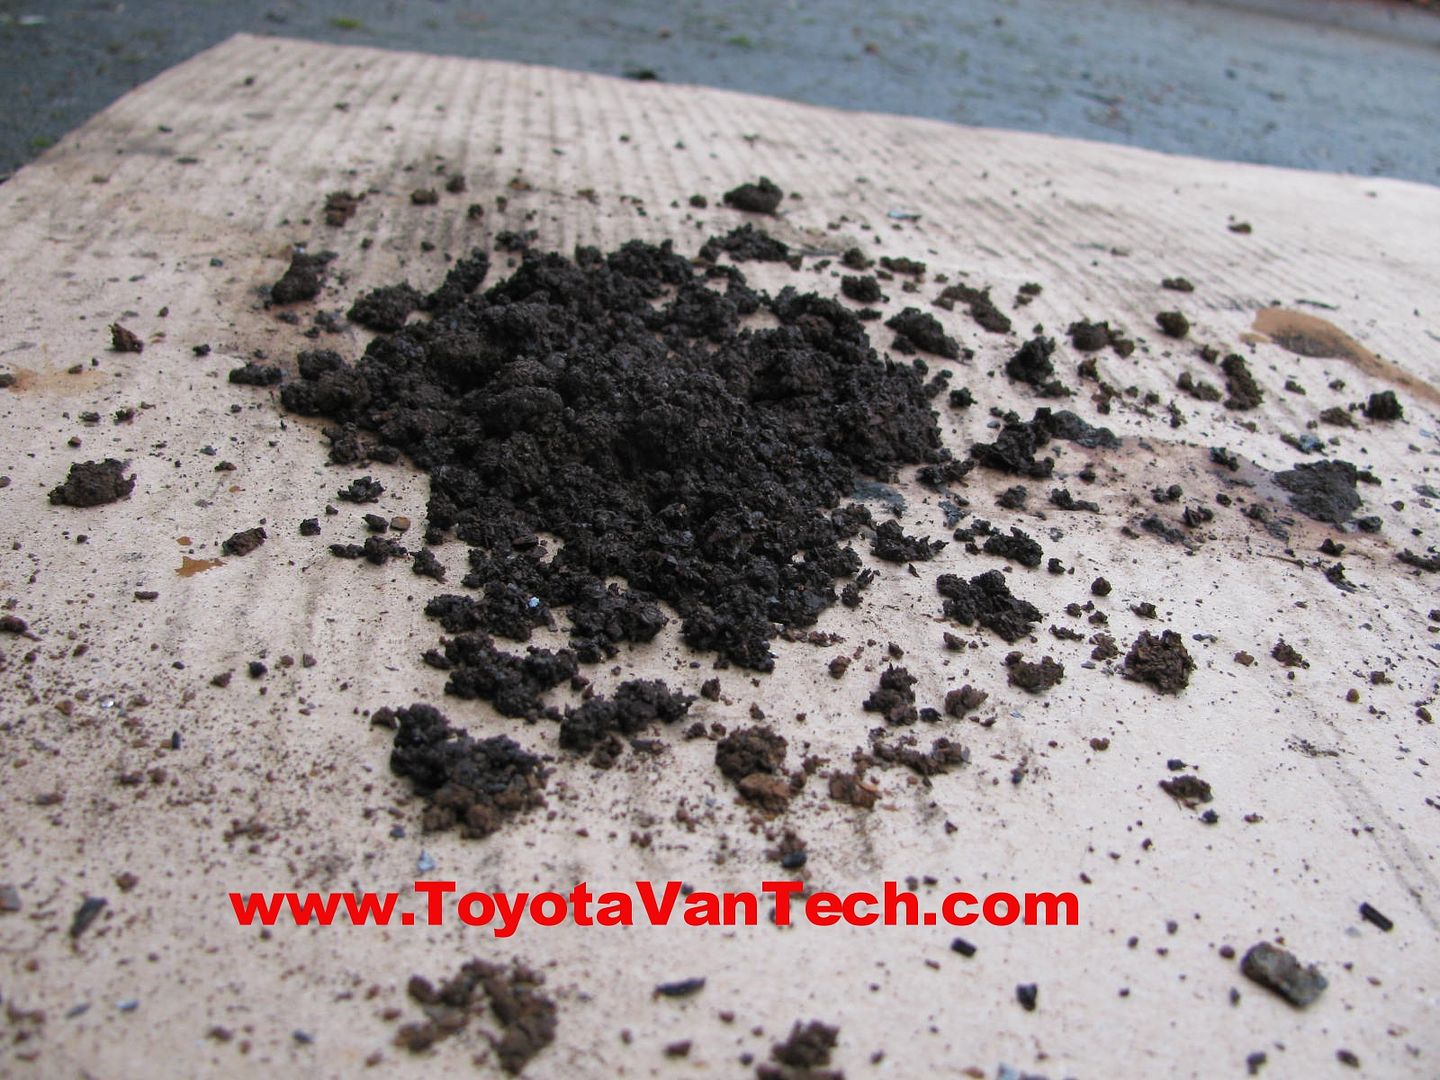
Looks like I found my mysterious overheating issue!
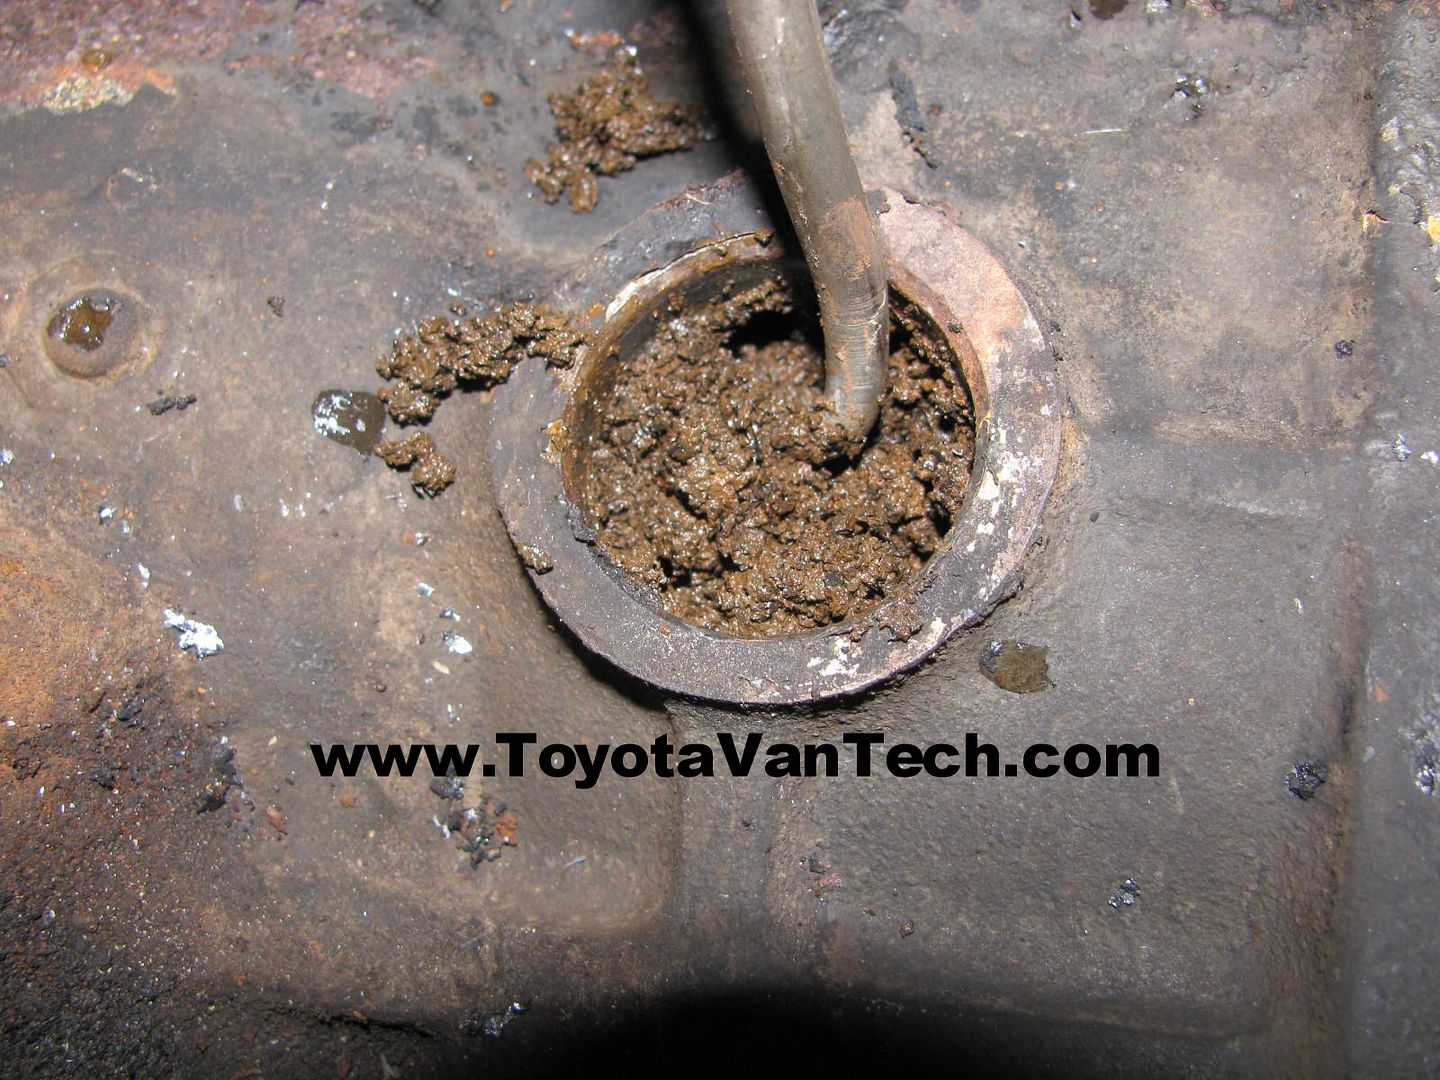
Here's what I dug out, but there is a lot more in there.
I decide to tear this engine down & have a look at everything before trying to run it. I'll post more later. Tim
-
Van Enthusiast


- Rep Power
- 1
Re: Blew the rear main oil seal!
Incredible... i wonder of my 86 is leaking coolant from the freezeplug. I see drips of coolant coming from around that area and thought maybe the gasket on the thermo went bad... Oh well. Its not a bad leak and i have a back up van in great condition now so its no biggie.
Will you do a partial rebuild on this engine?
-
Re: Blew the rear main oil seal!
Everything is in pretty good shape. Bores, pistons, valve guides, etc. I'm just going to overhaul it (new rings, bearings, seals, etc). I'll post details of the project here in this thread. Tim
-
Van Fan

- Rep Power
- 1
Re: Blew the rear main oil seal!
-
Re: Blew the rear main oil seal!
So, as ugly as this engine is on the outside, aside from all the crud inside the cooling system, it's in really nice shape inside. My goal with this thread is to show an alternative to rebuild. Since the machine surfaces are still in decent shape, I'm going to rework everything here in my garage (no outside machine work). This is the least expensive way to rework an engine, and in some instances (like this one), it is appropriate.
Disassembling is pretty basic, so I'm skipping most of that. I'll just touch on some things I consider important. I've been told keeping parts in order is not important, but I beg to differ. This may be true when replacing with new (new parts are identical). This is not necessarily true though with used & slightly worn parts. When you have 2 moving parts that contact each other, When new you will get extreme wear for a short period of time. This is called the "break-in" period. Since nothing is perfect, when 2 parts mesh, certain wear patterns emerge. These patterns form quickly as high spots wear off of each part until there is 100% intimate contact between them. Once the parts are mated & "broken in" the wear slows way, way down and becomes almost non-existent. If you take one broken in/slightly worn part, and mate it with another used part (that was originally mated with a different part), depending on several variables, this may or may not create an issue. This will depend on how similar the wear patterns are, if patterns are dissimilar, the result could be premature failure of both parts. This is particularly true for camshaft lobes & lifters. Camshafts & lifters are case hardened. This is a hardening process where mild steel is packed in carbon & exposed to extreme heat. If done right, the case hardening only affects the exterior of the part (perhaps a few thousandths deep). If you subject your cam & lifters to more than 1 break-in period, this thin surface could be compromised. Once the case hardening is gone, the 2 parts will wear extremely fast. I've hear stories of camshaft lobes being worn flat in as little as a few hundred miles. Since I will be re-using most everything here, I feel it's important to keep parts mated with each other. Here's some tricks I use to ensure things will go back together the same way they came apart.
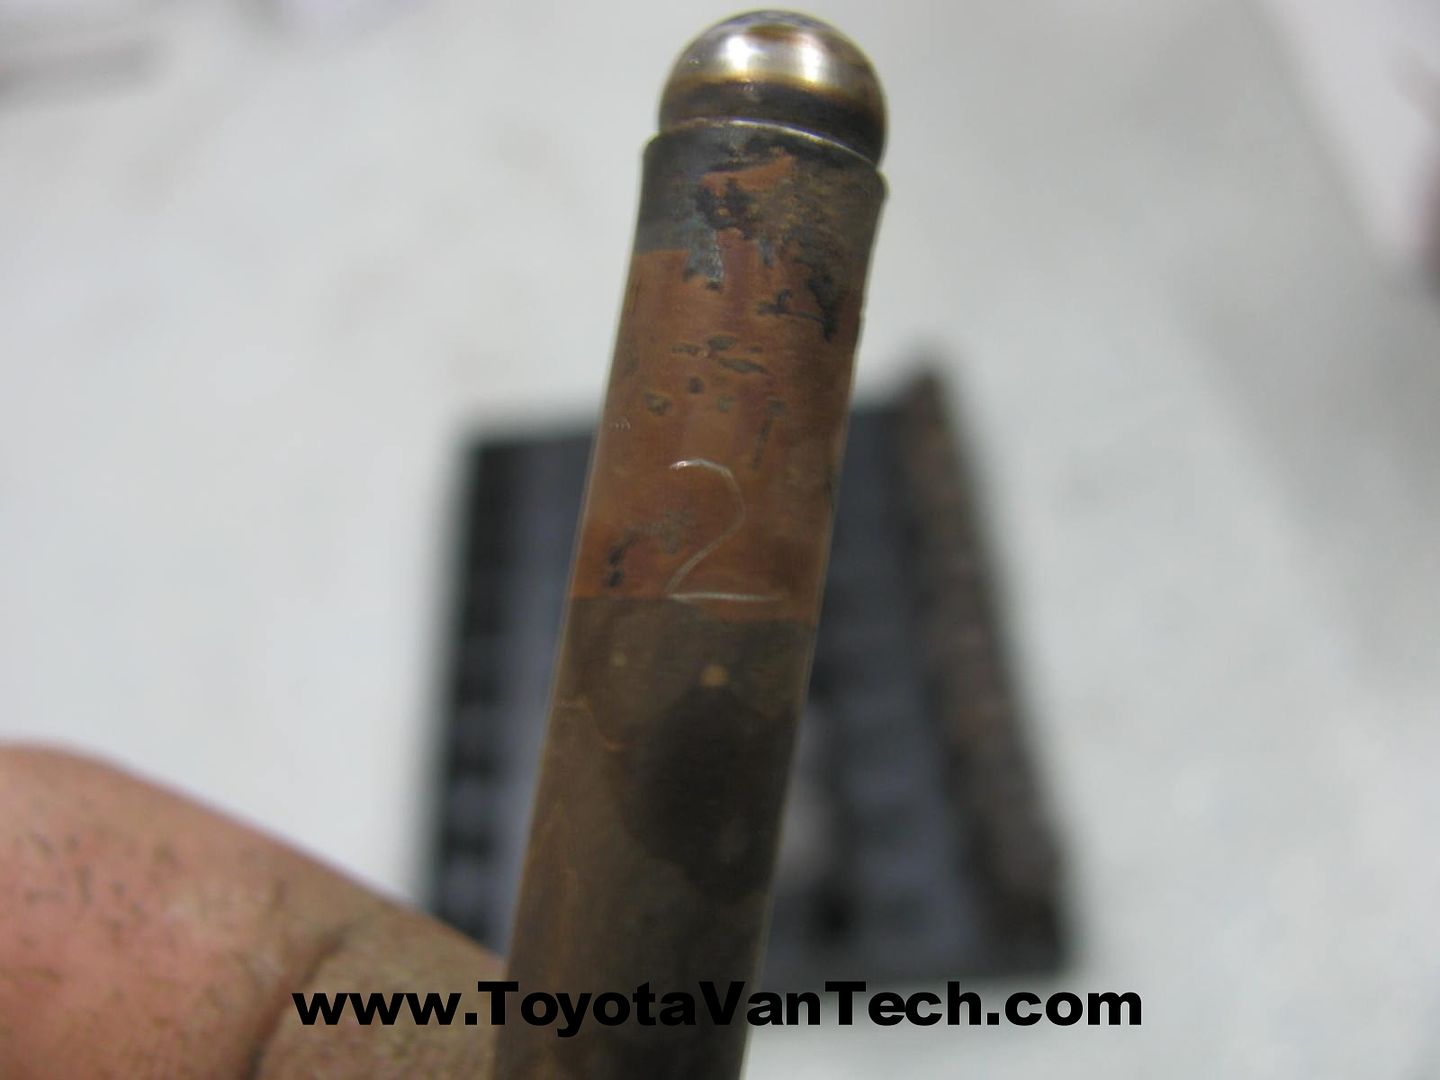
After removing the rocker arm assembly, I use a small drill bit to scratch identification into each push rod. I always mark near the top (position and orientation of number is how I identify top & bottom). Of course the number I write is each push-rod's position from front to back.
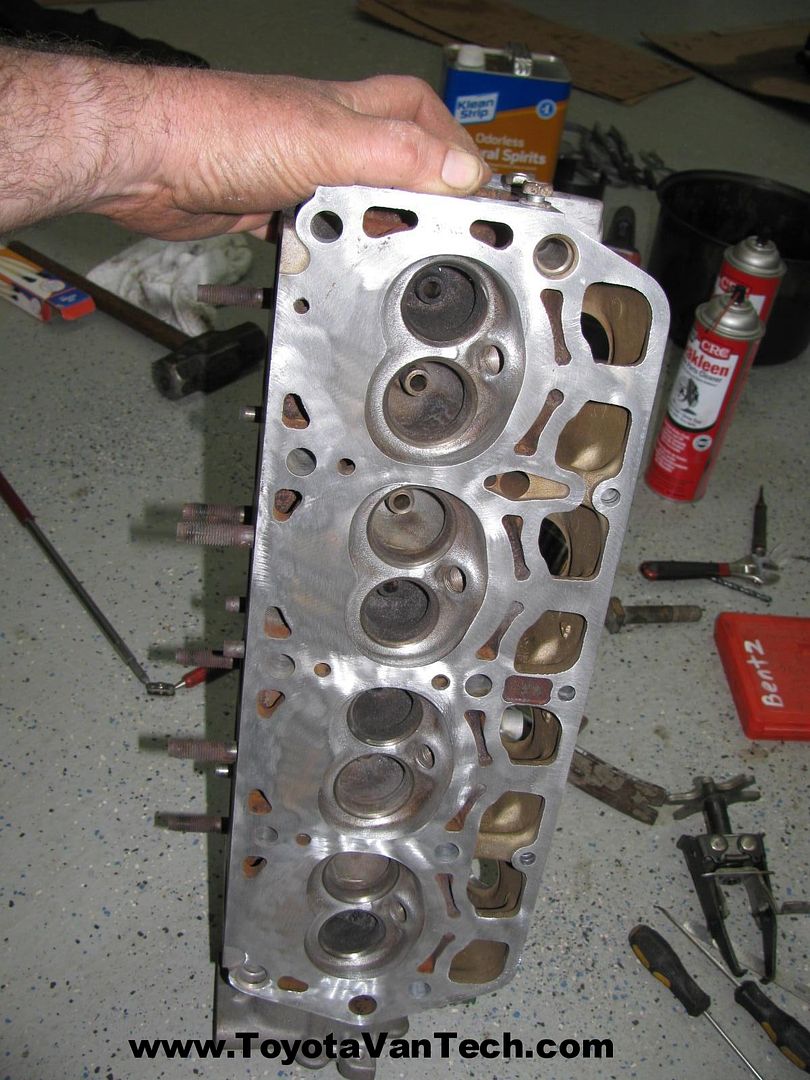
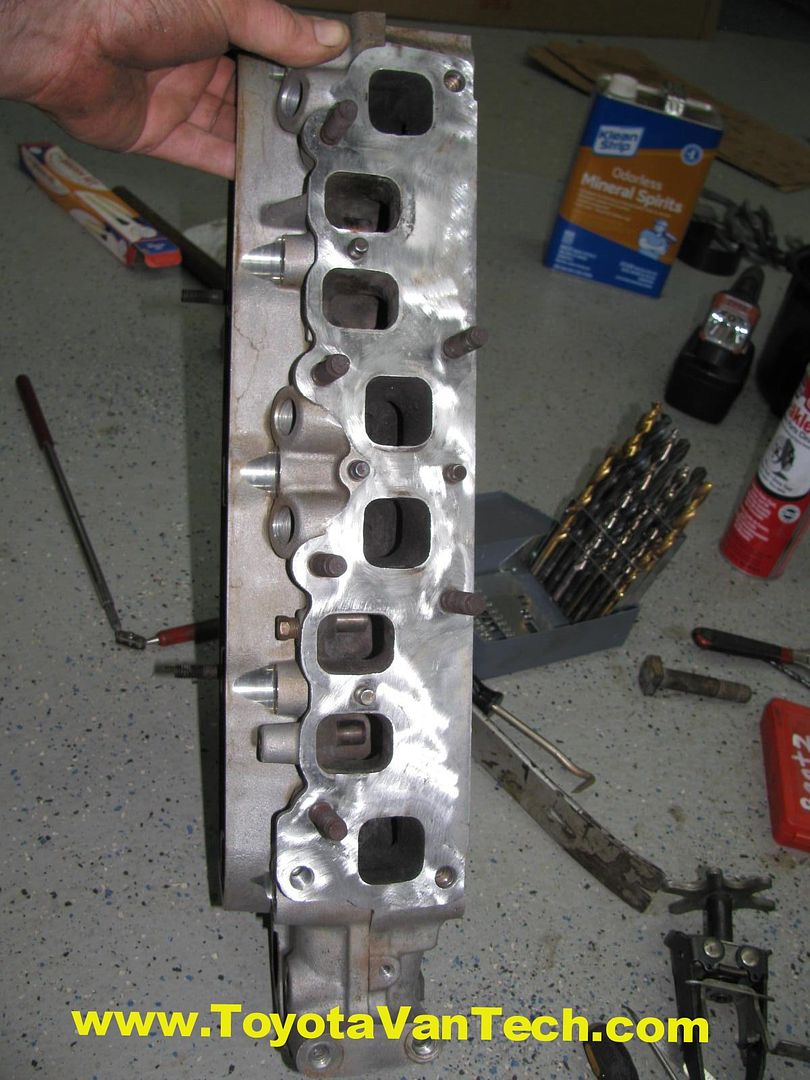
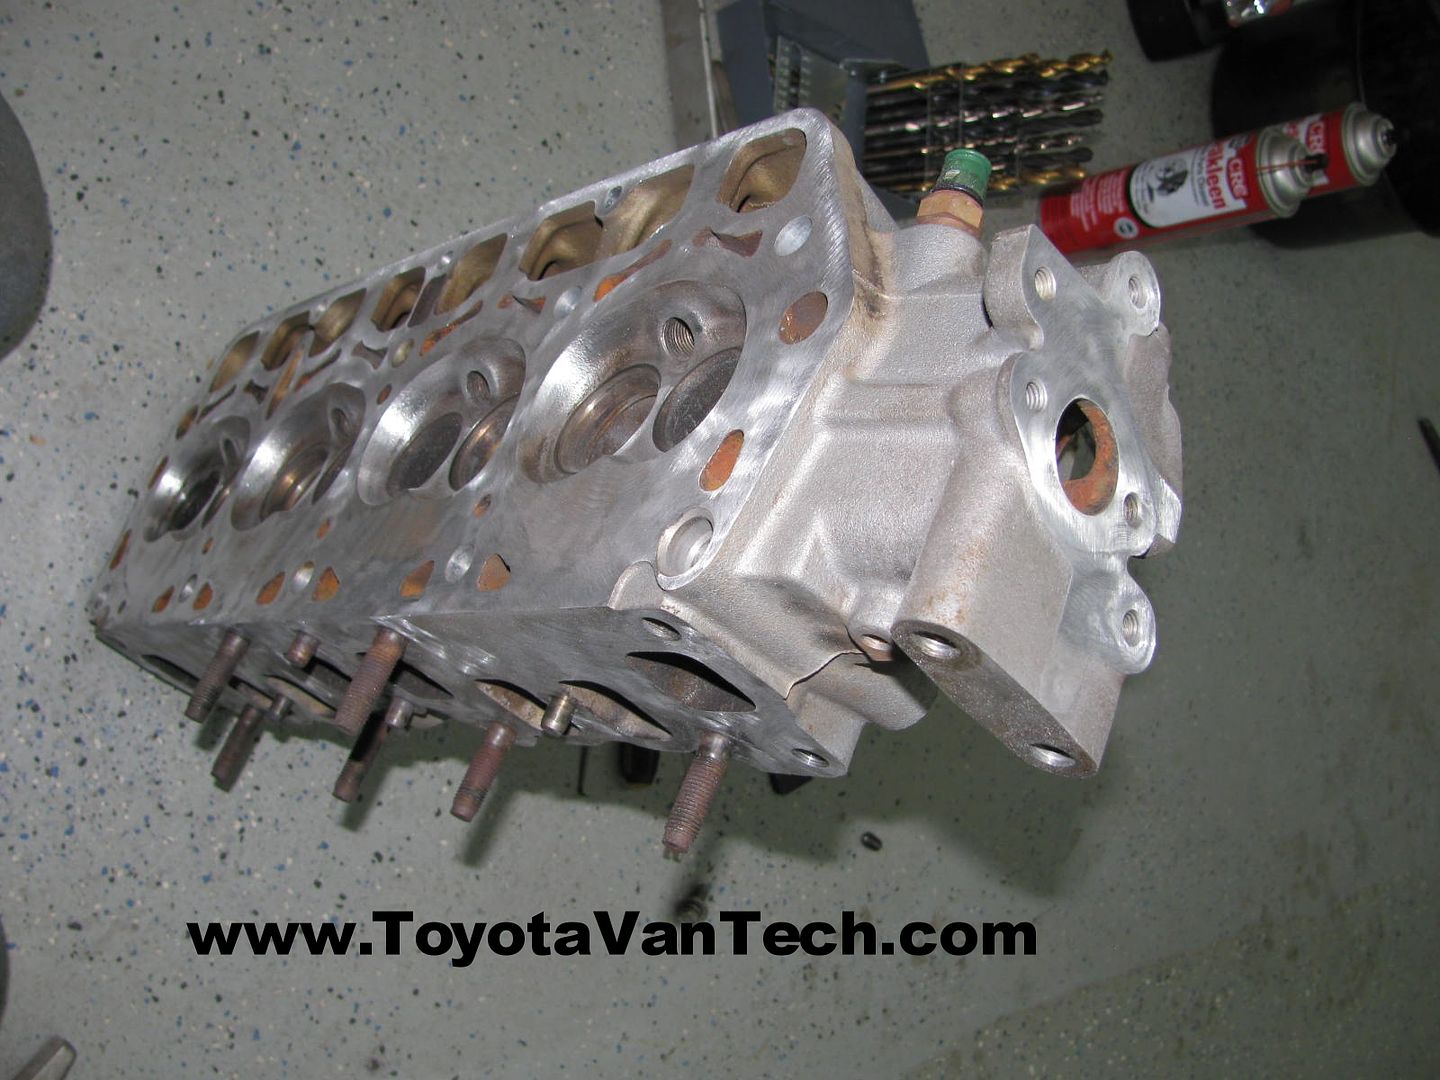
There are different types of valve spring compressor tools. For the 4y I like the small overhead style as shown below.
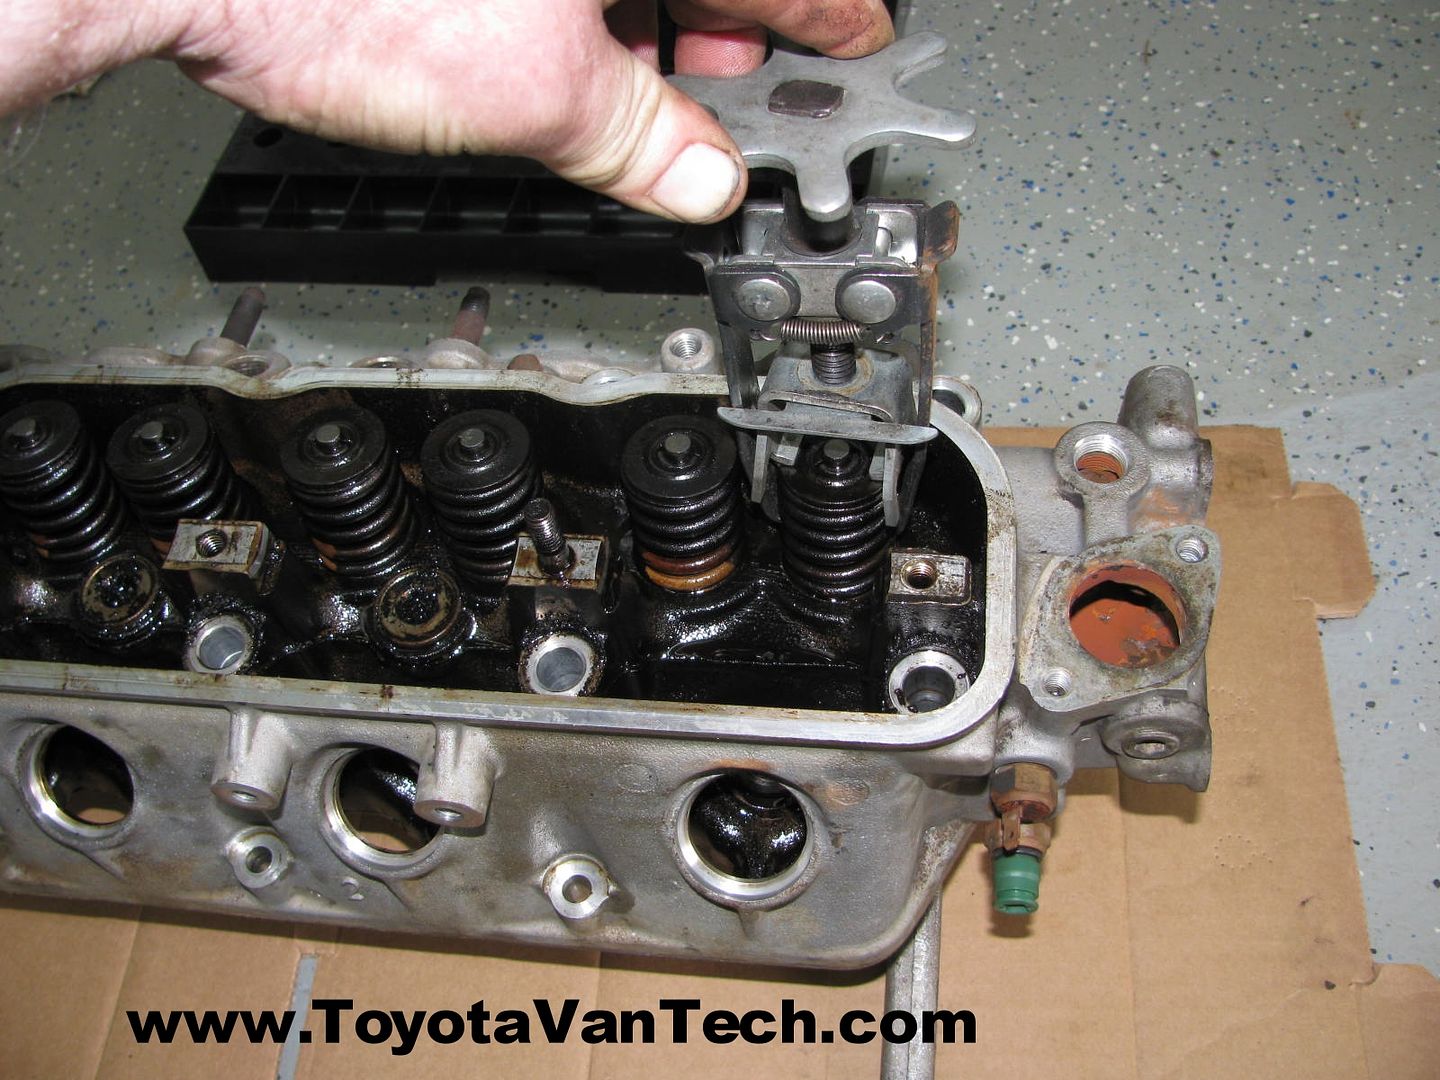
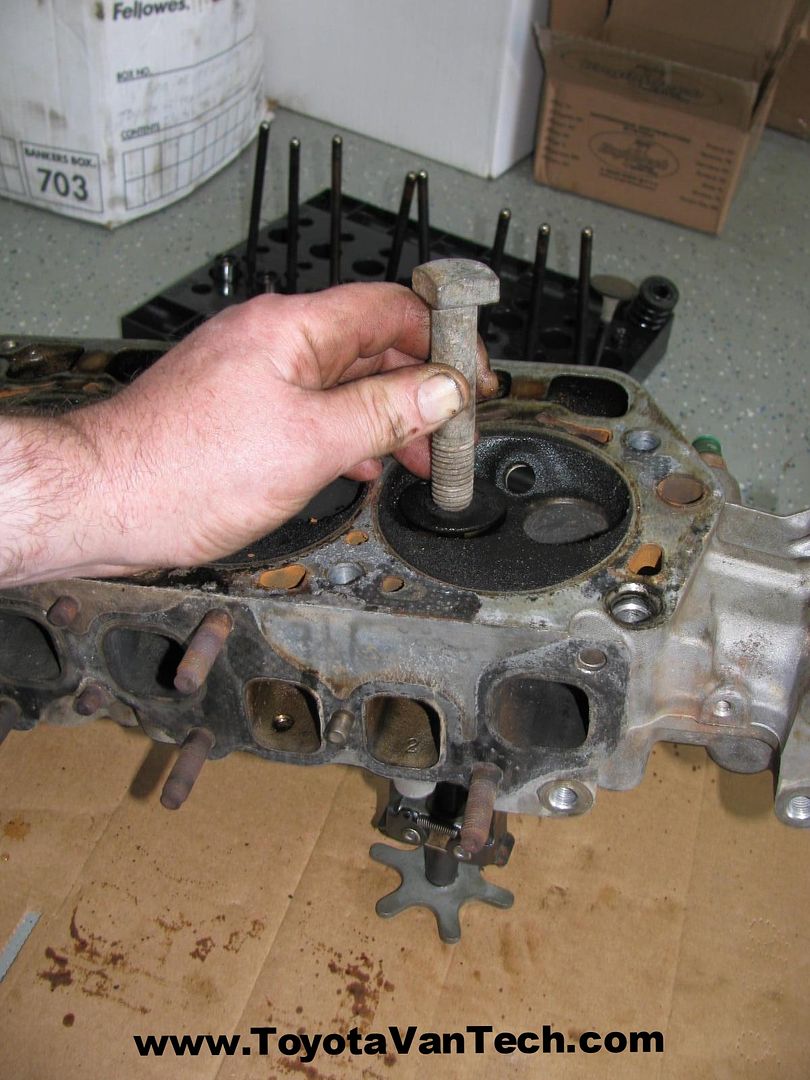
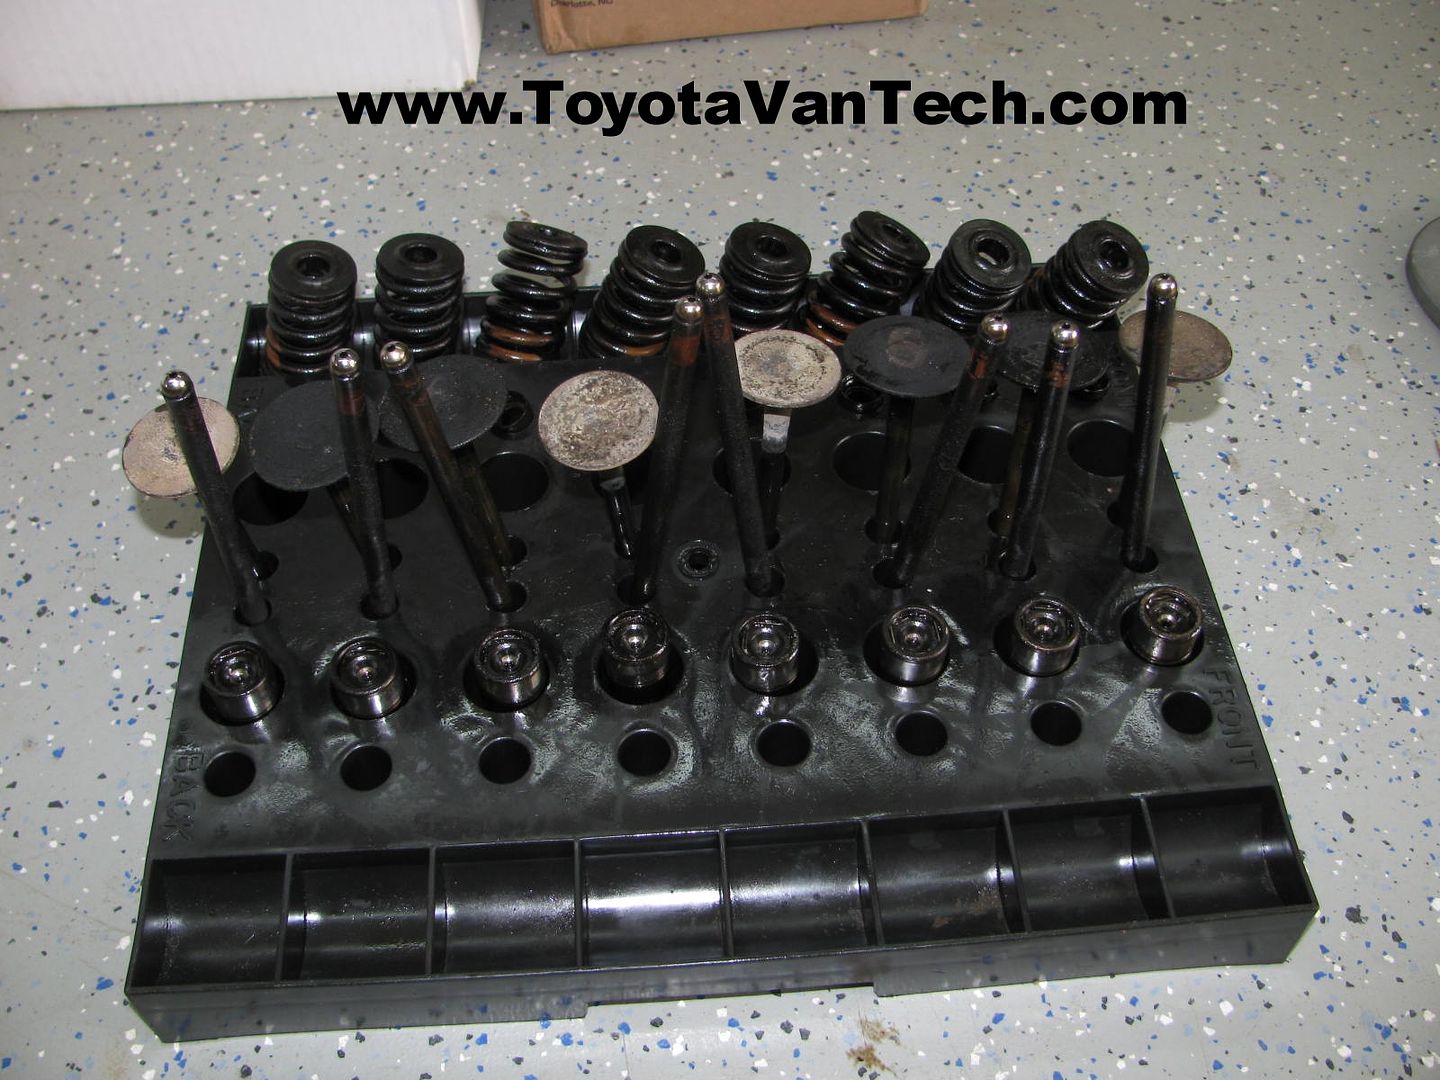
After a head has been run for a while, valve keepers can get stuck (really stuck) in place. If you apply force in the right spot, you can make short work of removing a stuck valve keeper. If you need to break loose a stuck keeper, it's important that you spread the impact over a large surface & keep the force centered & straight. I found an old bolt that does a nice job. A hammer is then used to strike the bolt (never hammer directly on valves). After removal, I have a plastic tray to keep things in order. If you don't have such a tray, sandwich bags or other such means can be used. If using bags, mark each one with the position of the parts inside.
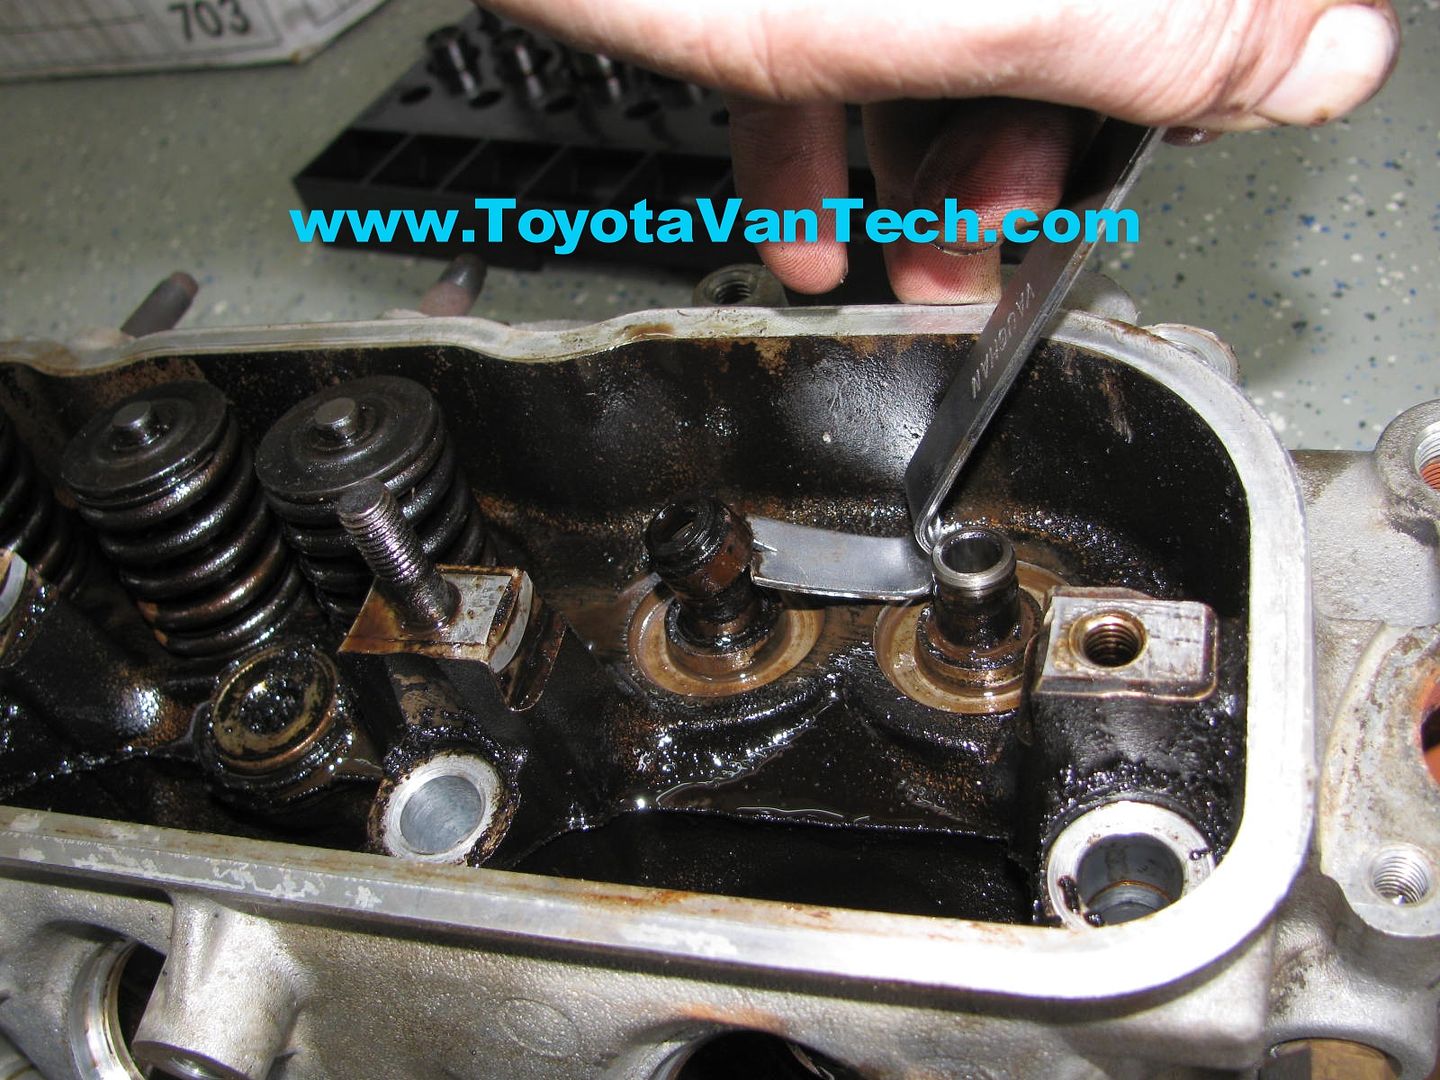
I have a miniature flat bar that works good for removing the old valve seals.
That's it for the head, here's my tray loaded up with all the valve components:
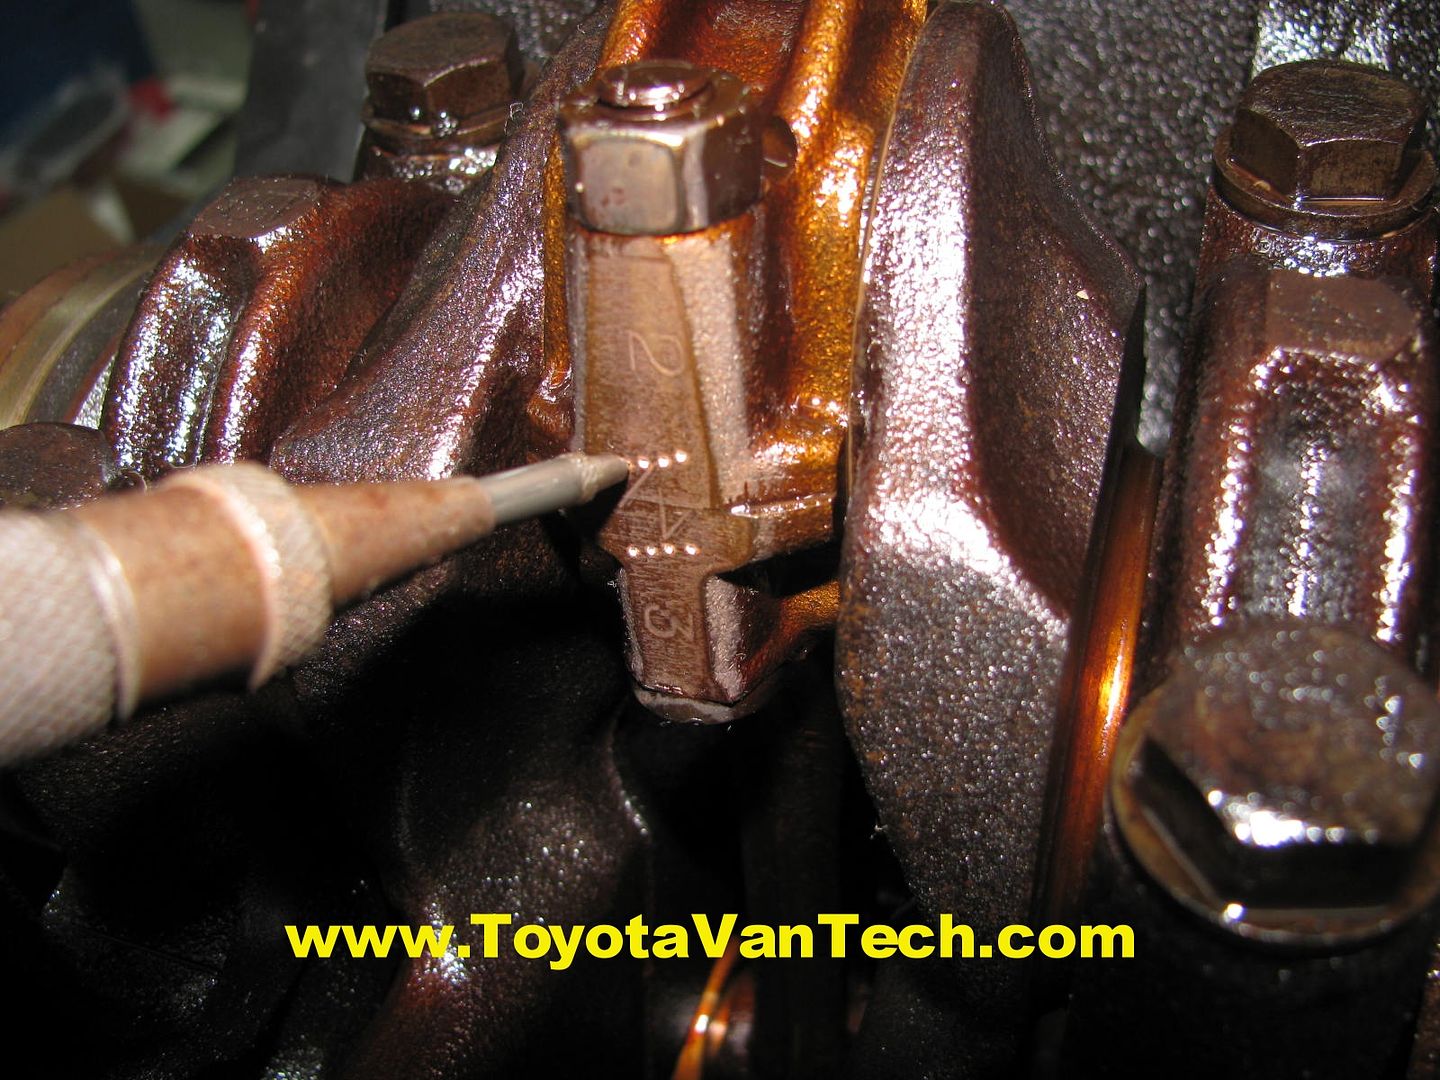
For connecting rods, I mark each side with an automatic center punch. I like to keep the punch marks at least 1/8" away from the mating surfaces.
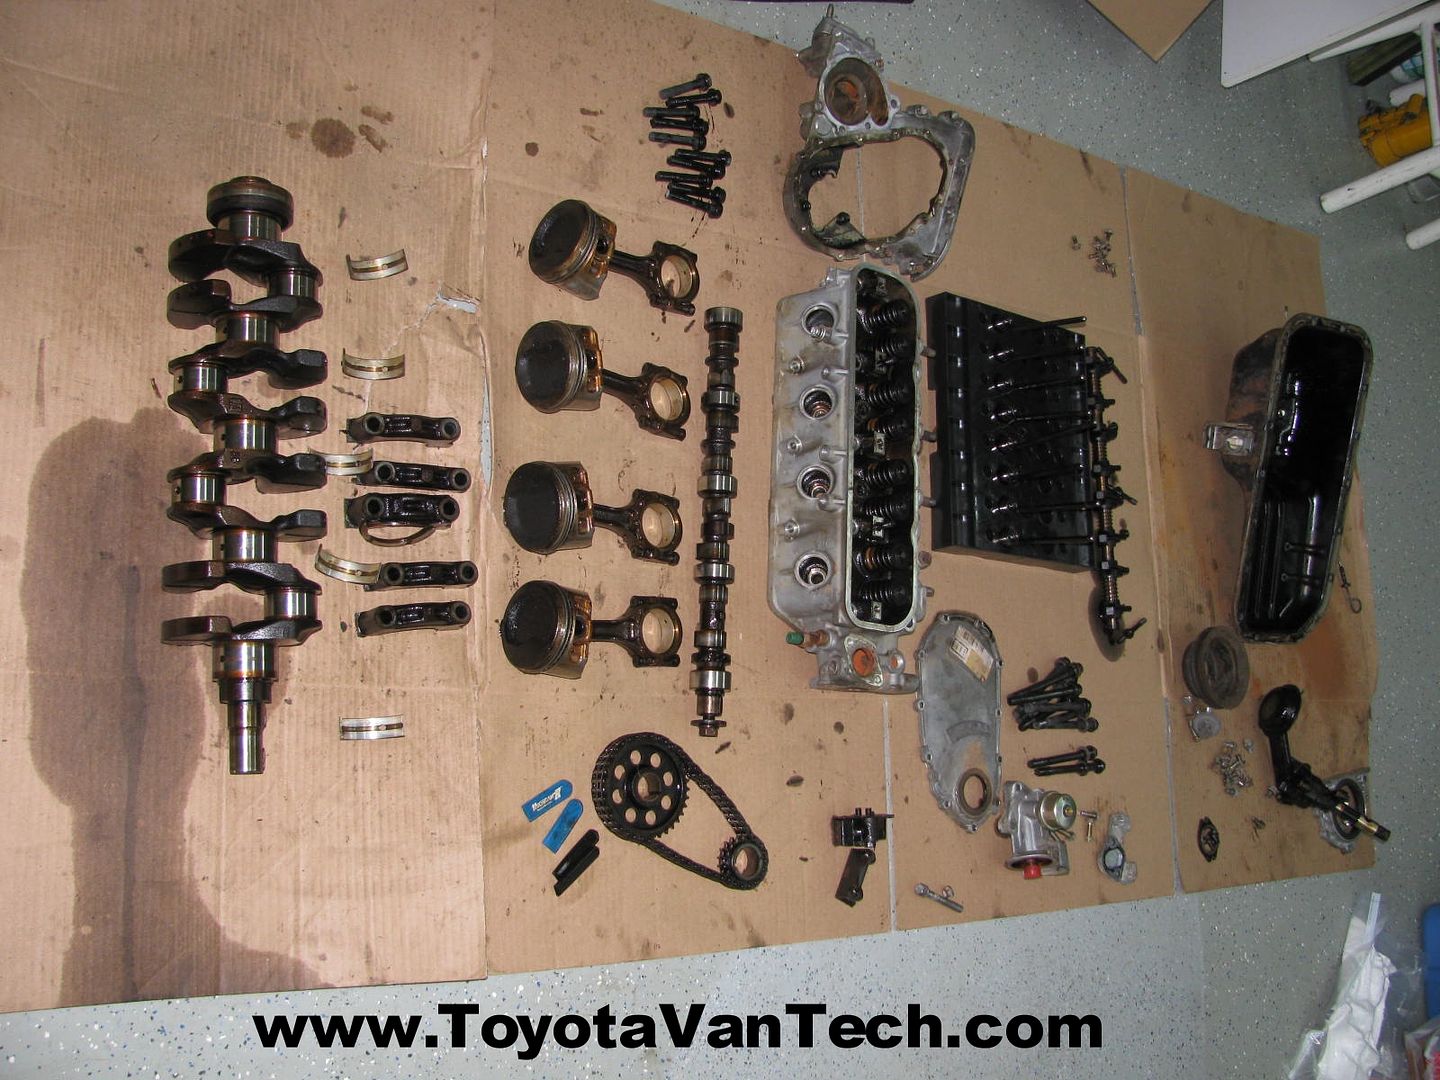
Here's my engine in pieces. Now the fun begins  . Tim
. Tim
-
Van Fan

- Rep Power
- 1
Re: Blew the rear main oil seal!
That is a VERY good write up
-
-
Van Fan

- Rep Power
- 1
Re: Blew the rear main oil seal!
Tim, have you rebuilt an engine or done a head gasket replacement without machining the head? Also will you be replacing the head bolts?
Great thread btw! I'm already subscribed to it and can't wait to see the end product.
-
Re: Blew the rear main oil seal!
Yes, when I was younger this type of overhaul (what I'm doing here) was all I could afford. I'll be re-using the old head bolts on this and will not be having any machine work done. Of course, the condition of this engine allows me to skip this stuff. If I had found worn valve guides, a warped head, burned valves, scored pistons/bores, or any number of other things I would have needed to bite the bullet and pay for new parts & machine work. Of course internal engine work is only a small part of the expense when doing a job like this. I'll be needing to replace a whole slew of parts external to the engine. I'll document here as I purchase/install new parts. In case you're not aware, I have previously documented a thorough rebuild HERE in my blogs. Tim
-
Van Fan

- Rep Power
- 1
Re: Blew the rear main oil seal!
I'll be reading the blog tonight! I clicked over to take a look and saw your cargo van has a window on the sliding door... Is this a modification you did or is that oem??? I have a cargo myself and was just saying the other day how awesome it would be to have a window there.
Sam
-
Re: Blew the rear main oil seal!
I much prefer the look of the windowless cargo door, but since this is a daily driver safety takes priority. I took this door from an 85 passenger van back in 2002 (it came with the window). Of the possible window options, I like this one the best as it's solid & does not open (no window tracks or latches to get messed up). Now that driving camera systems are readily available and inexpensive, I'm looking for a straight cargo door. I'll probably block off my rear window as well and rig up a monitor to view these areas while driving. Tim
-
-
Van Fan

- Rep Power
- 1
Re: Blew the rear main oil seal!
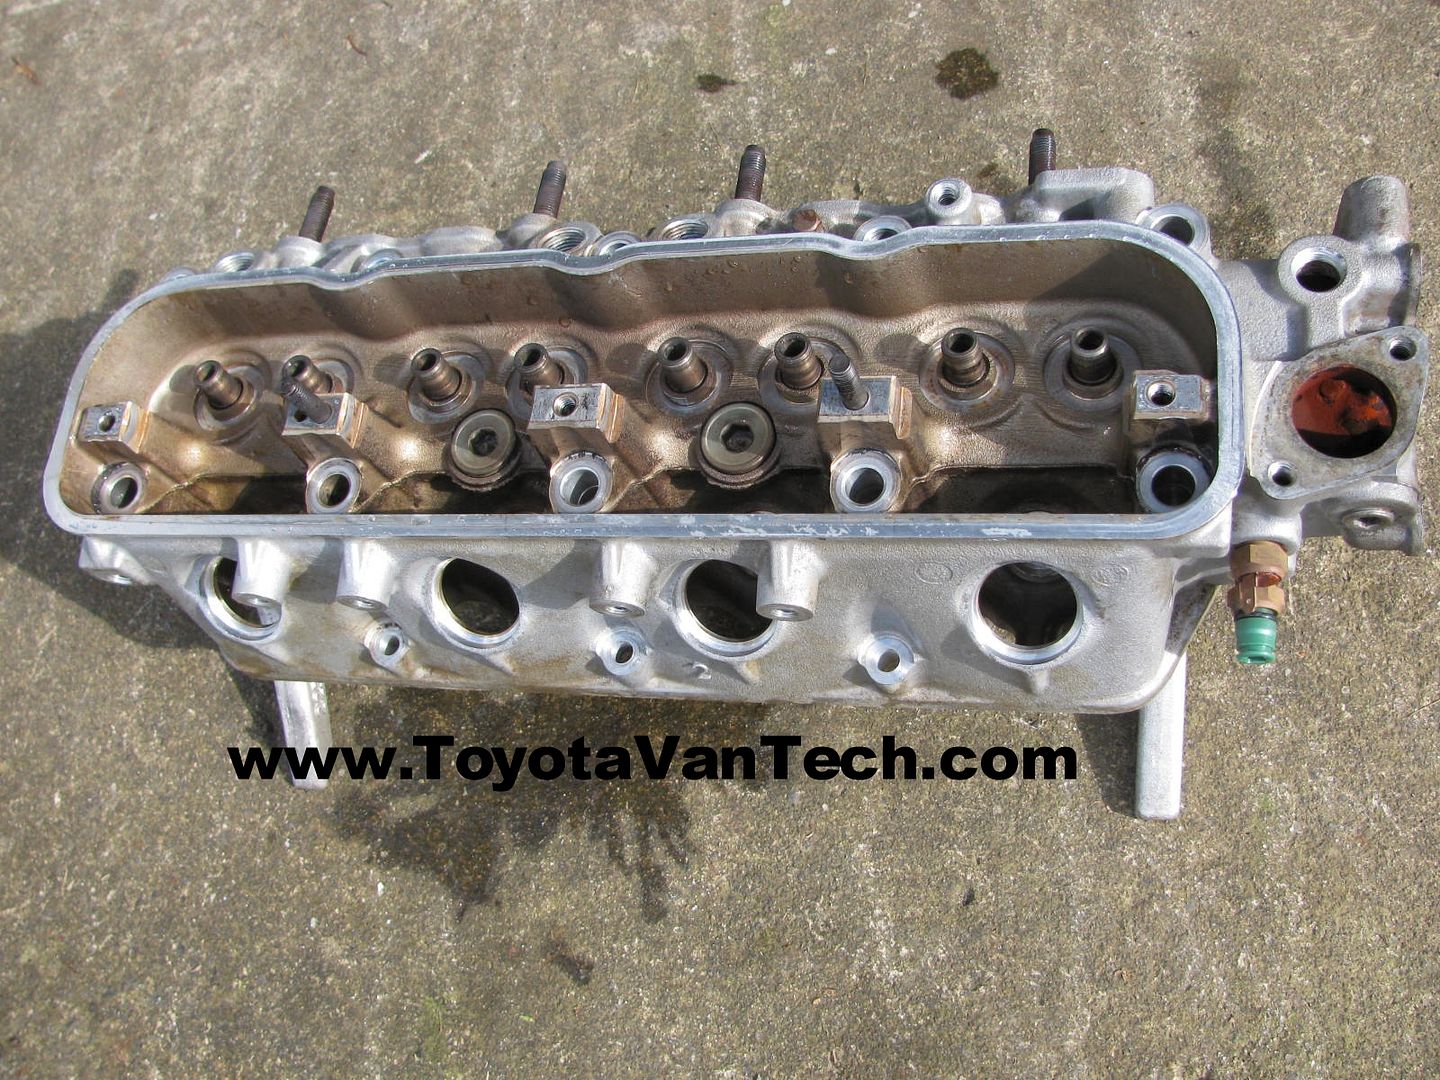
That is a very simple and effective way to check the valves and head. The head looks great btw.
-
Re: Blew the rear main oil seal!
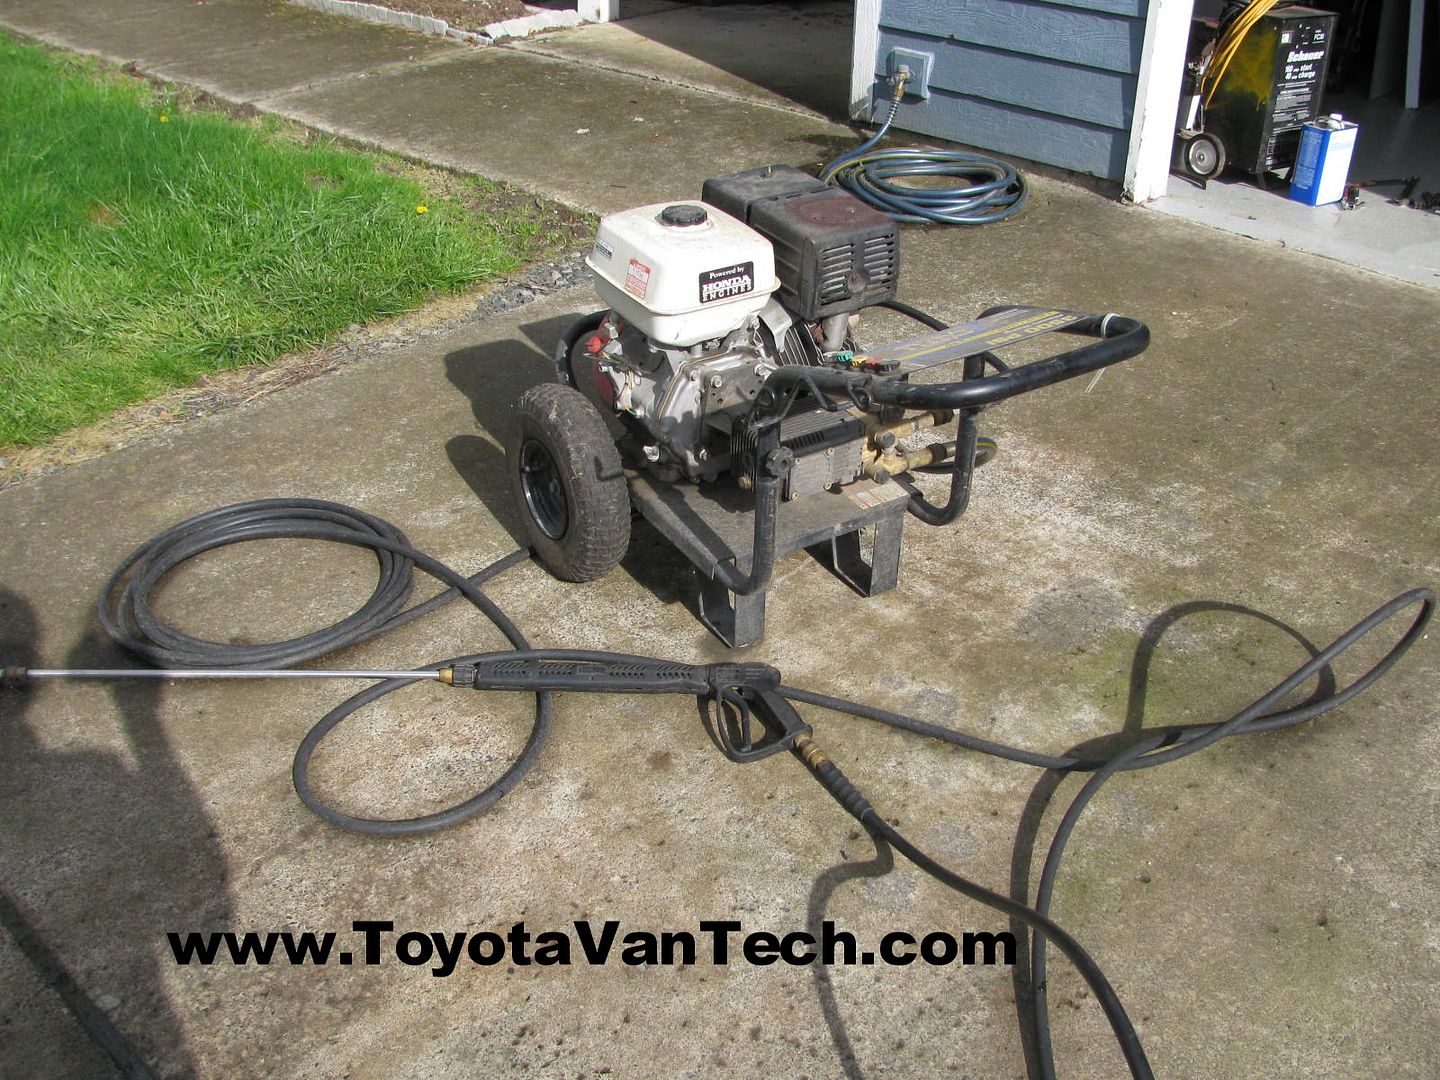
So now it's time to address block issues. As shown in my 1st post here, this cooling system was contaminated. It was a messy job, but I took the stripped block outside & gave it a thorough pressure washing. I spent a good bit of time forcing the spray in each port, this way & that, block right side-up, sideways, & upside down, etc. I kept spraying until only clean water drained back out. This was productive as I got A LOT more crud out of the block. With the block in this state there are no places for the crud & sediments to hide. Other than a little surface rust (normal) all sediments inside the block are successfully removed.
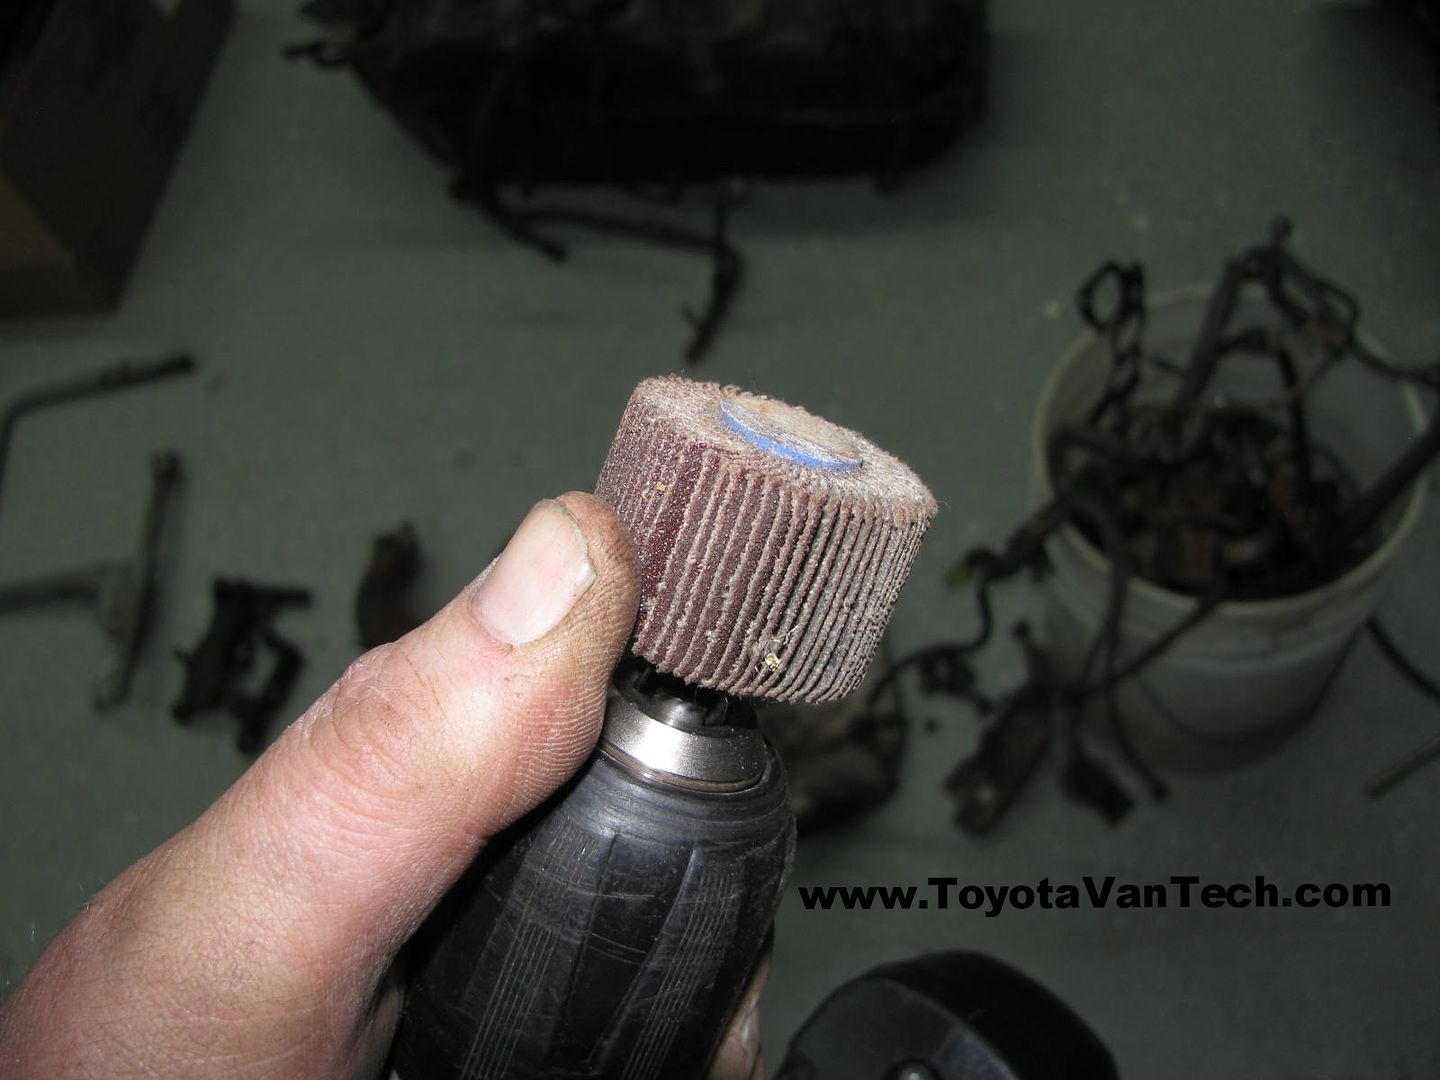
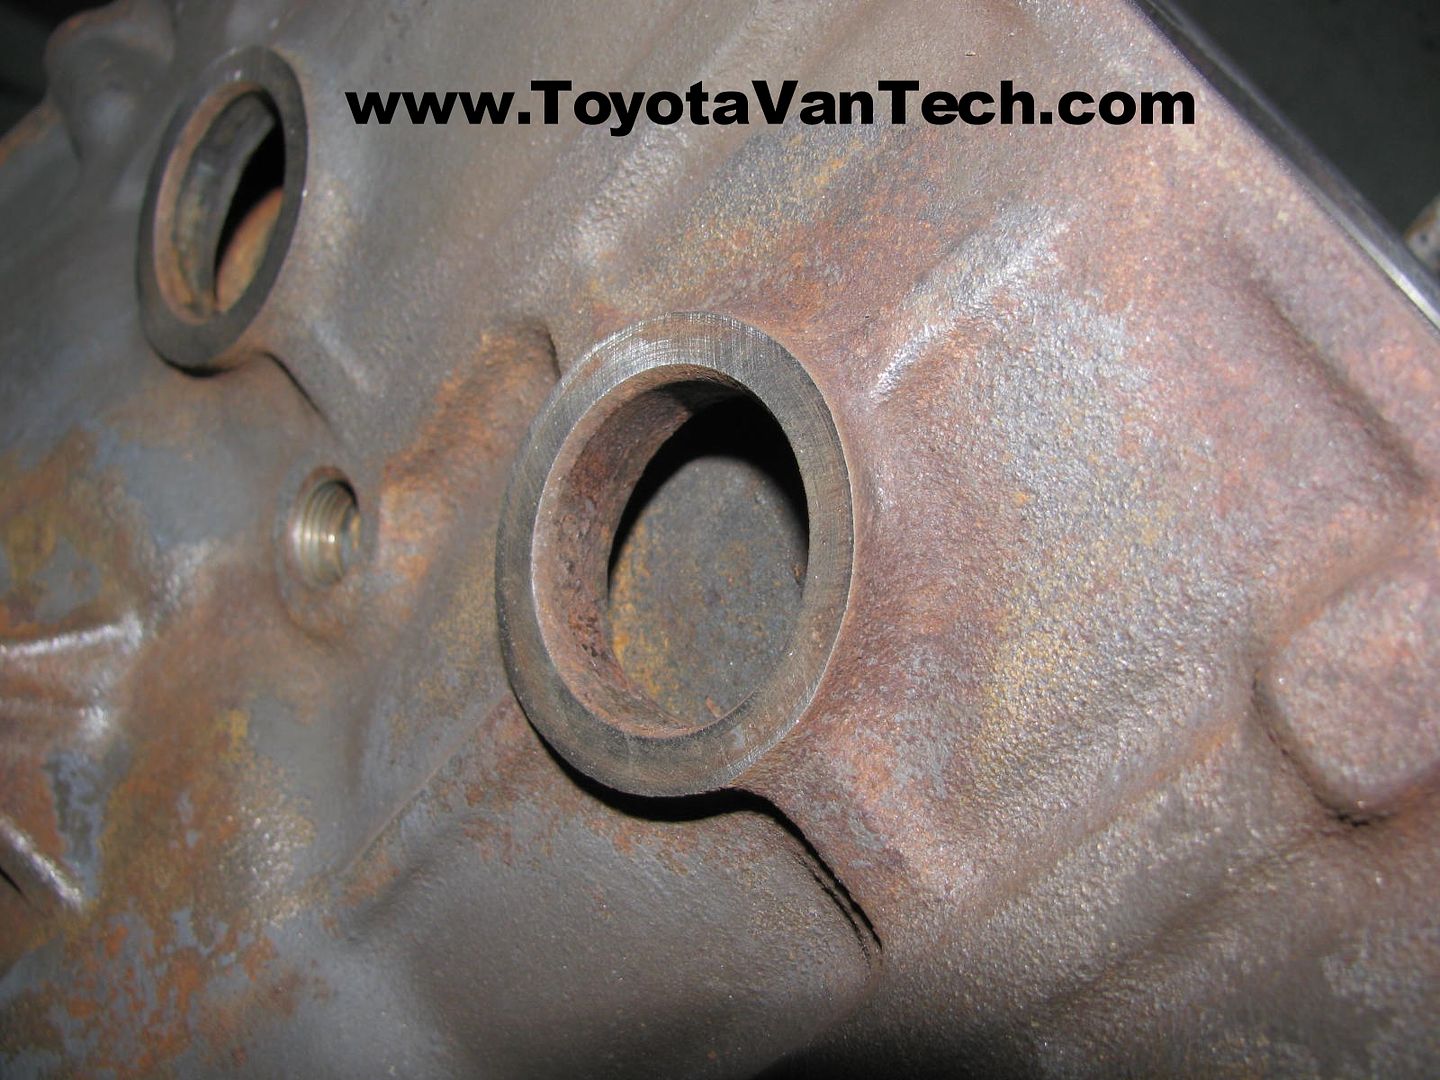
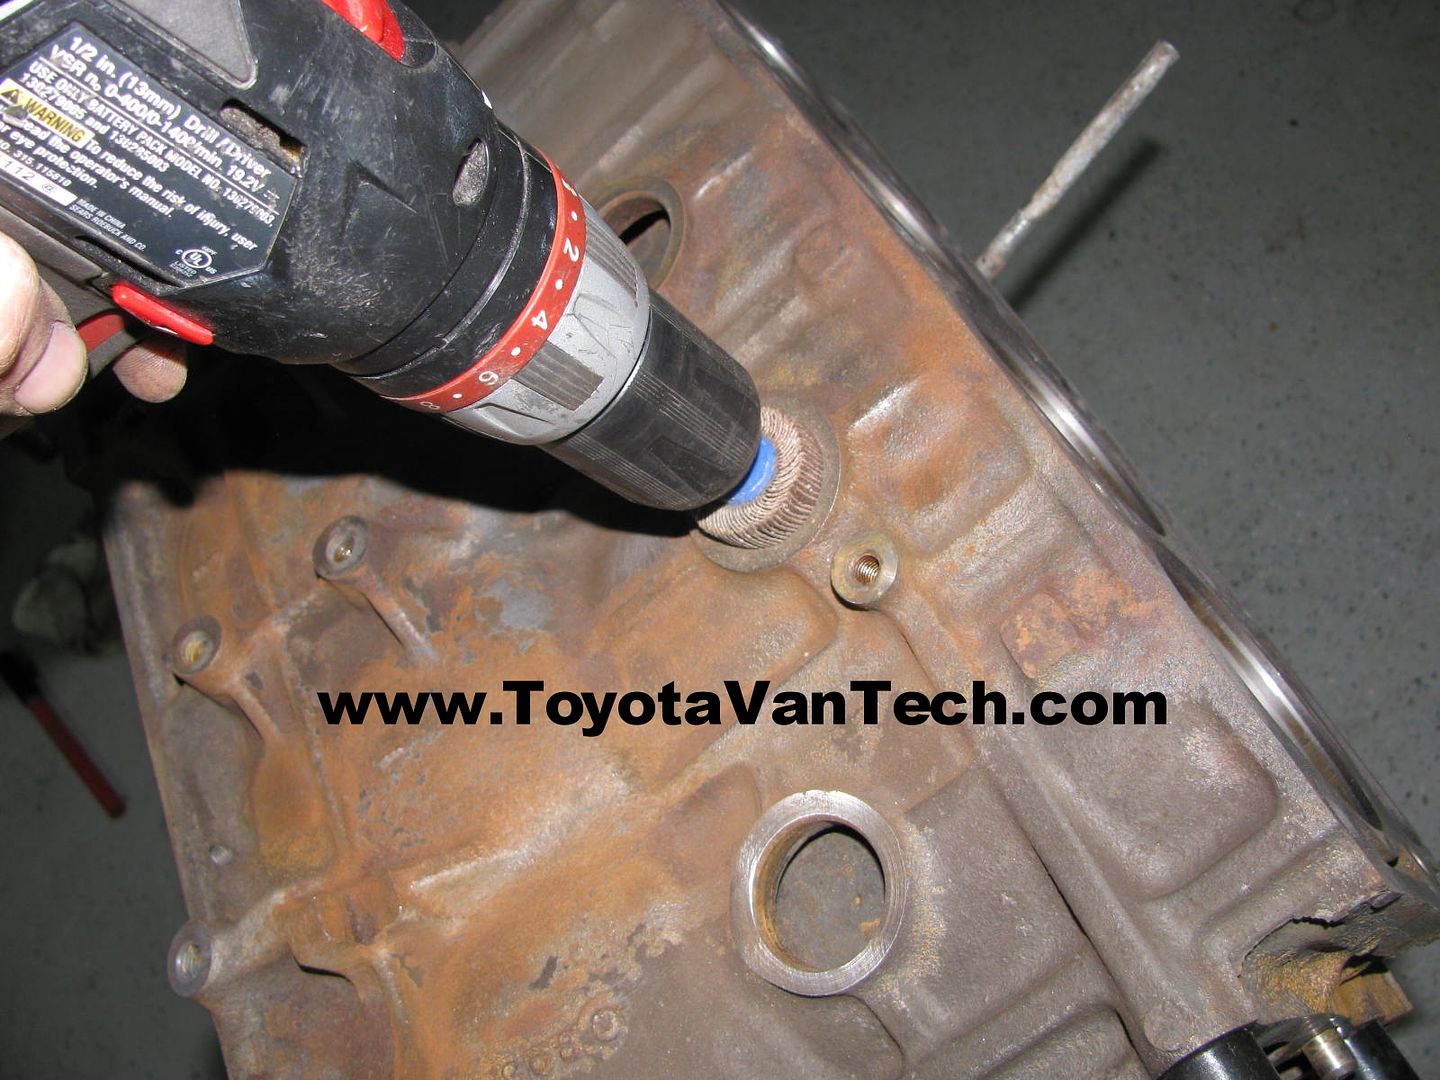
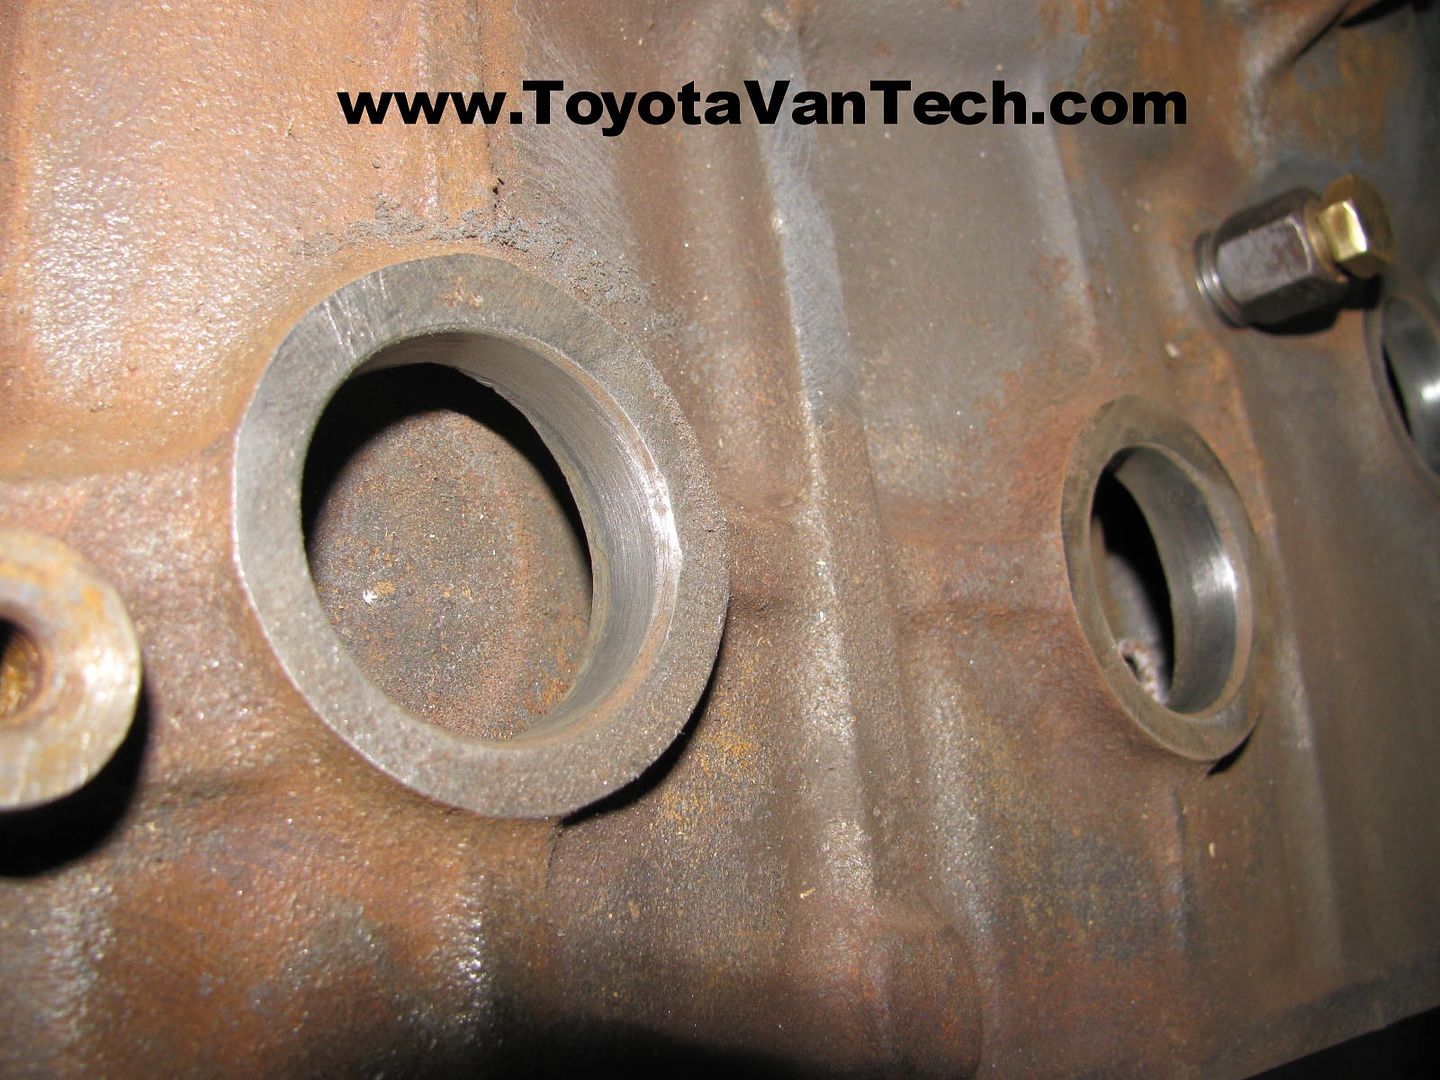
Next I select an appropriately sized sanding wheel, put it in my drill and use this to clean up the freeze plug bores
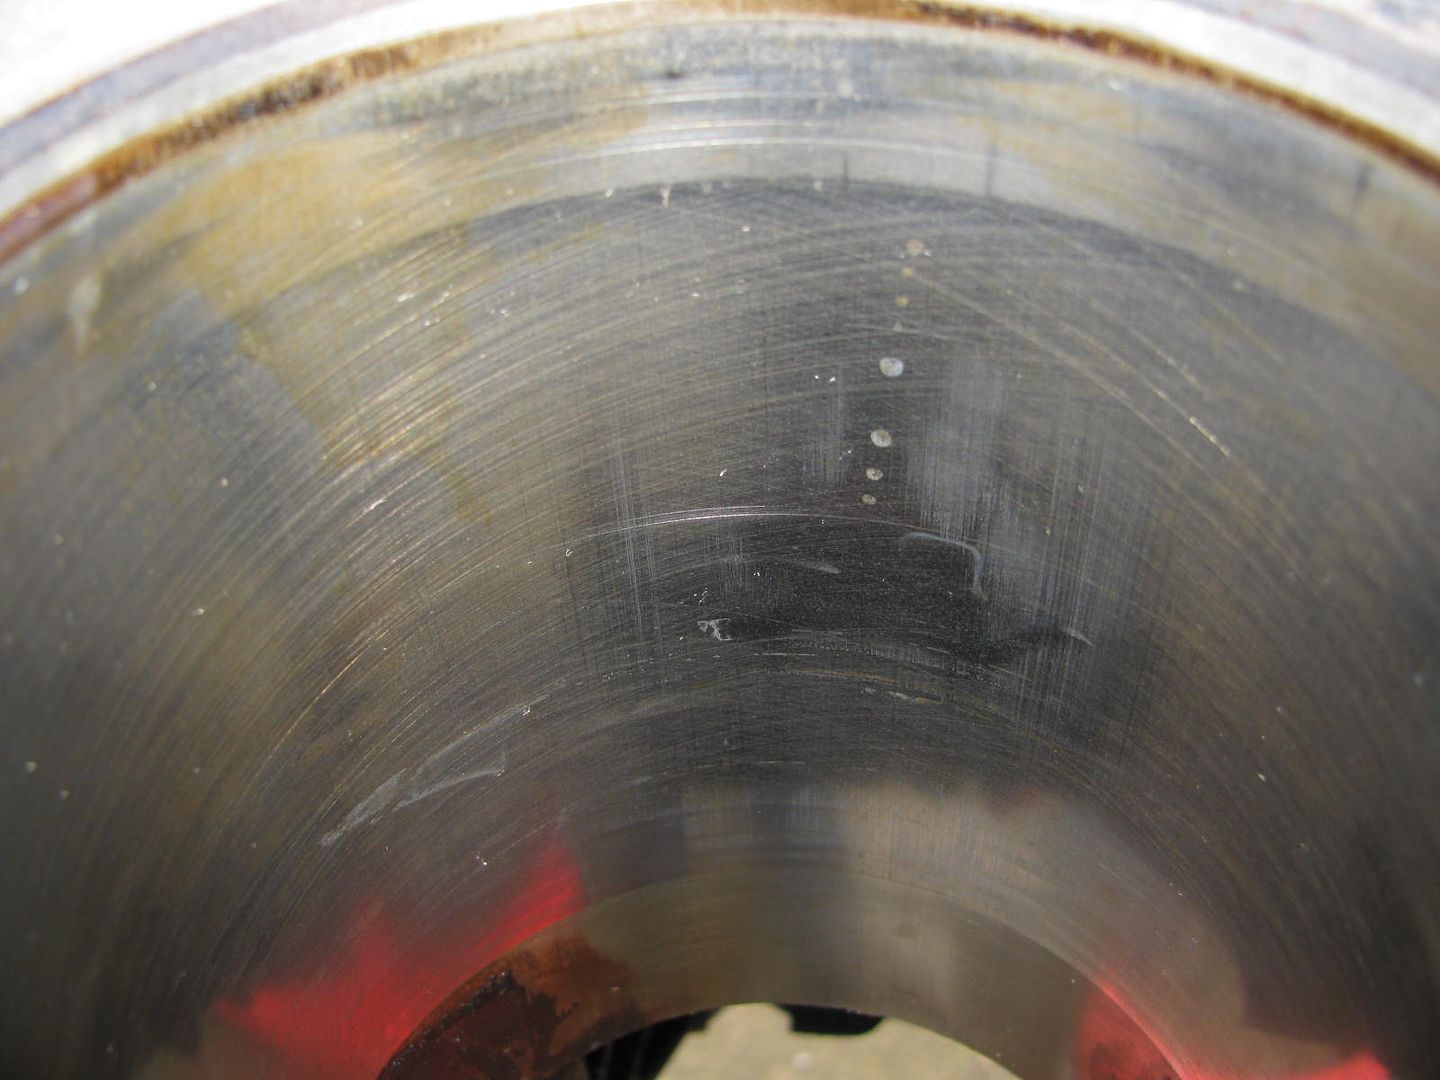
Here is a snap shot of one of my cylinder bores. As you can see there is very little wear. Original cross-hatching is still visible. I have found this to be common on most Toyota engines.........even high mileage ones.
In order for new rings to break-in properly we need to rough things up a bit. To achieve this I'm going to use a flex hone. Flex hones are selected by cylinder size & grit count on the cutting stones. When selecting a hone size, we need to know cylinder bore size then select the next bigger hone size. STD bore diameter on the 4y is 3.5827 - 3.5839" so I select a 3 3/4" hone. Grit is selected based on piston ring manufacturer recommendations. In my case I'm using Sealed Power E-611X cast iron rings. Recommended grit for these rings is 240, so I select a BRM part #GB33424 3 3/4" 240 grit Silicone Carbide flex-hone. When honing it's important to lubricate. You can use different things for this. In the past I've used ATF (Automatic Transmission Fluid). This time I purchased the fancy special stuff. I'm using BRM Premium Honing Oil. When honing it's recommended to select a drill that turns approx 600 RPM. The hone should be at RPM before entering the cylinder & a constant velocity needs to be maintained when pushing/pulling the hone through. When I say "through", I mean all the way through. Do not slow down, stop, or reverse arm motion until hone has completely passed through cylinder. The idea is to make a uniform hatch & this requires a constant RPM and a complete pass-through using a uniform pushing/pulling motion. Here's a video I made while honing the cylinder walls.
Here's a picture of a cylinder after honing (before rinsing).
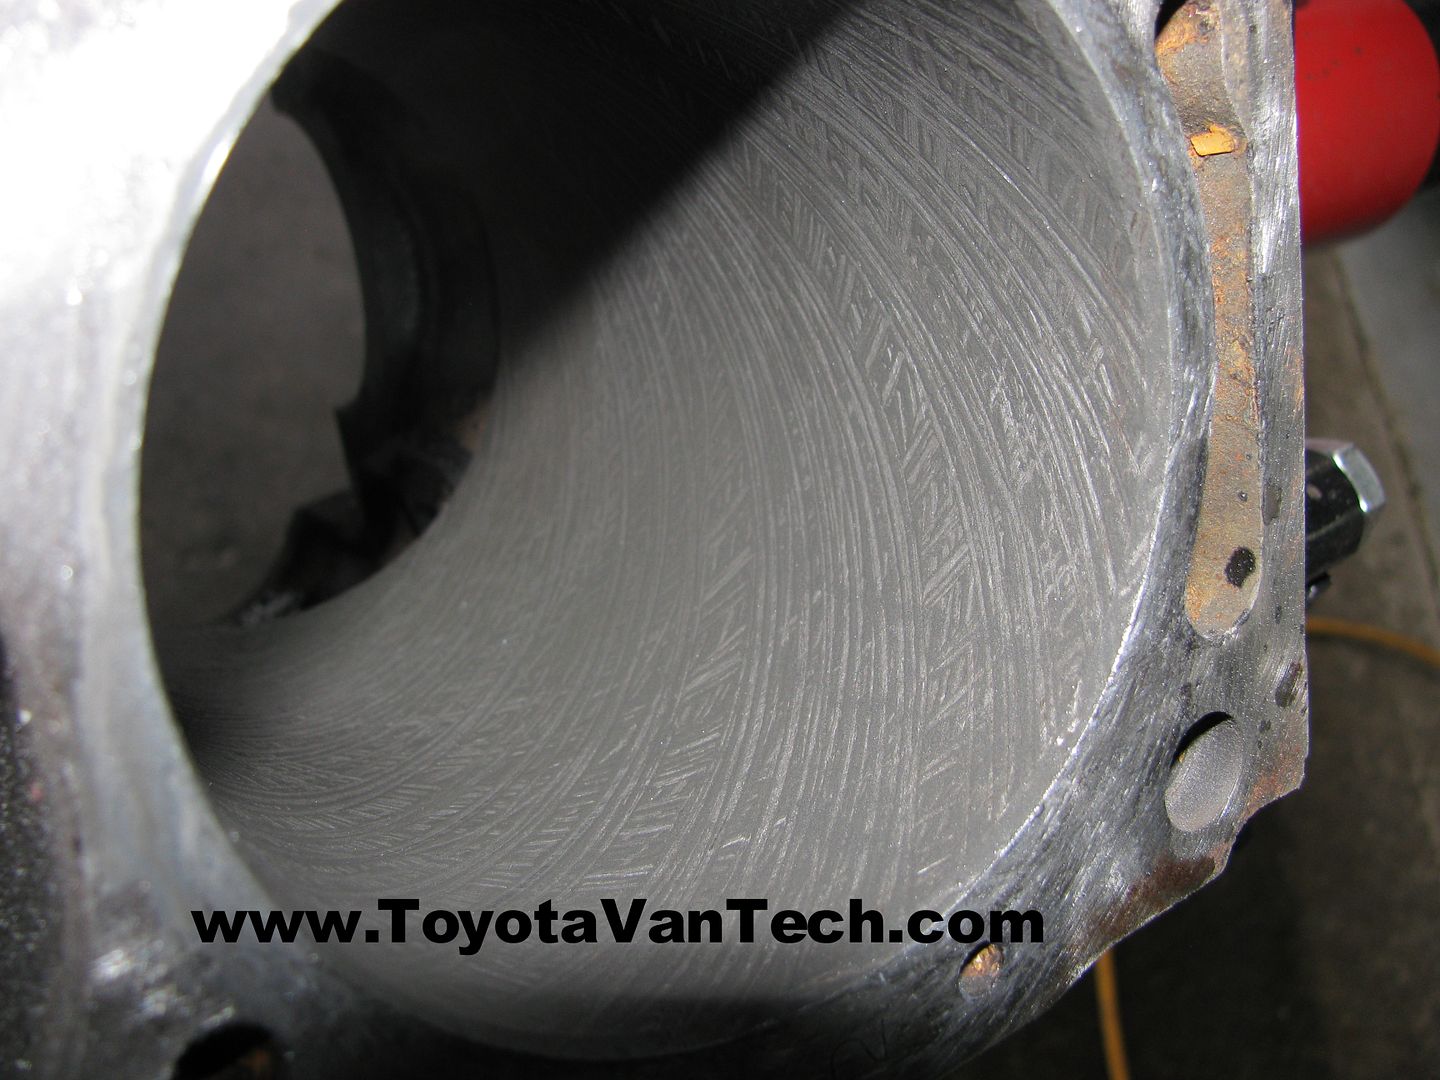
After block is honed I use a kitchen brush and a mild soap solution in warm water to thoroughly scrub each cylinder (important to get all the grit particles removed). Next I pressure wash the block again & dry with compressed air. I should mention it's important to move fast as bare metal surfaces rust quickly. As soon as I'm confident these surfaces and all passages are reasonably dry I move it into the garage and turn on the heat (help to dry it more and stop formation of rust). Here is a picture of a cylinder wall after cleaning & drying.
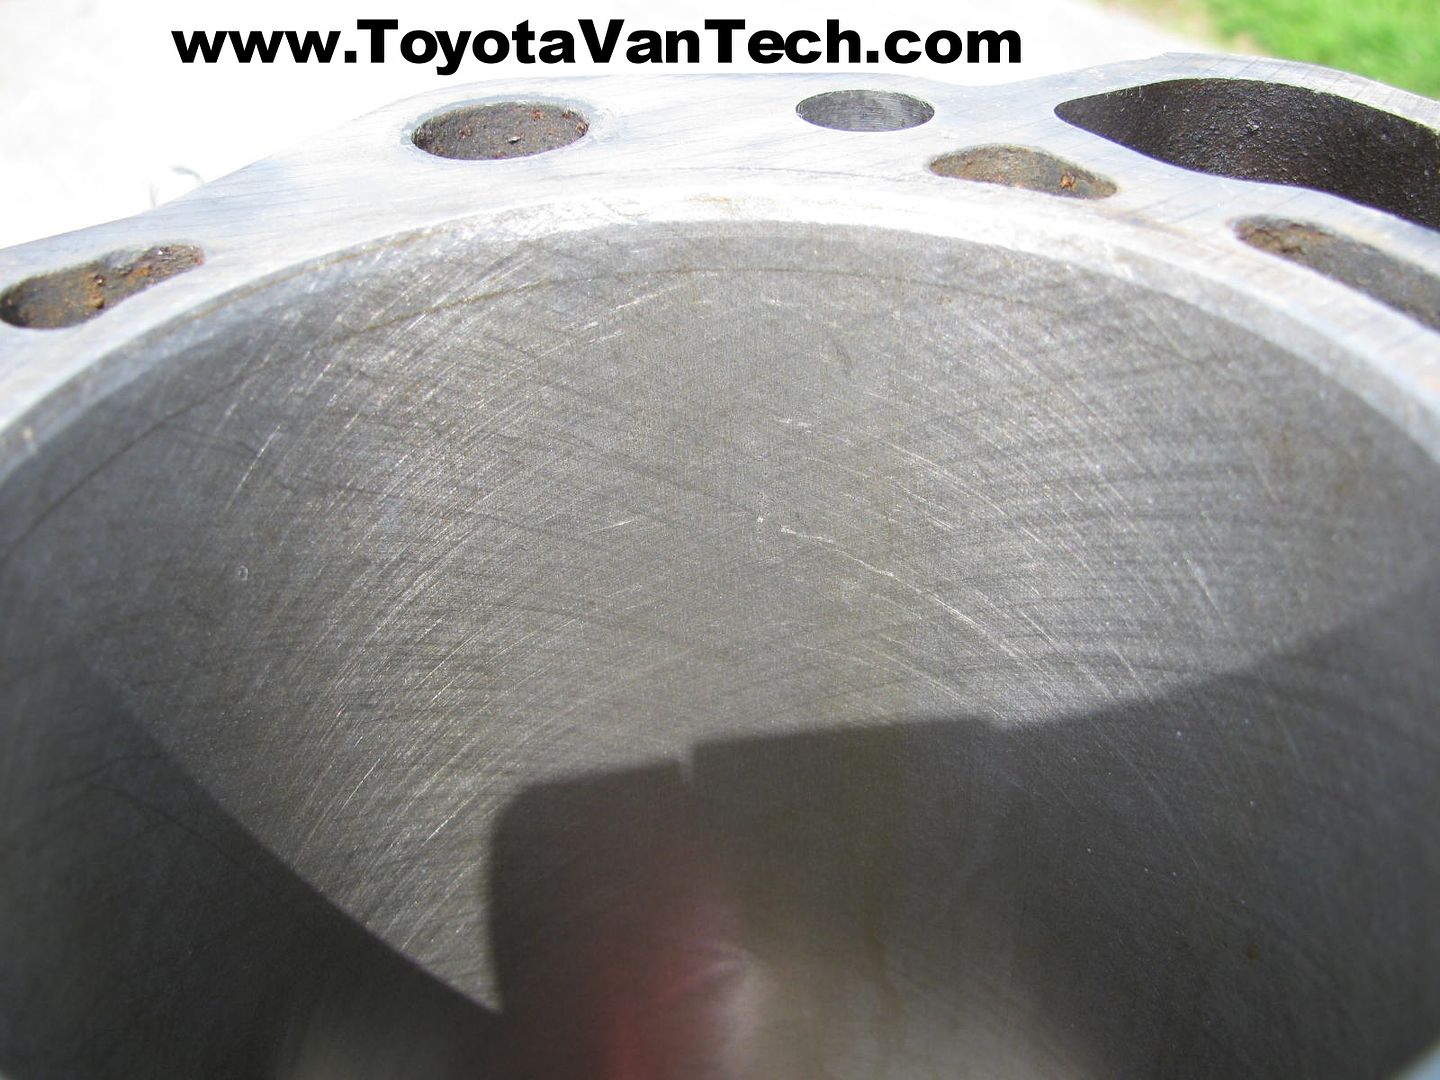
I install new freeze plugs (sorry, no pics). I put a little bit of Aviation Form-A-Gasket in the bores & drive them in with a special driving tool. Assuming you don't have the driver, a large socket can be used. If using the socket method, it's important to select a socket that fits on the outer edge of the plug, yet small enough to slip into the bore (side of block). If the socket slips into the inner or lower surface of the plug, you need a bigger socket. Now for the fun part. I mask & paint the block. I choose a color similar to the original paint (Rust-oleum #7786 Smoke Gray). Here are some pics of the results:
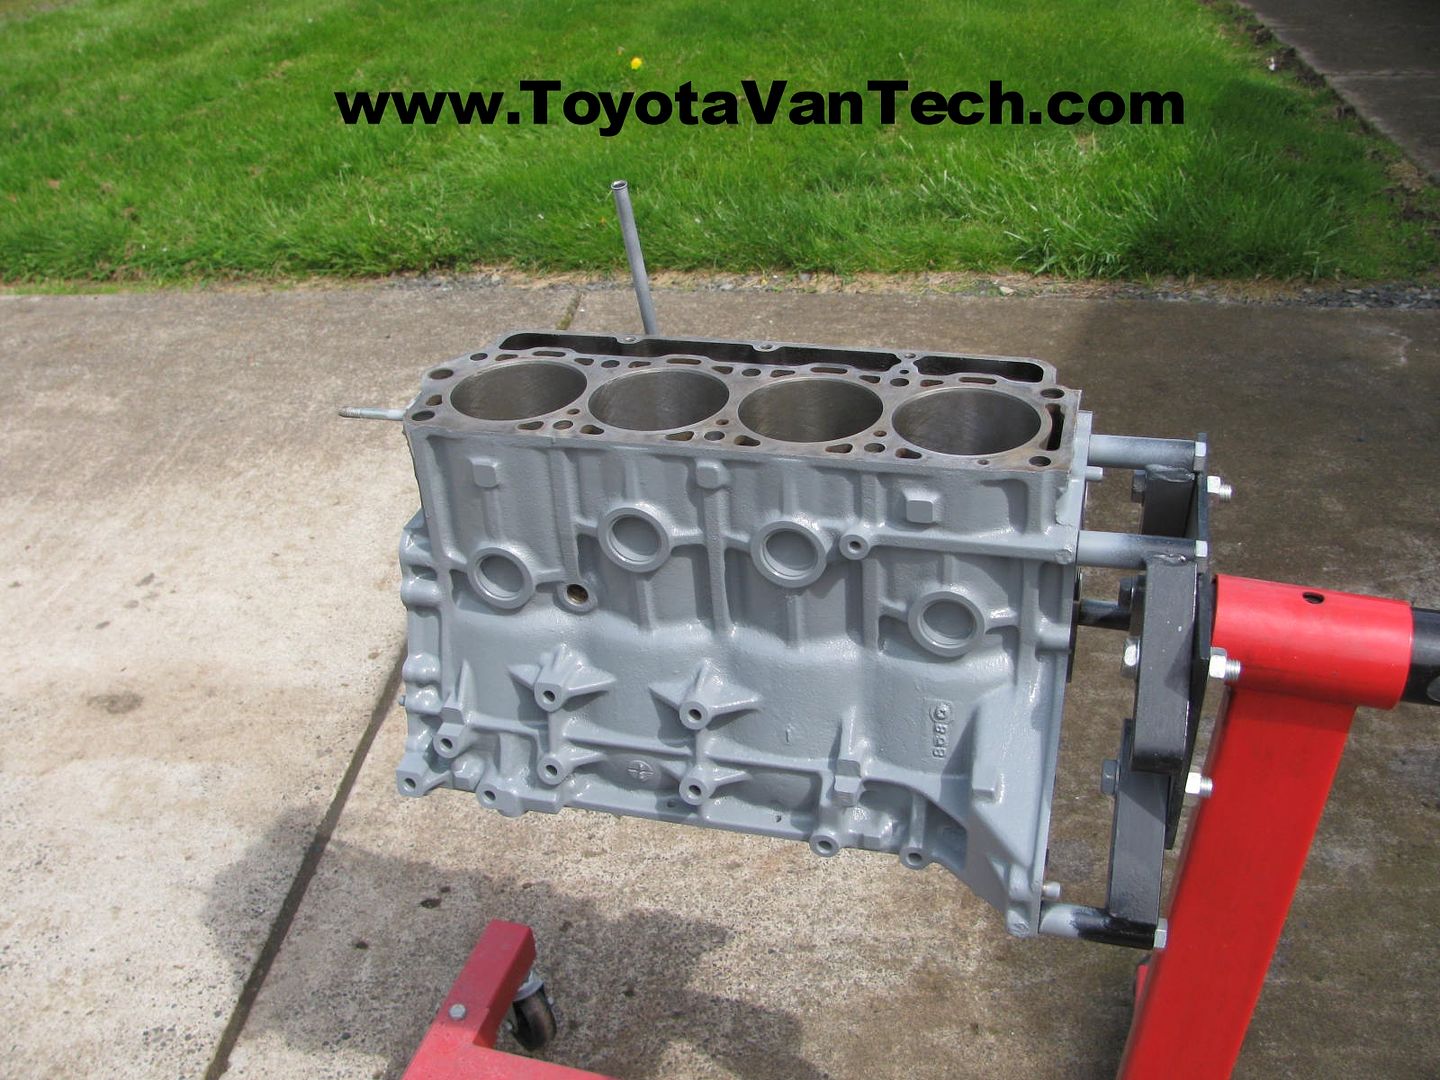
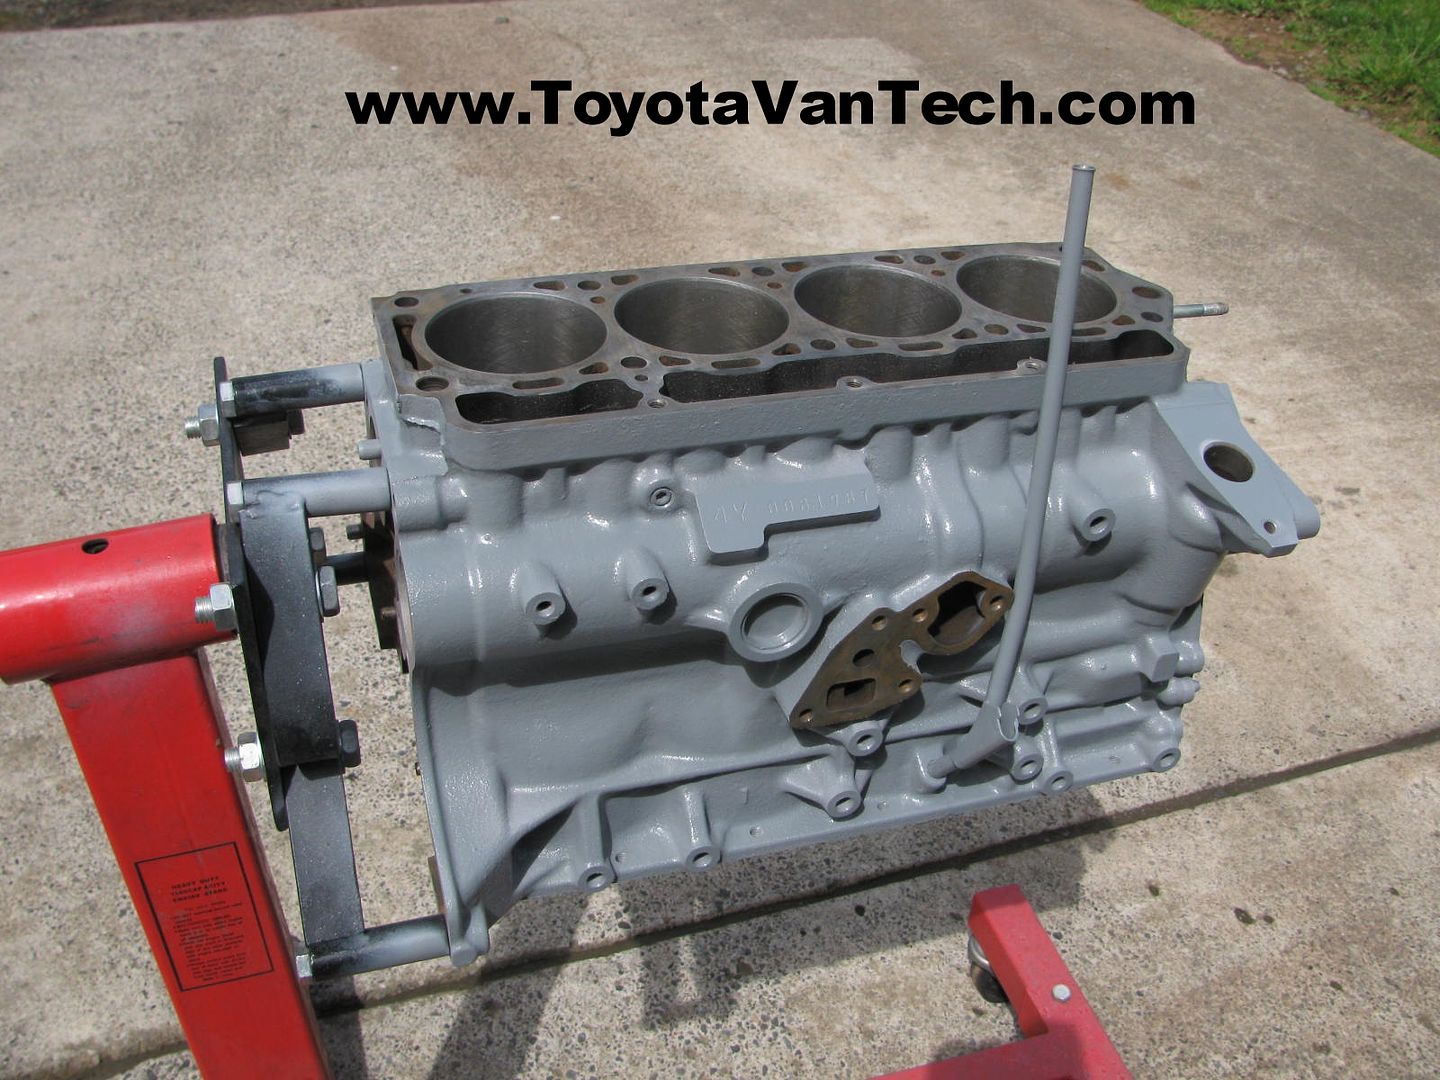
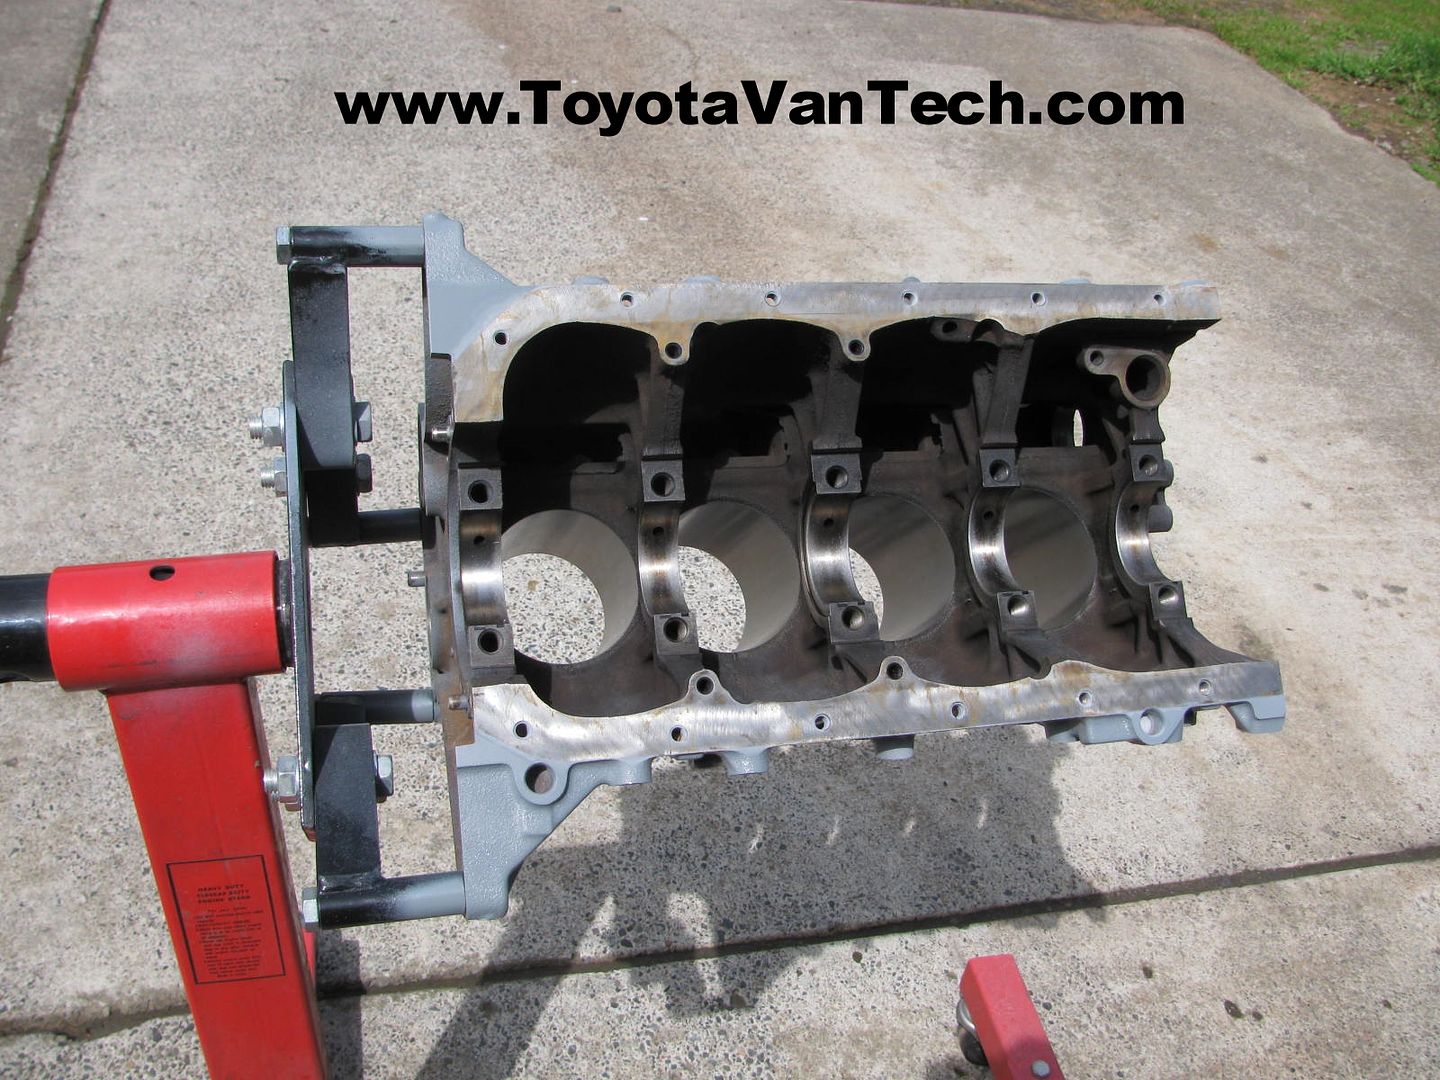
-
Van Fan

- Rep Power
- 1
Re: Blew the rear main oil seal!
This is all info that can only come from experience... Great job tim
-
Van Fan

- Rep Power
- 1
Re: Blew the rear main oil seal!
Tim what will you be doing with the fuel injectors? Will there be a write up for that? Thanks
-
Re: Blew the rear main oil seal!
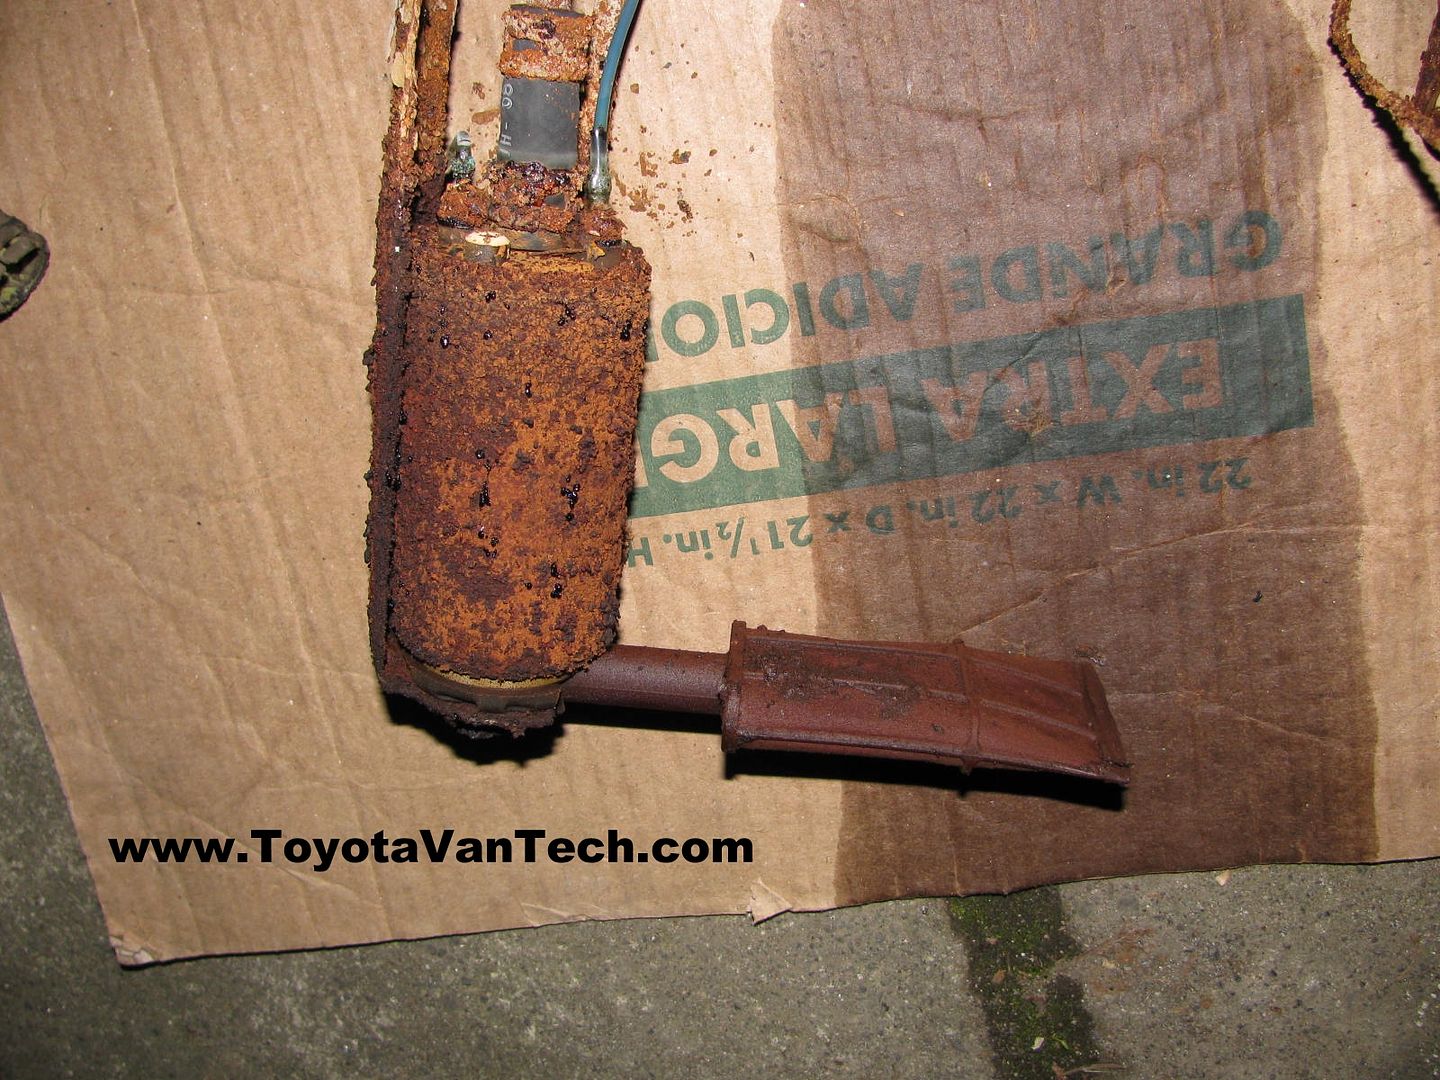
I took the fuel injectors down to DR. Injector of Gladstone, OR. They tested them and all failed miserably. After cleaning and retesting only one came back within specs. 2 were very marginal, one failed miserably. I ended up purchasing 4 of his rebuilt injectors for $45 each. This is the 1st time I've had to replace injectors on a 4y, but this thing did sit for 10 years with bad gas in it. Here's a picture of what the fuel pump looked like...........Inside of the tank wasn't much better:
-
Van Fan

- Rep Power
- 1
Re: Blew the rear main oil seal!
Wow... Do you know if dr injector does business through mail? Iam no where near OR.
-
Re: Blew the rear main oil seal!
Dr Injector is a chain. They have them in lots of major cities. You might check your local area to see if one is nearby. I like my local store, but they are around 40 miles away from me (I don't always have time to drive down there). As a result I often do business with them through the mail. I plug their business and give out their information in this thread: https://www.toyotavantech.com/forum/...ng-Head-Gasket
-
Van Enthusiast


- Rep Power
- 1
Re: Blew the rear main oil seal!
Tim, What van did that engine you built up nicely go in and blogged about go in?
Tags for this Thread
 Posting Permissions
- You may not post new threads
- You may not post replies
- You may not post attachments
- You may not edit your posts
-
Forum Rules
. It ran good, had great power, but it would get hot. It also had a mysterious coolant leak. I would fill it up, drive it, and it would not leak. The next day I would check it again & the cooling system would be empty. I messed with it for a while (back then) but got frustrated with the leak and the hot running issue. Since it had some chassis rust problems (suspect it had been driven in salt water), I decided it wasn't worth messing with & parked it for parts. Fast forward 10 years.............


 Reply With Quote


 . Tim
. Tim
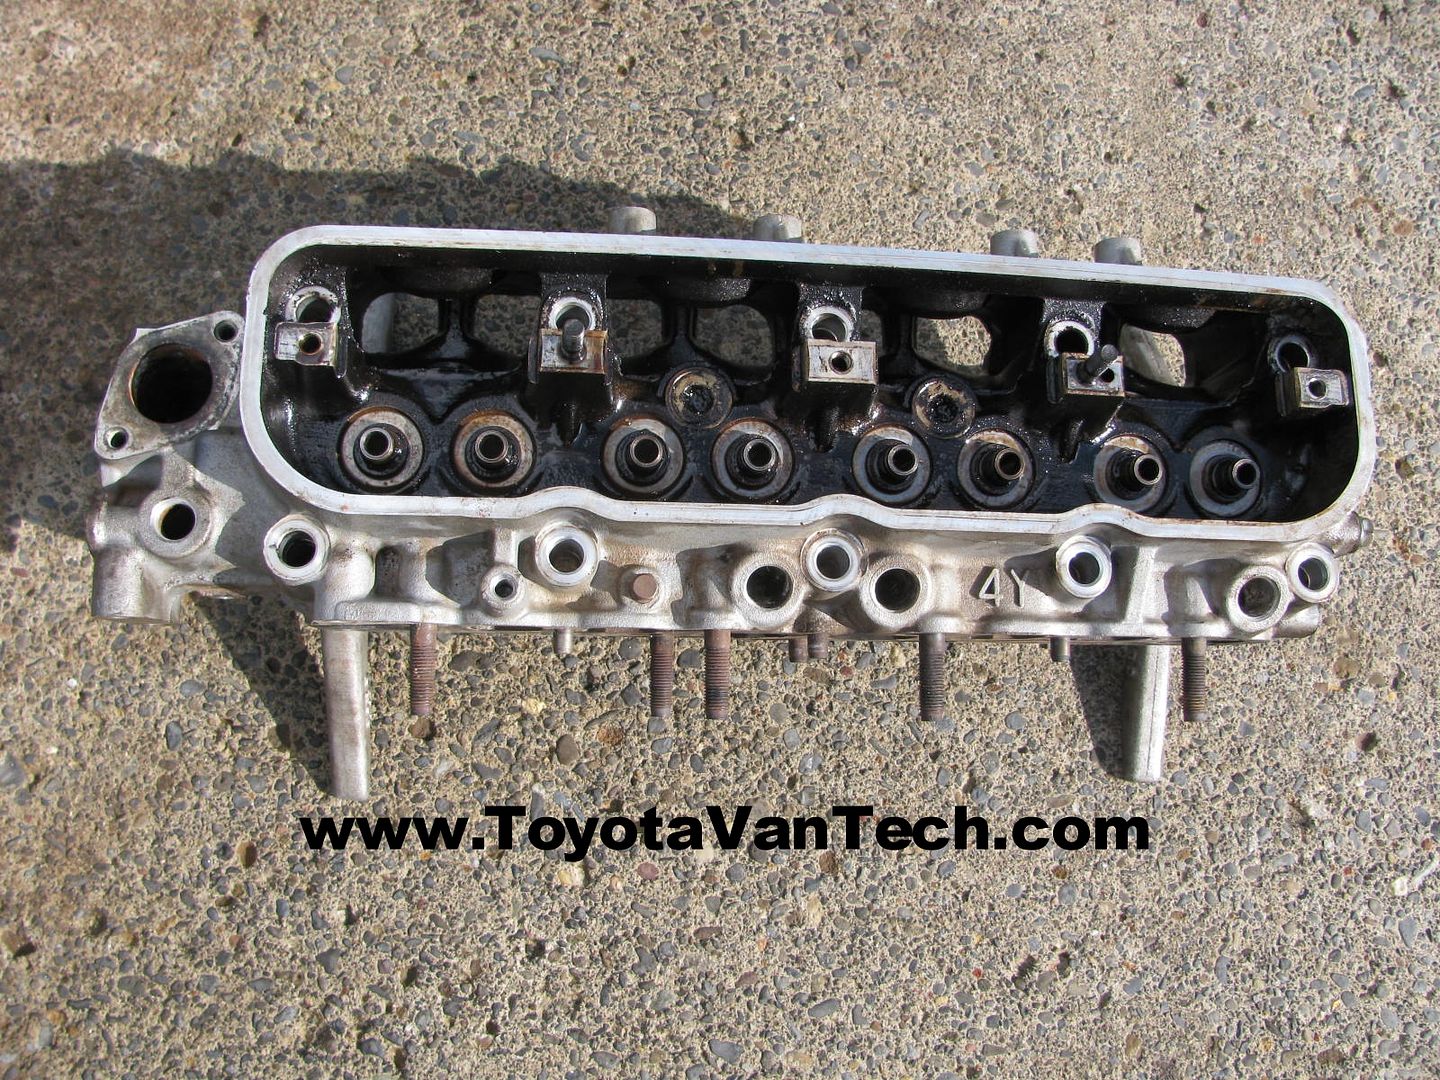
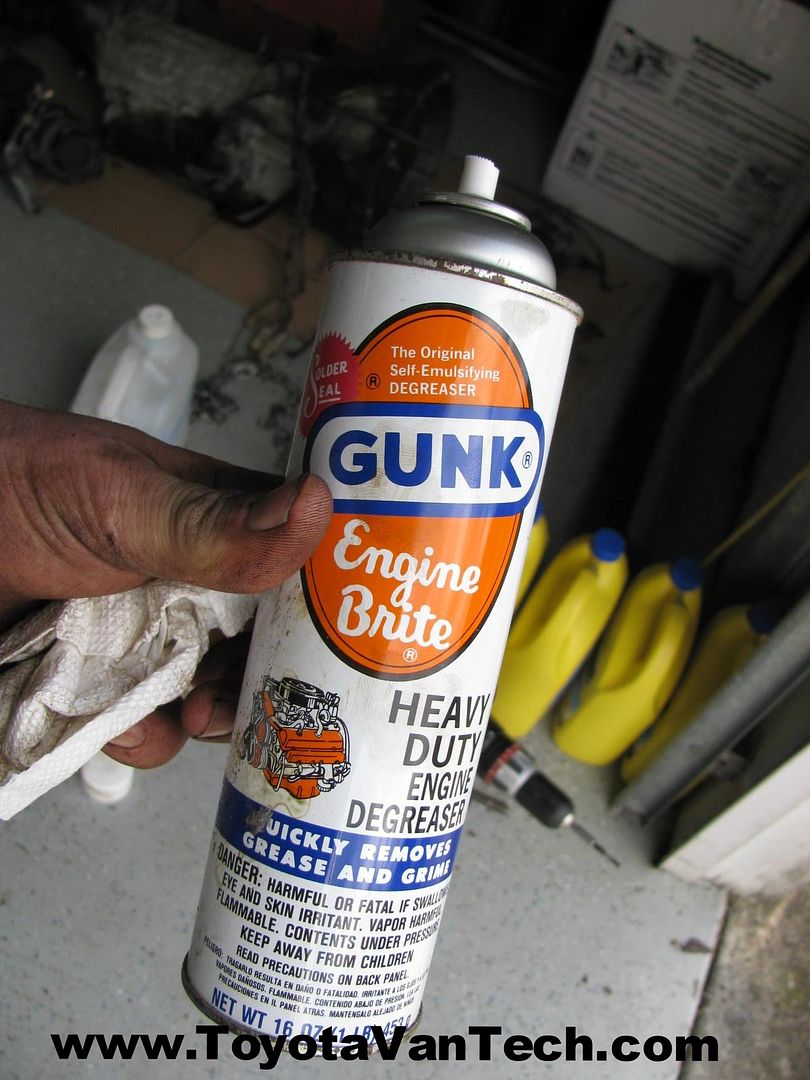
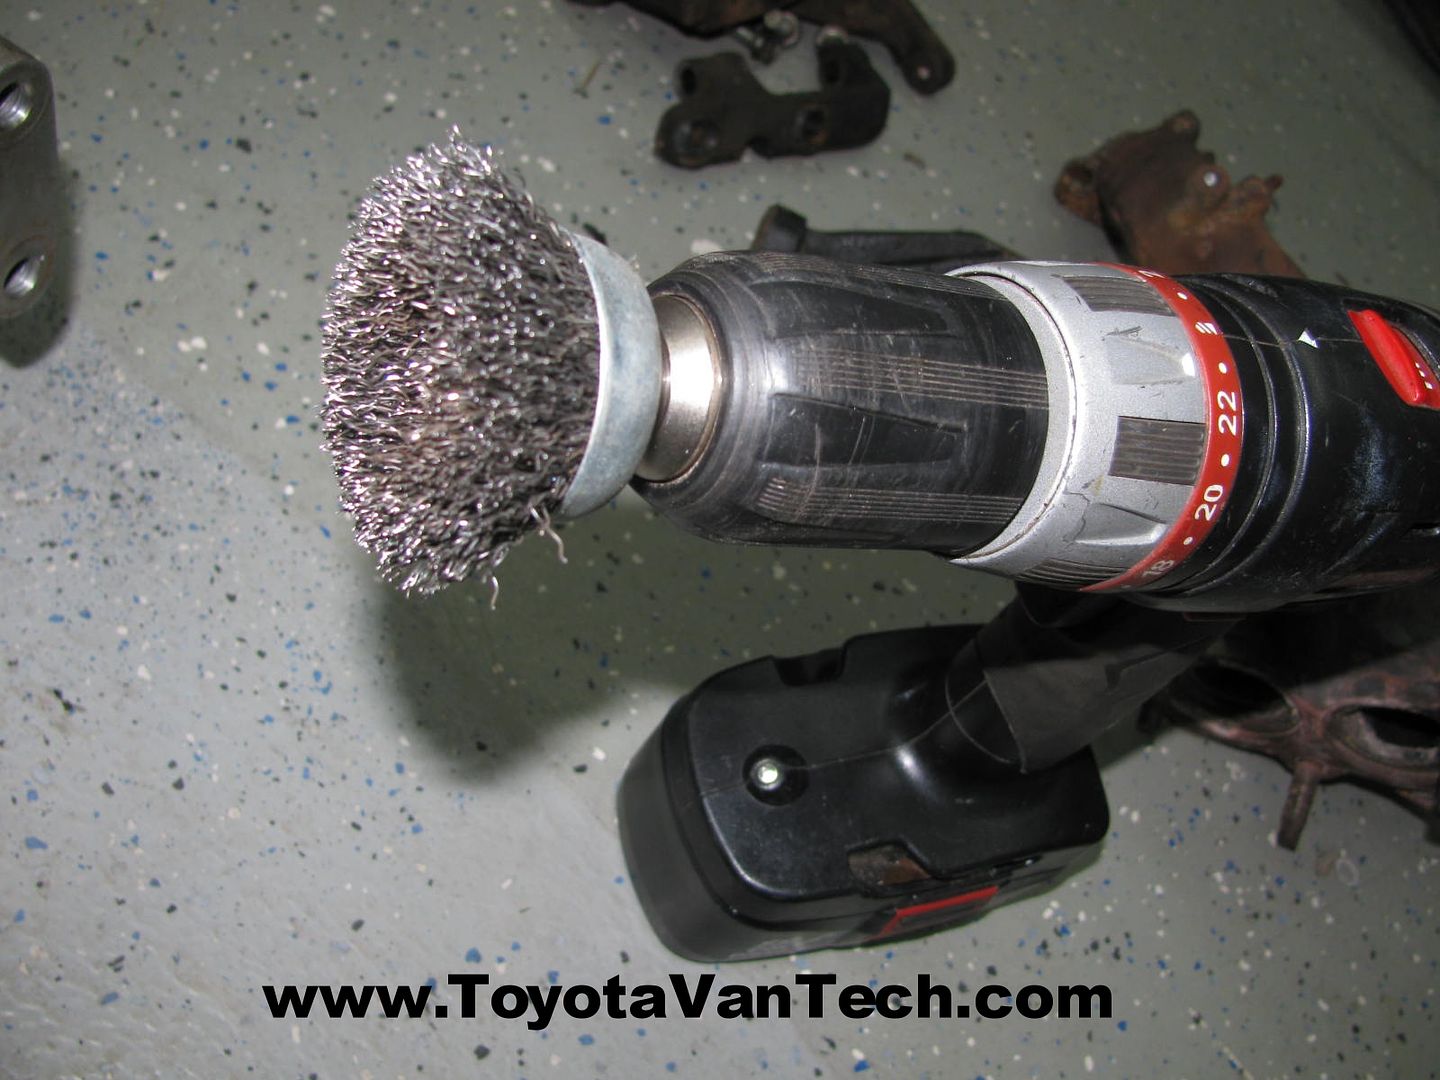
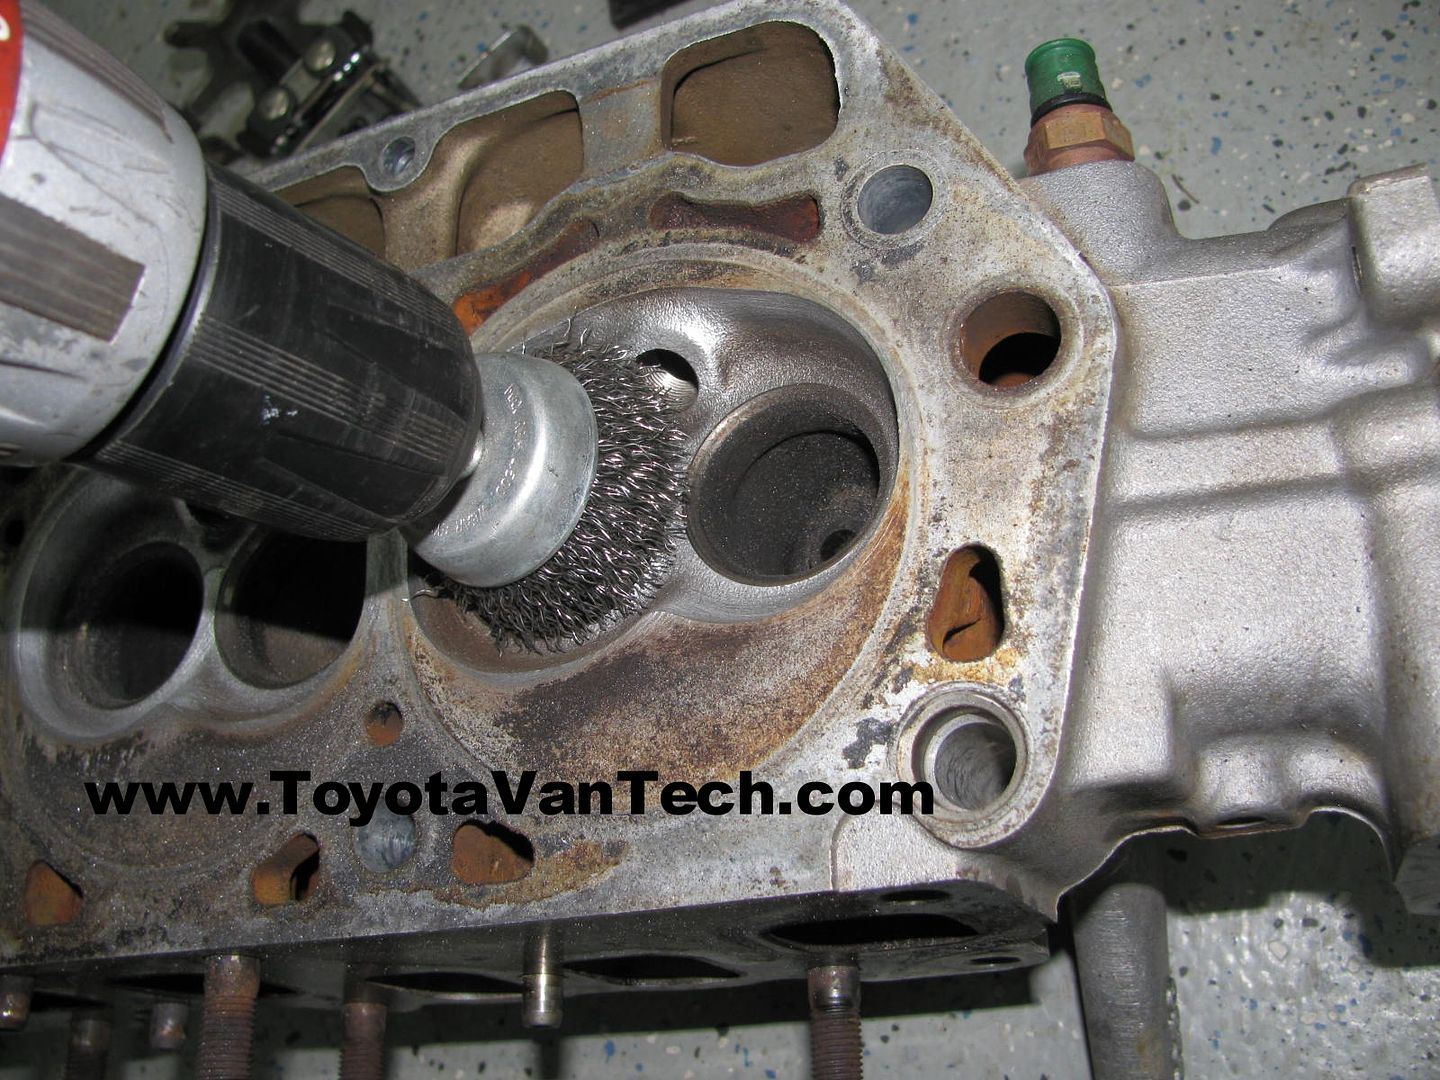
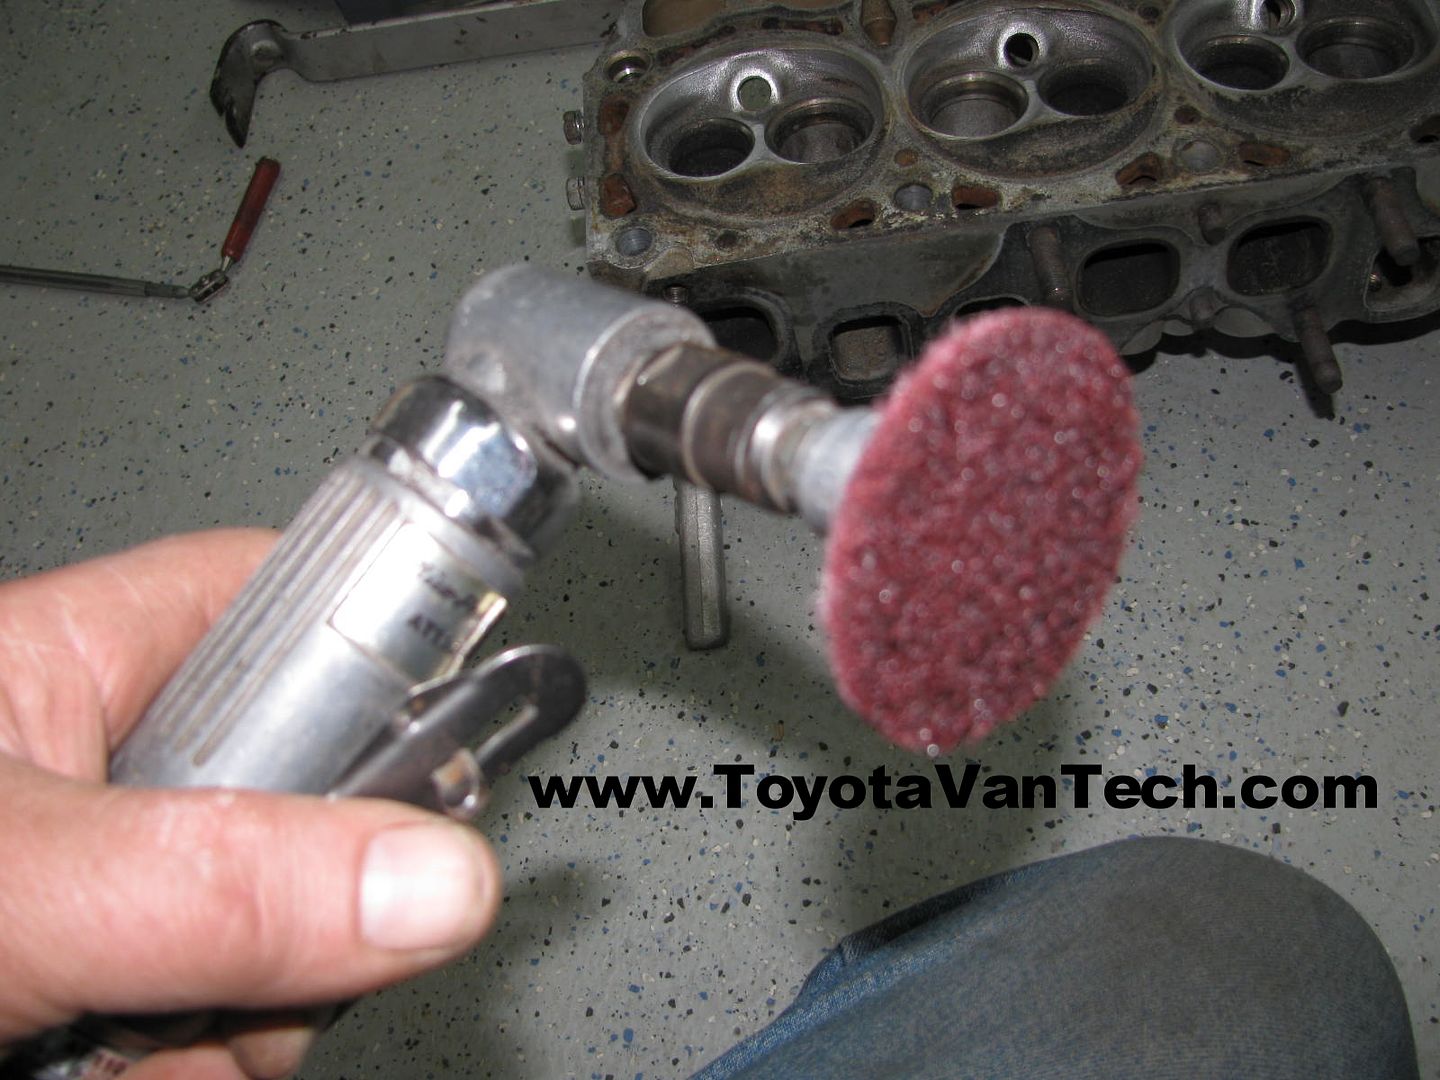
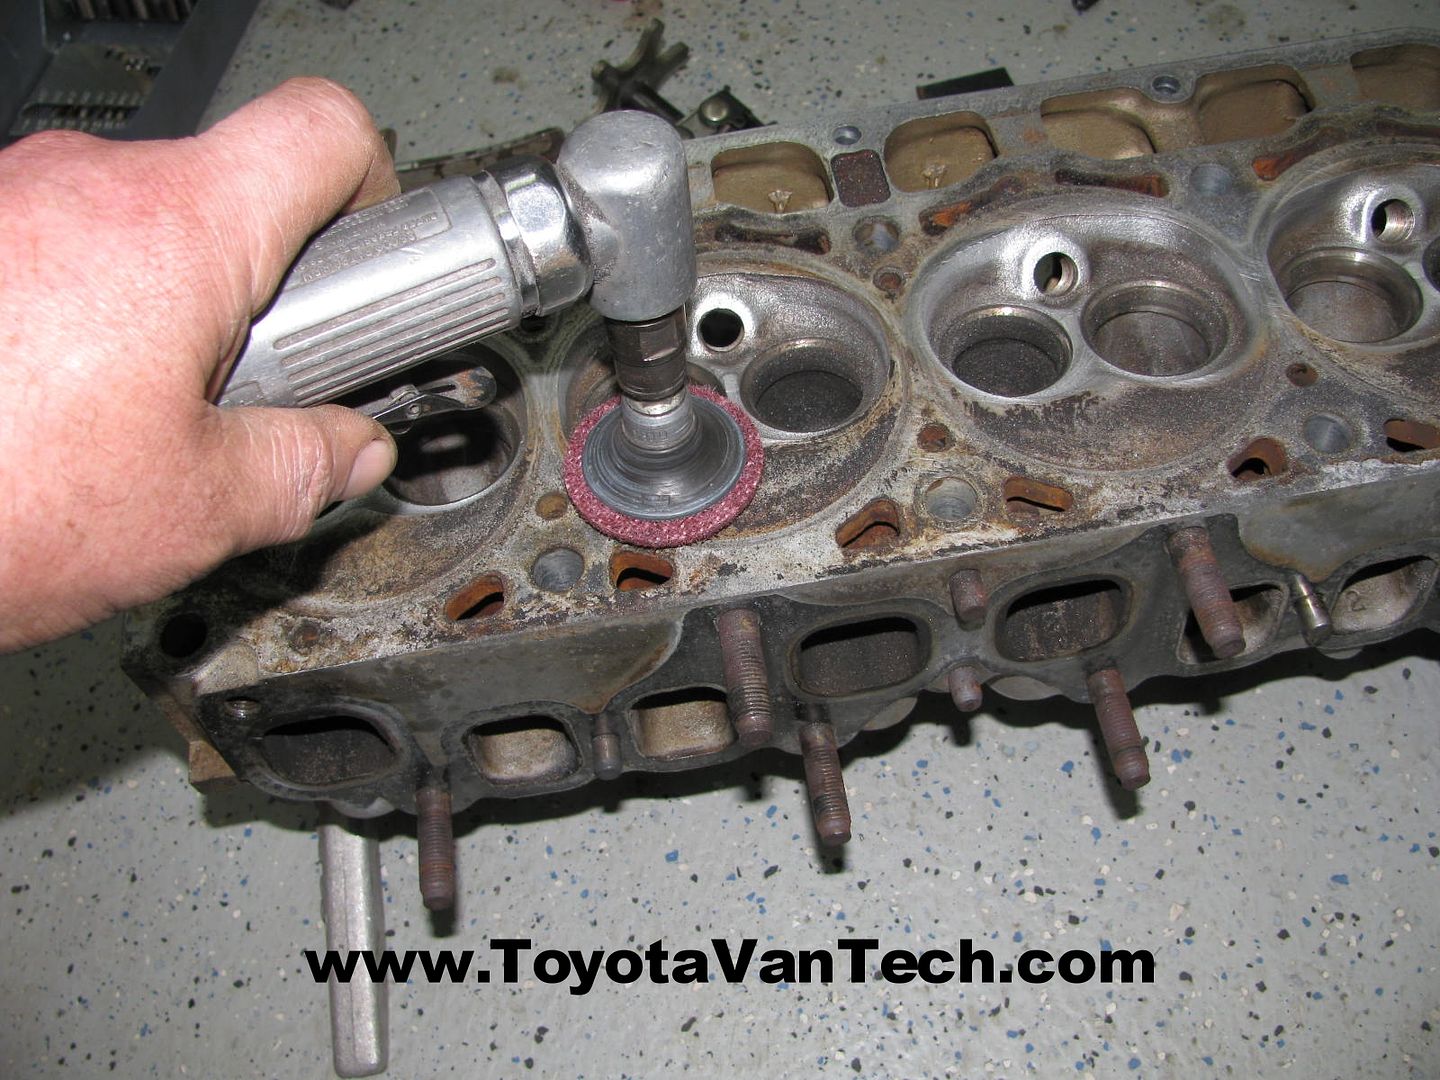
 . The head looks much better but I'm dirty as hell
  .
.
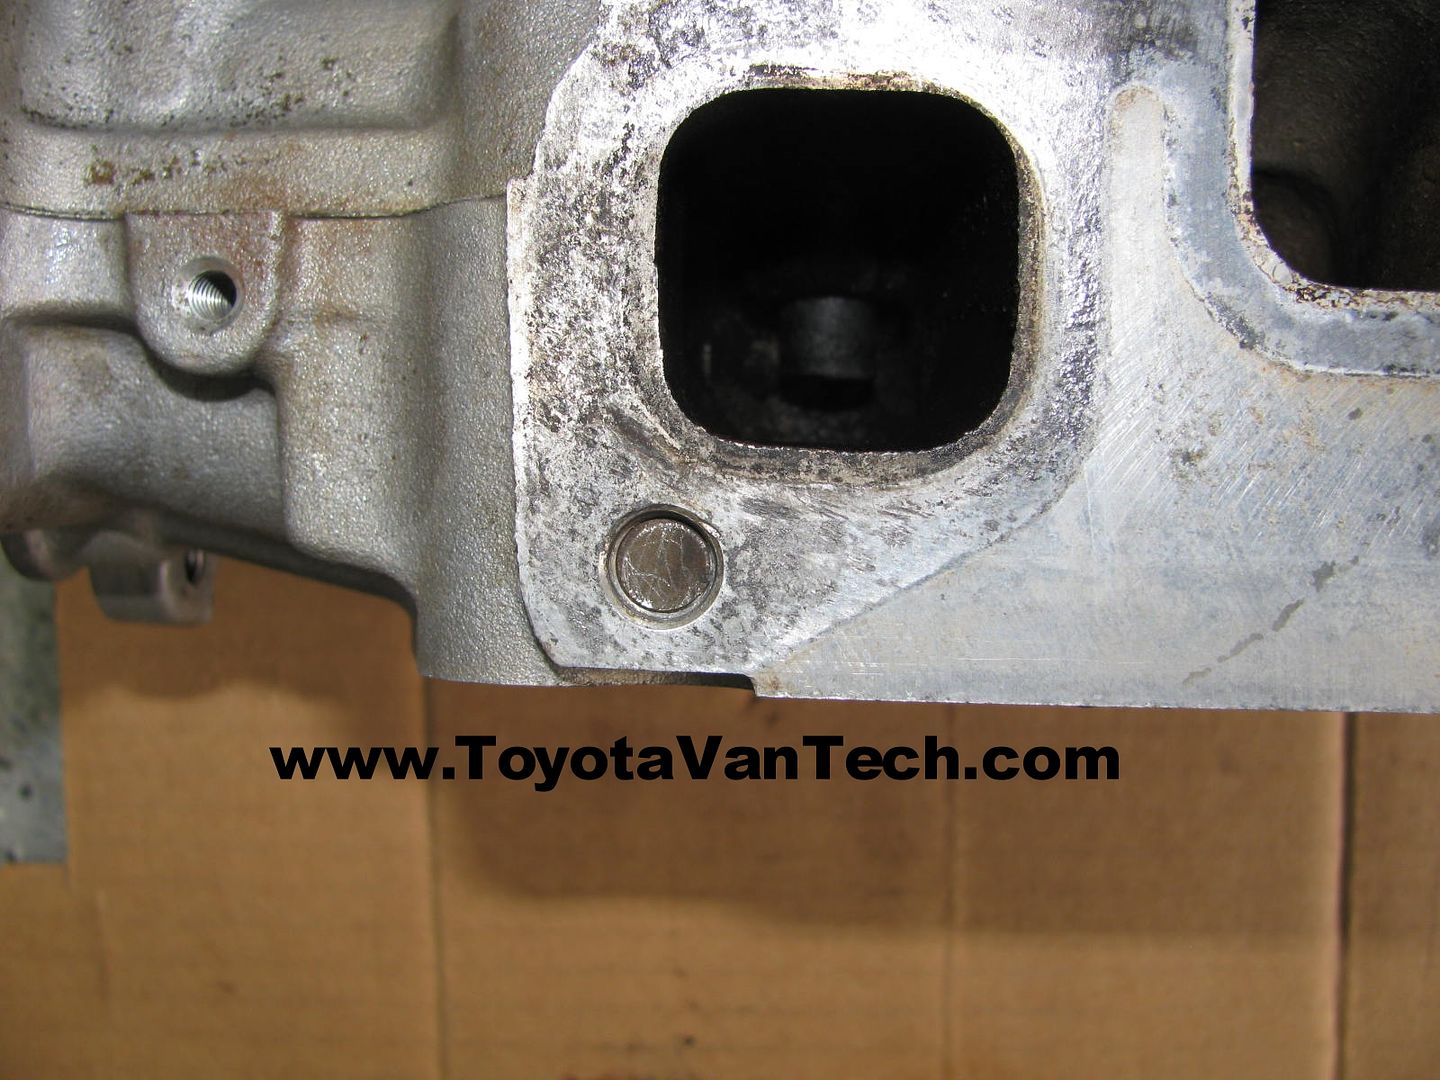
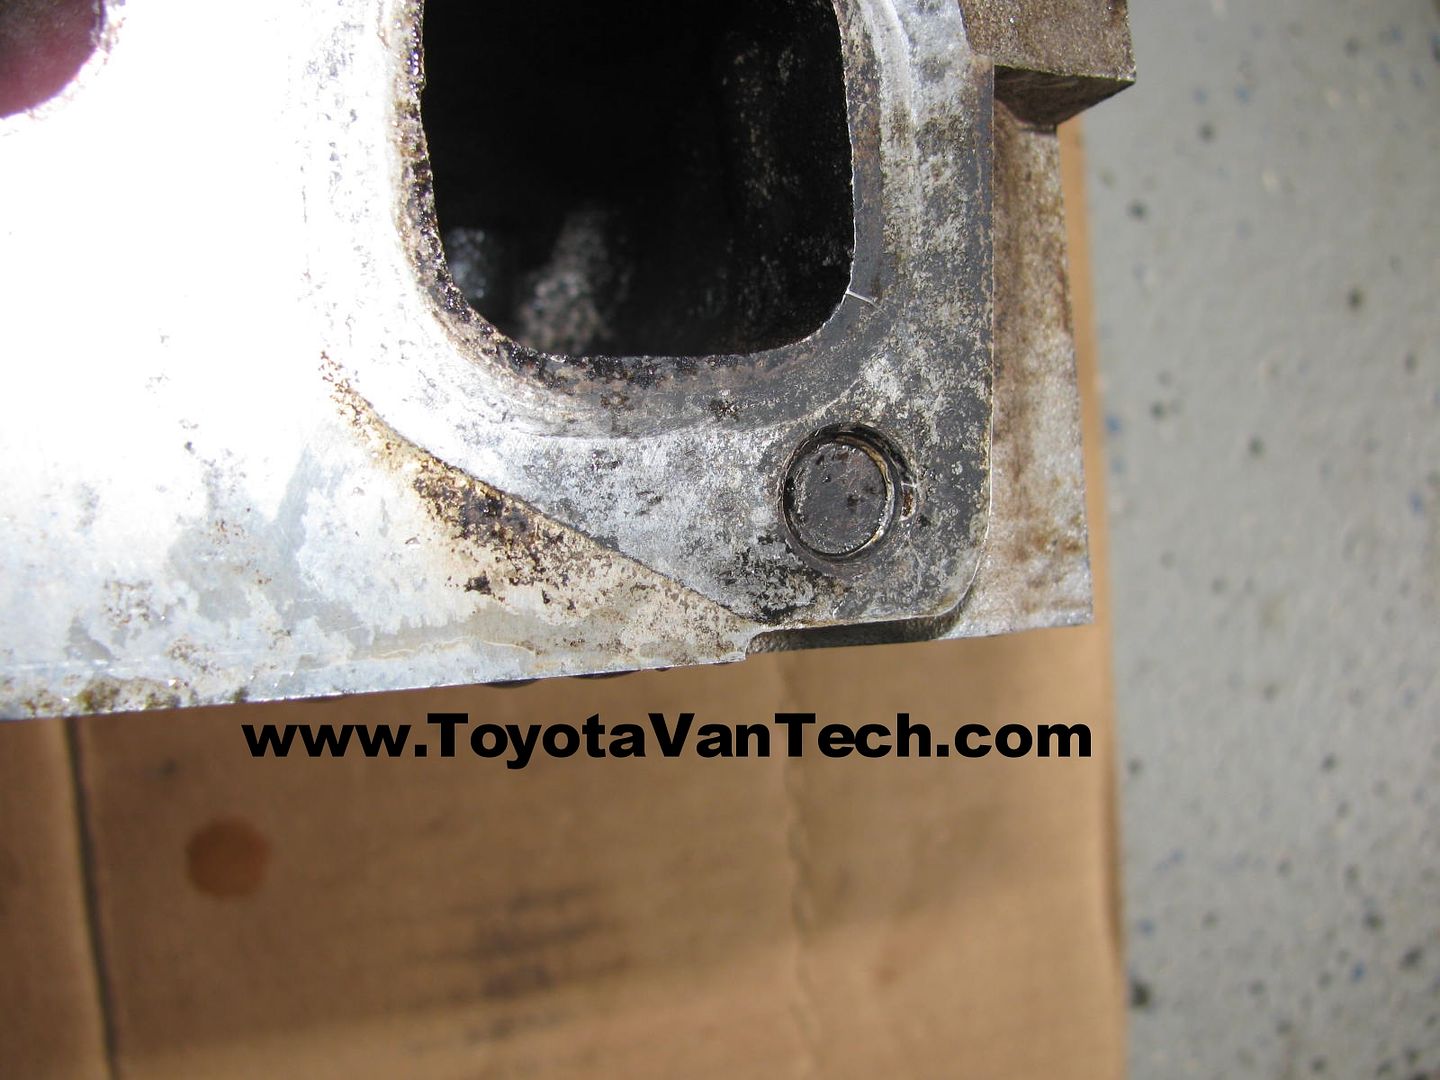
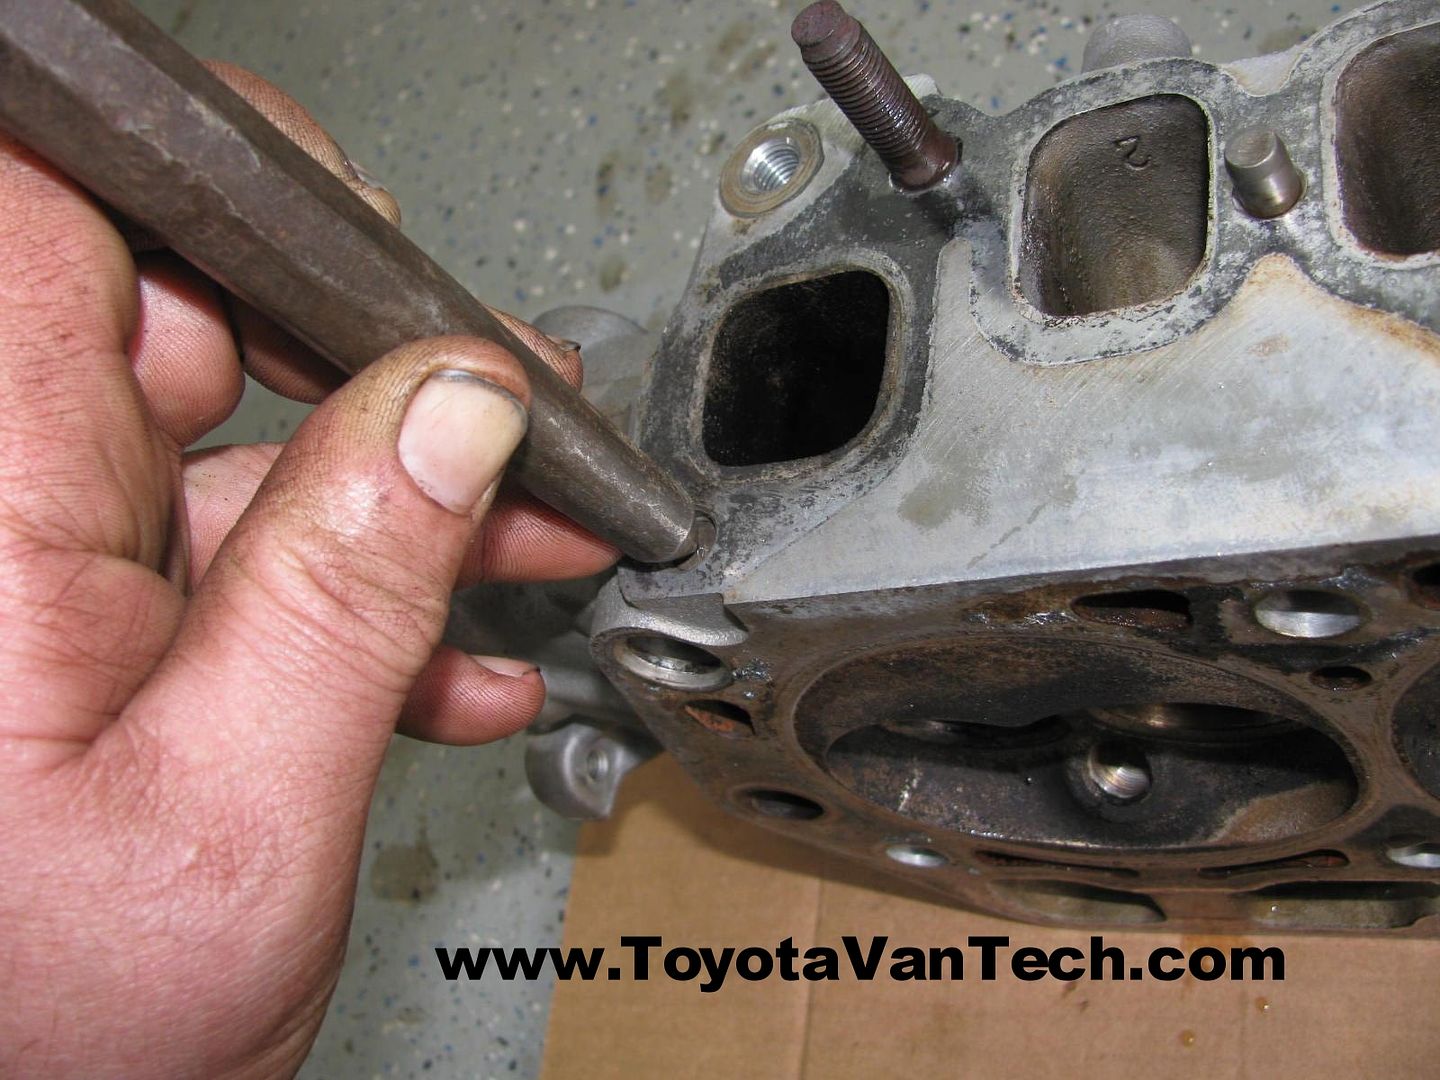
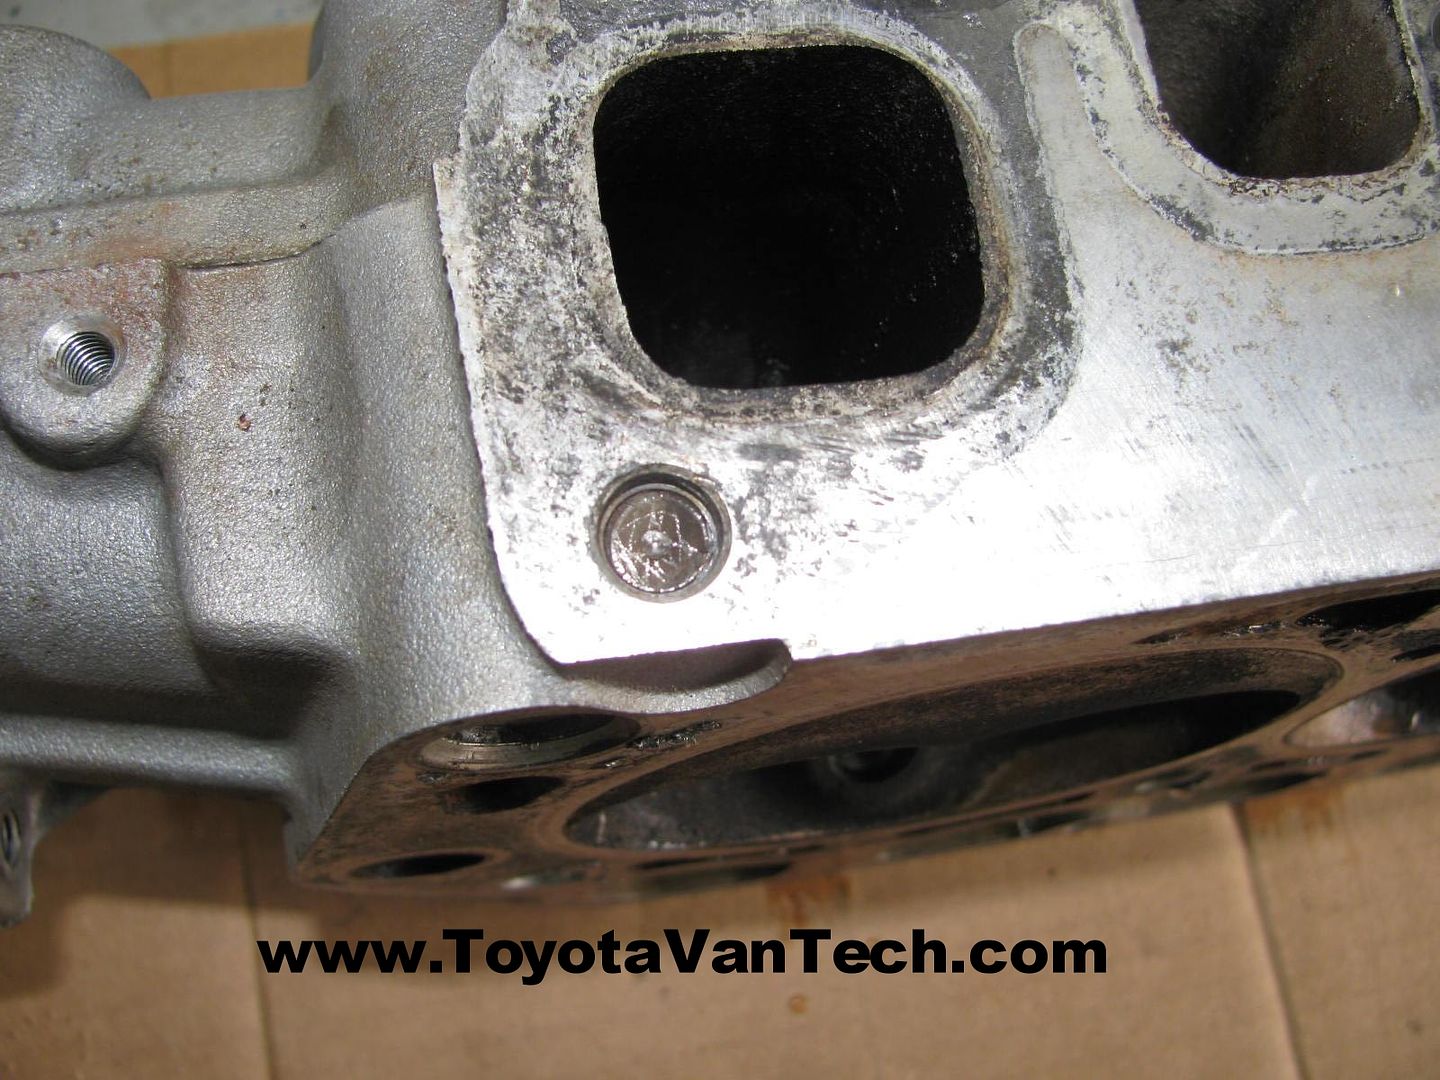
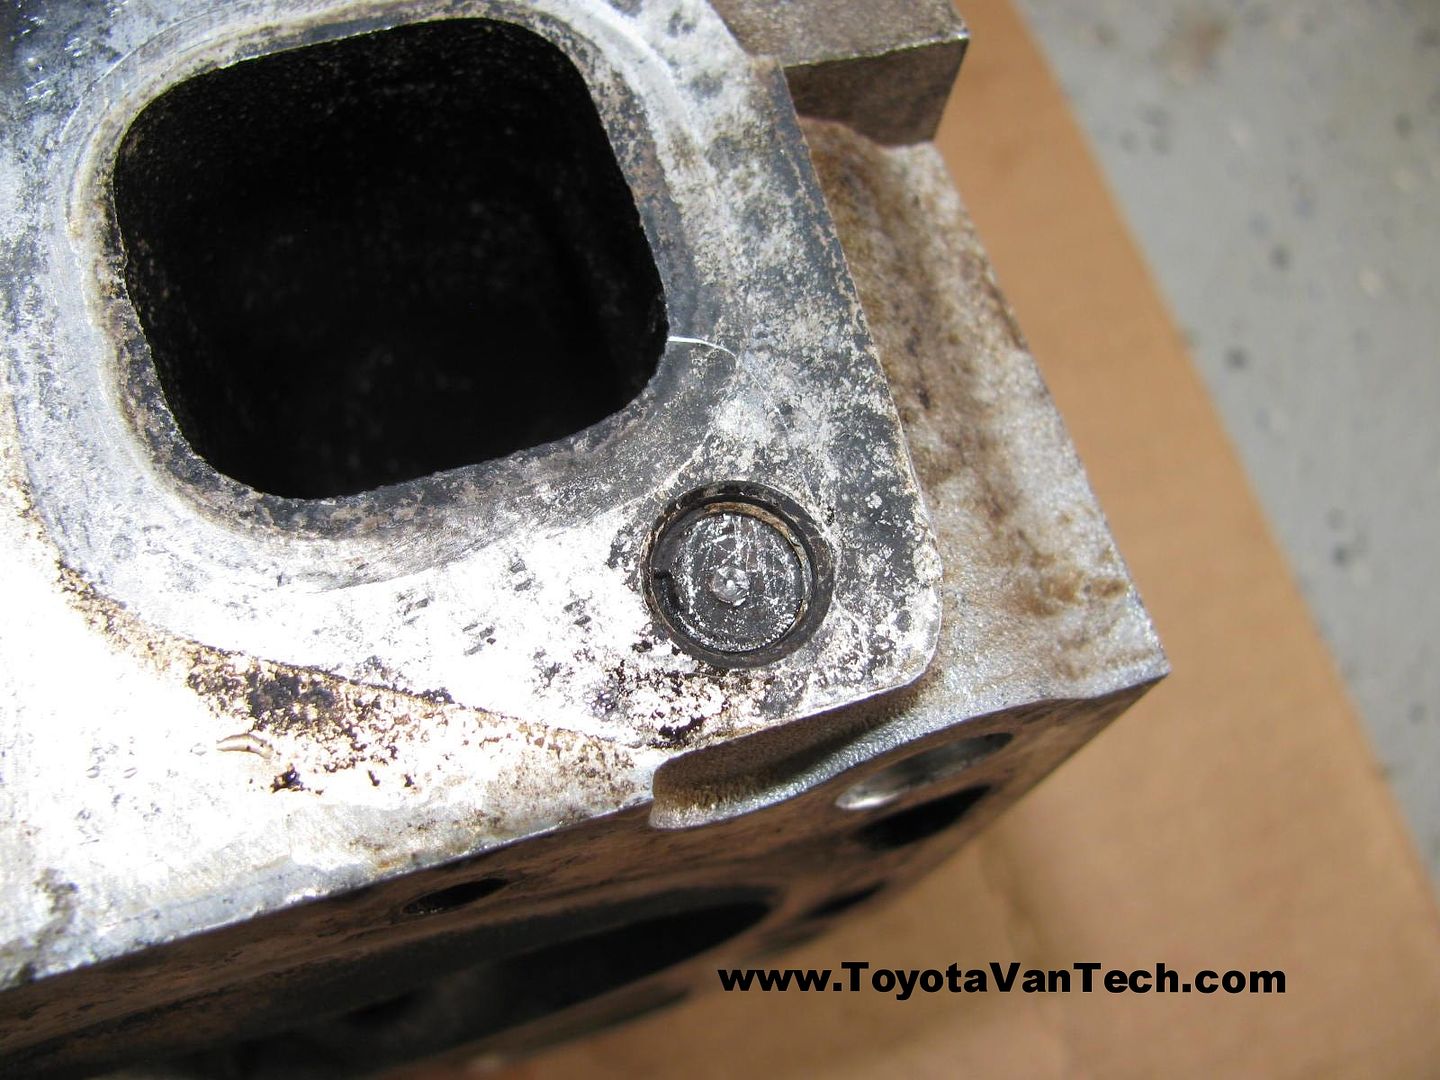
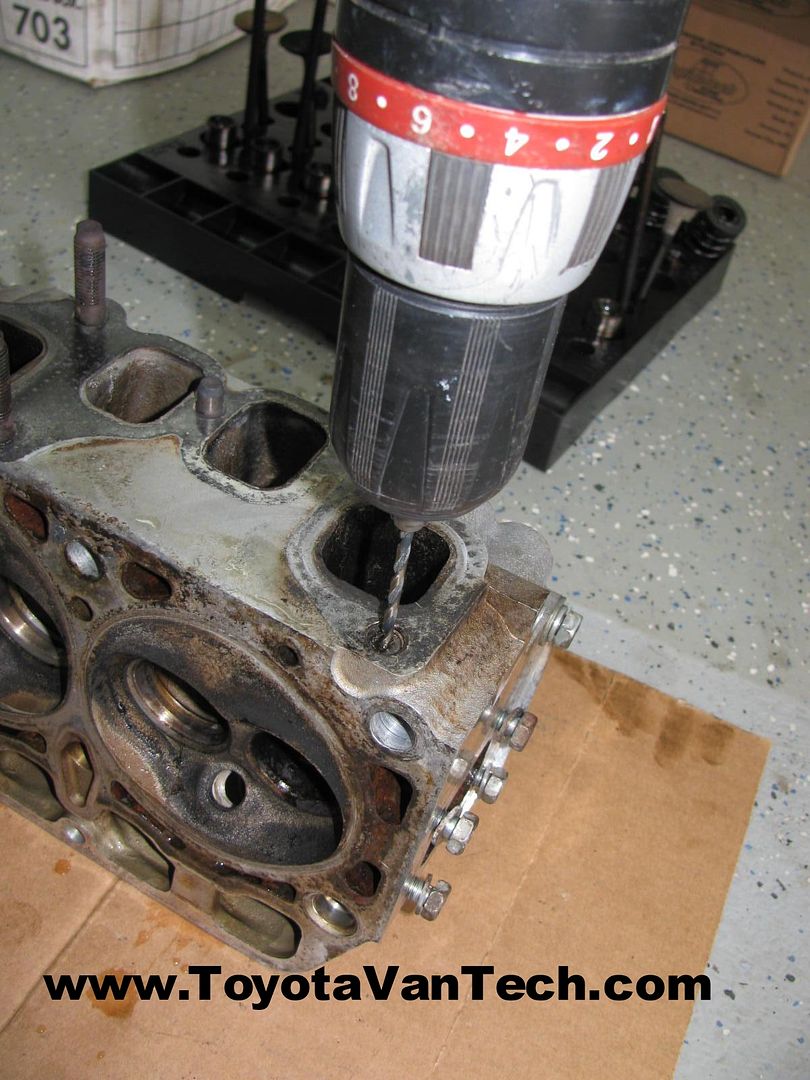
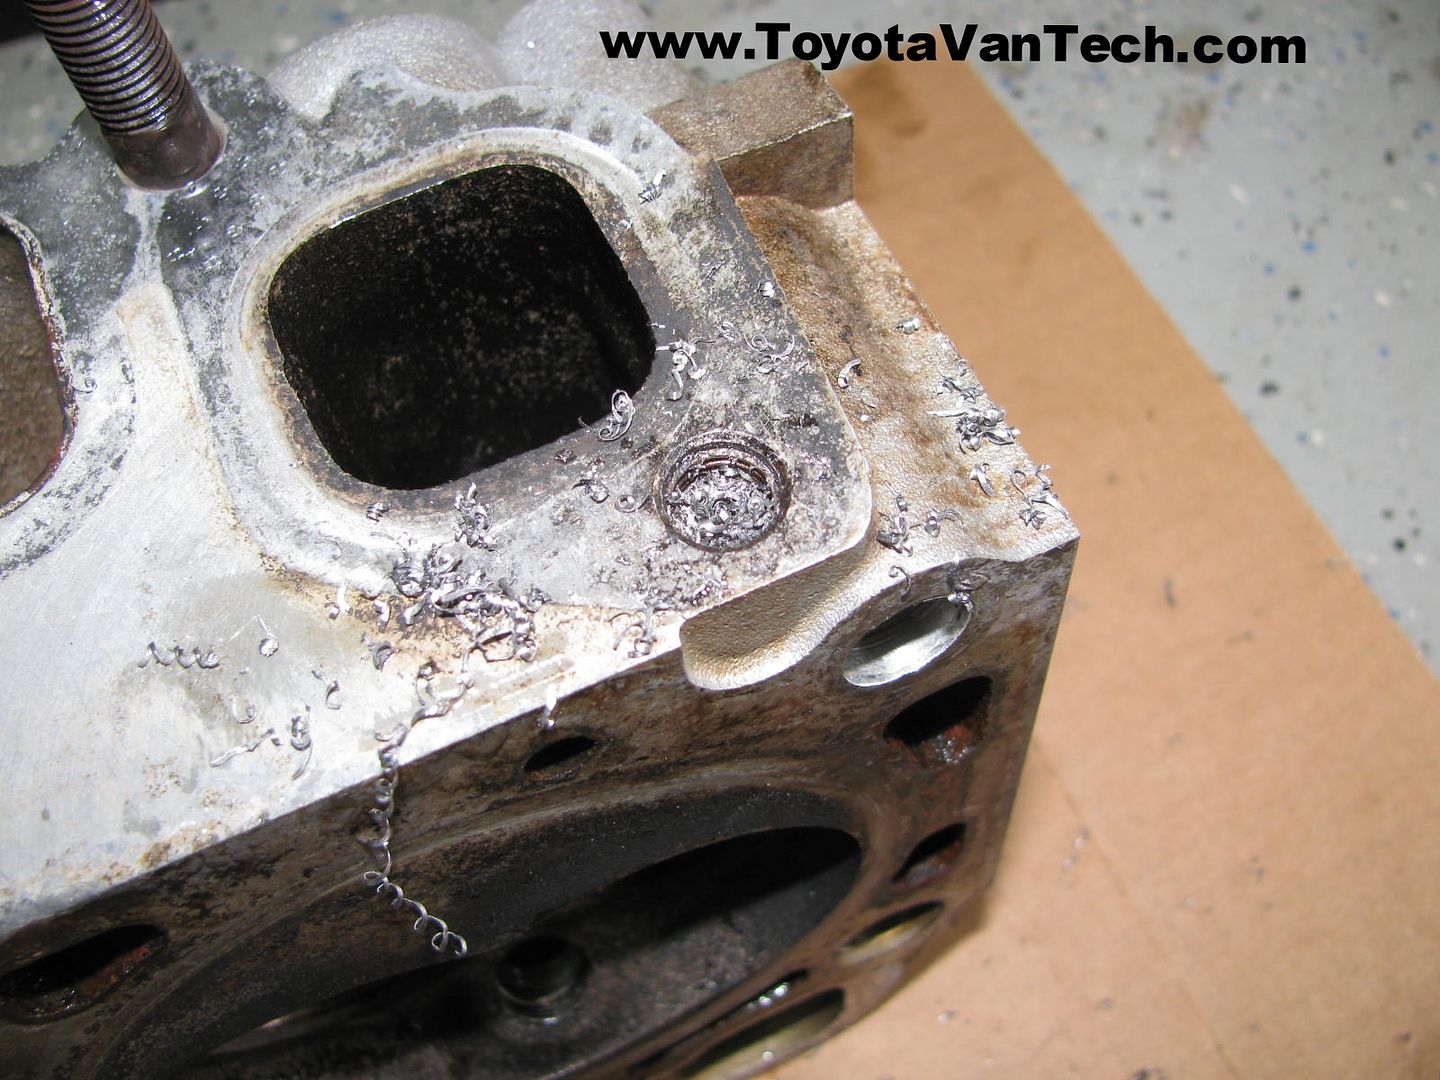
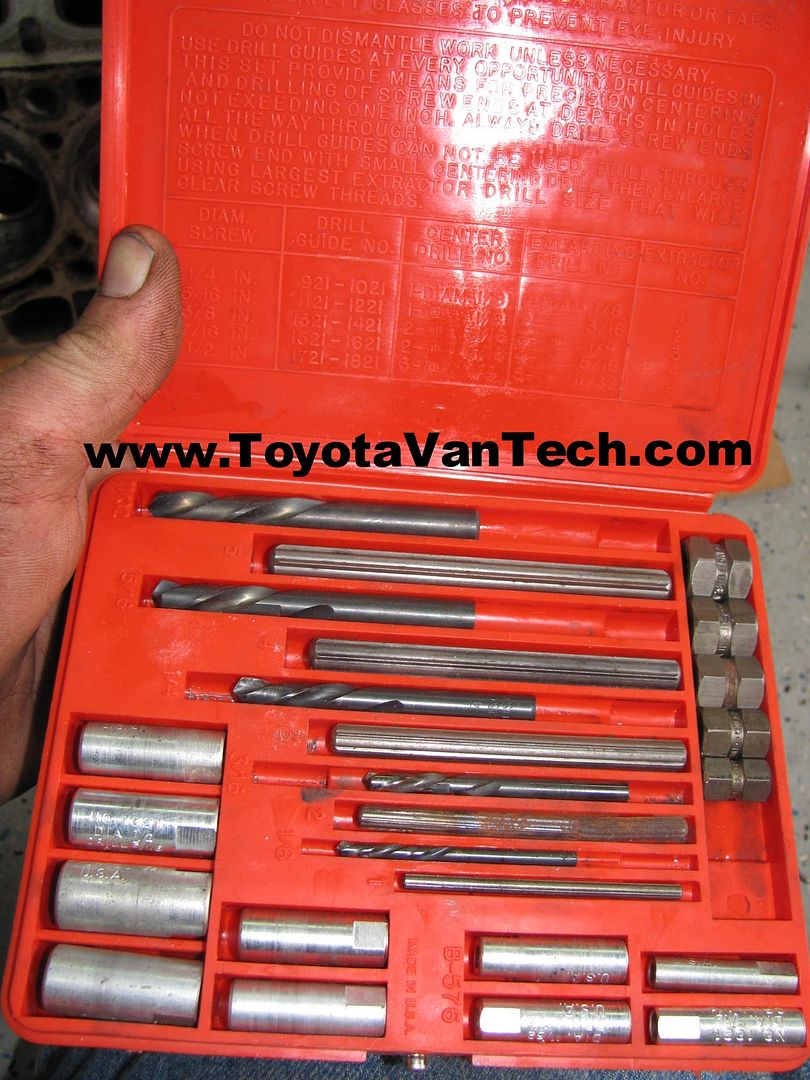
 . Camera was in my left hand drill was in my right. Sorry in advance for breathing in the camera
  :
: